
Zuora Integration
The Compyl Zuora integration consumes Zuora's Universal Identity SCIM 2.0 API to sync users, groups, roles, and email identifiers for identity-and-access compliance reporting.
Prerequisites
- Admin role in Zuora: You must be an administrator in the Zuora tenant (or have access to one) to create users and OAuth clients.
- A dedicated service user: Zuora recommends a dedicated user account for API access -- never reuse a personal login. The user must have API Write Access enabled.
- SCIM-eligible permissions on that user: The service user's role must grant the permissions SCIM exposes -- minimally Manage Users, Manage Custom Roles, and Manage User Roles. Without these, SCIM calls return
403 Forbidden.- Tenant identification: Confirm whether the credentials are for Production or Sandbox. Each tenant requires its own Client ID / Secret - they are not portable.
Note on RegionsZuora's billing REST API is region-specific (US Cloud 1/2, EU, APAC, plus sandbox variants), but the SCIM 2.0 API used by this integration is the global Universal Identity SCIM API hosted at
one.zuora.com. The OAuth client you create in the Zuora UI is valid againstone.zuora.com/oauth2/tokenregardless of the data-center where your billing tenant lives.
Create or Identify the Service User
If you already have a dedicated Zuora API service user with the permissions above, skip to Creating the OAuth Client.
-
Sign in to the Zuora UI as an administrator.
-
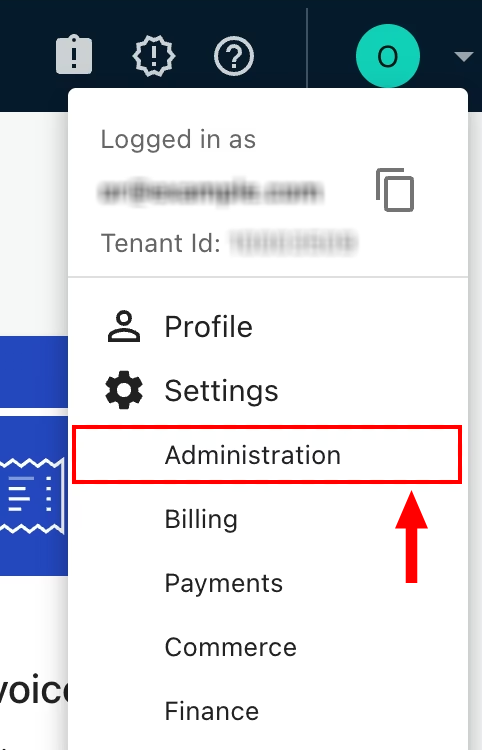
Navigate to Settings (gear icon) → Administration.
-
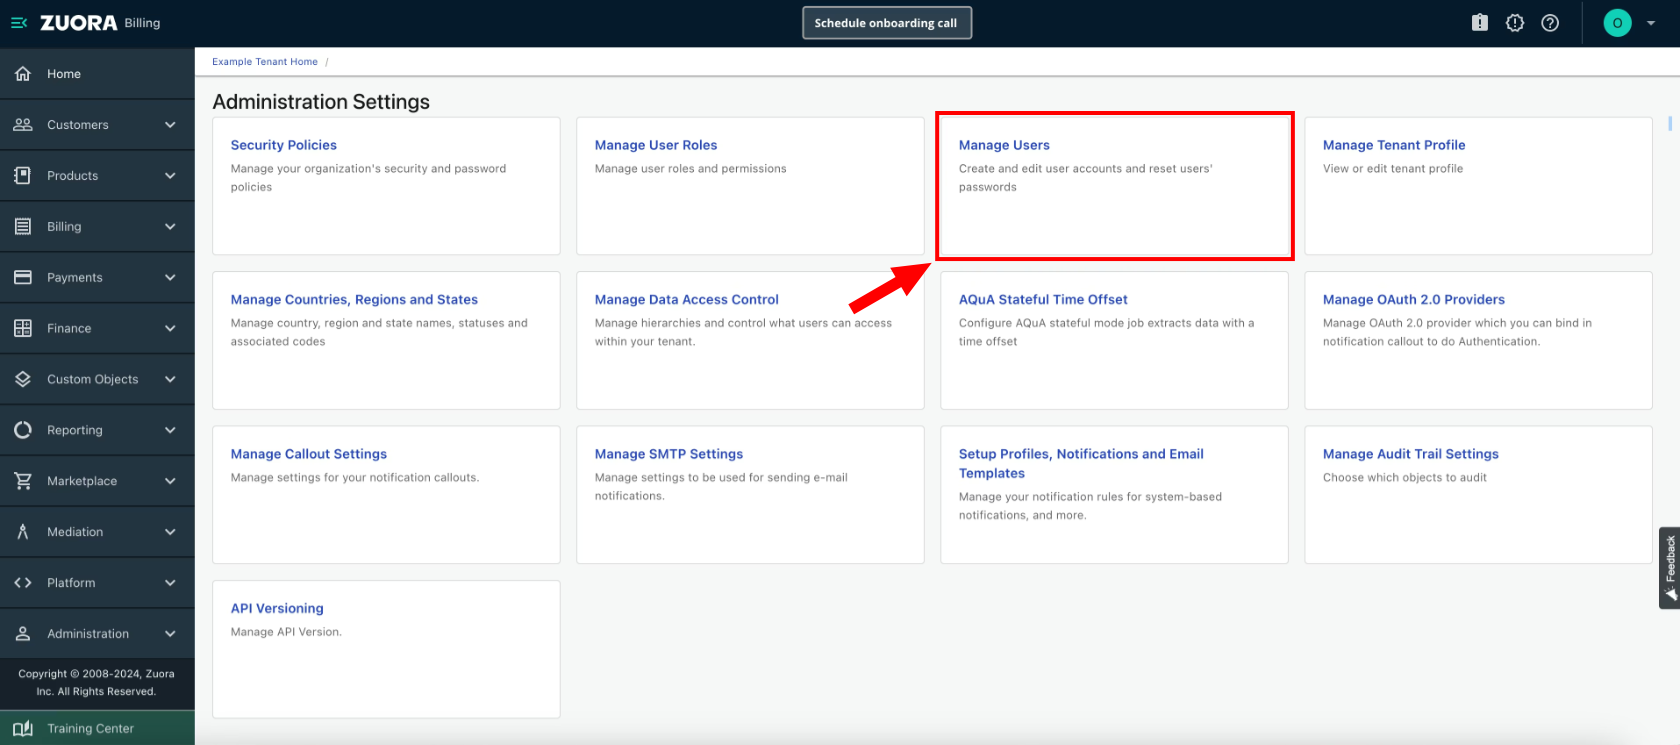
Then click on Manage Users.
-
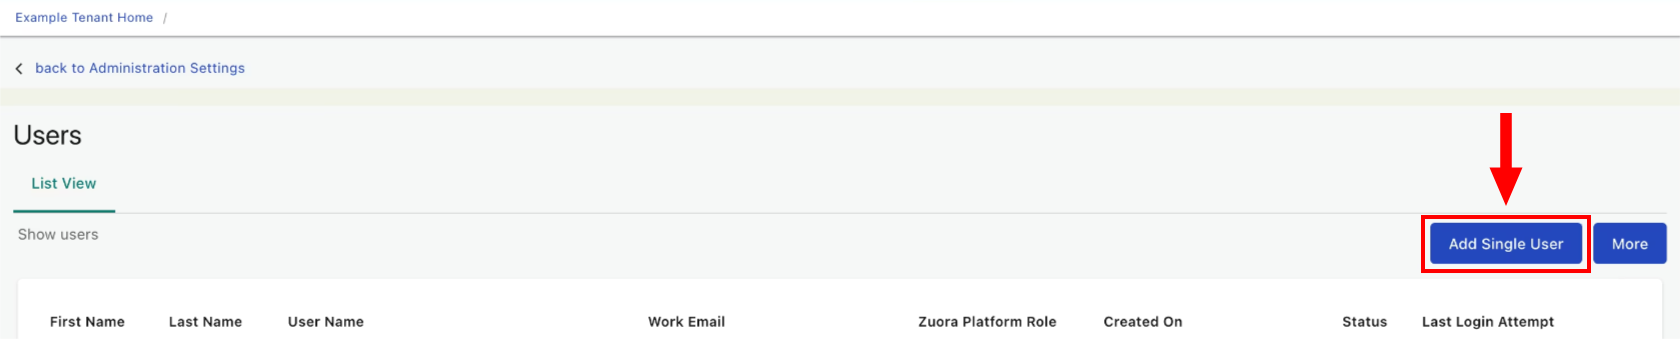
Click Add Single User.
-
Enter:
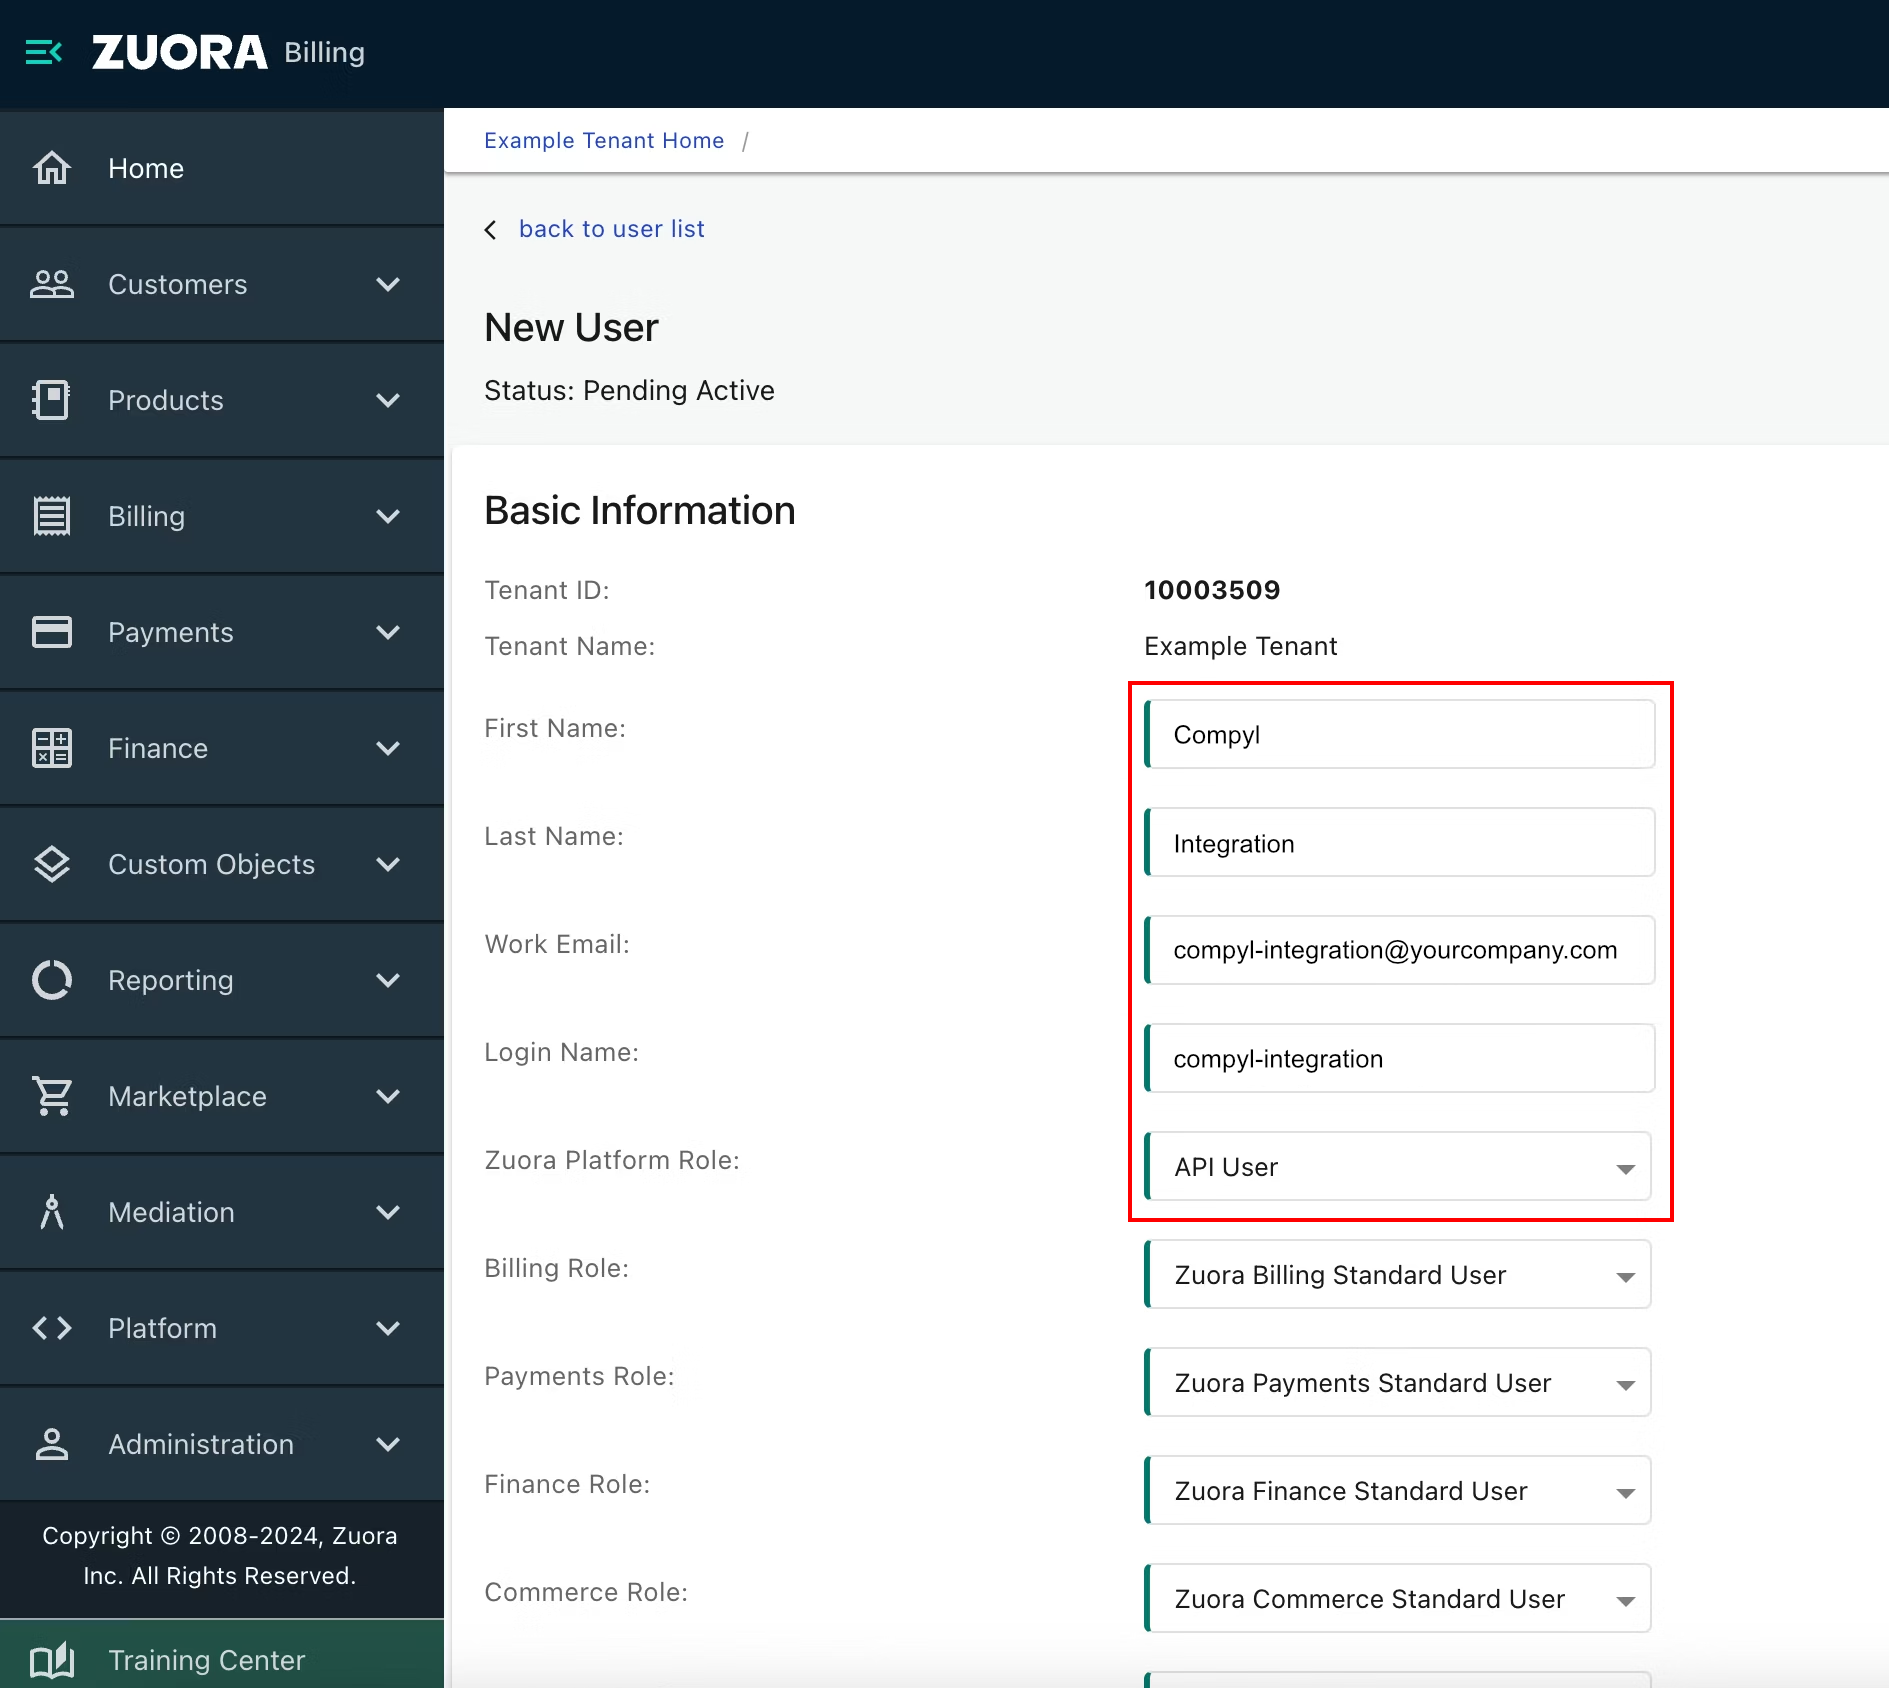
- First Name / Last Name: descriptive (e.g. Compyl Integration).
- Login Name / Work Email: a mailbox you own (e.g.
[email protected]). - Zuora Platform Role: a role that grants Manage Users, Manage Custom Roles, and Manage User Roles - typically a custom role, or Administrator if your governance allows.
-
Save.
Zuora emails the user an activation link; complete activation and set a password.
-
Edit the new user and ensure API Write Access is enabled.
Create the OAuth Client (Client ID / Secret)
-
Sign in to the Zuora UI as the service user created above (the OAuth client is owned by the user under whom it is created).
-
Click your profile icon (top right) and select My Profile (or Manage Account → Settings, depending on your Zuora release).
-
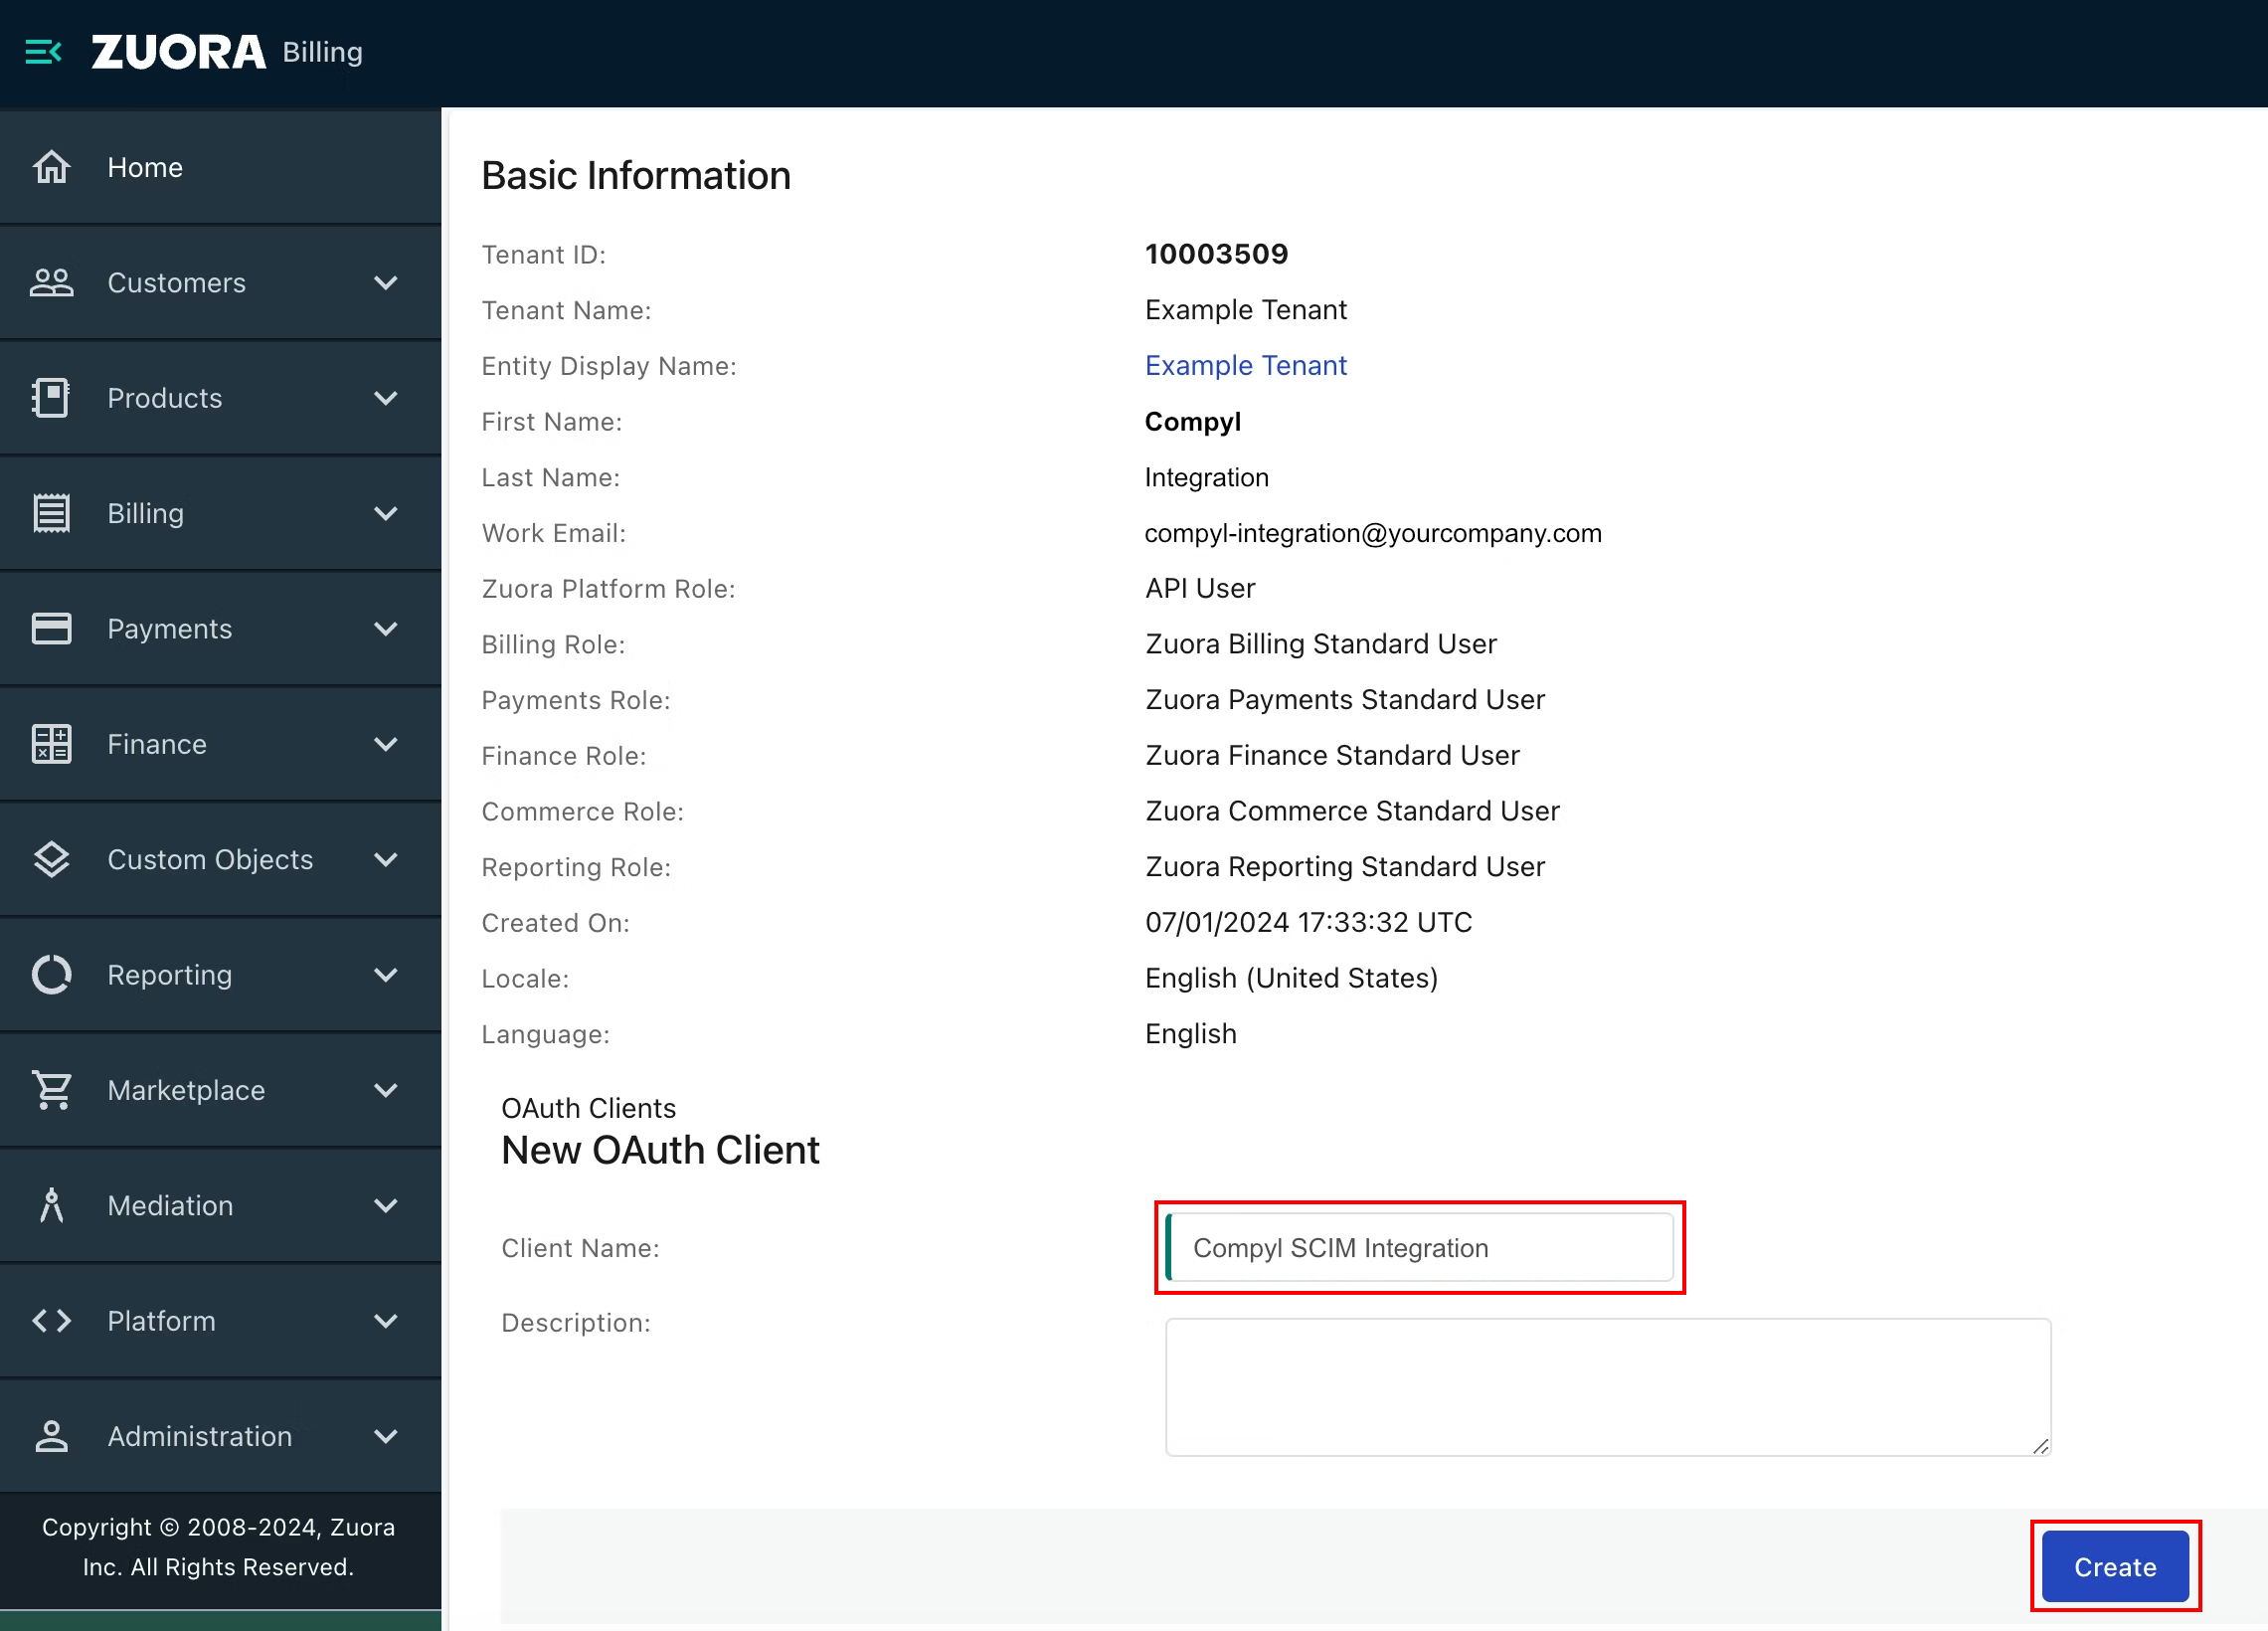
Click on the OAuth Clients section and then Create Client.
-
Enter a descriptive Client Name (e.g. Compyl SCIM Integration).
-
Click Create.
-
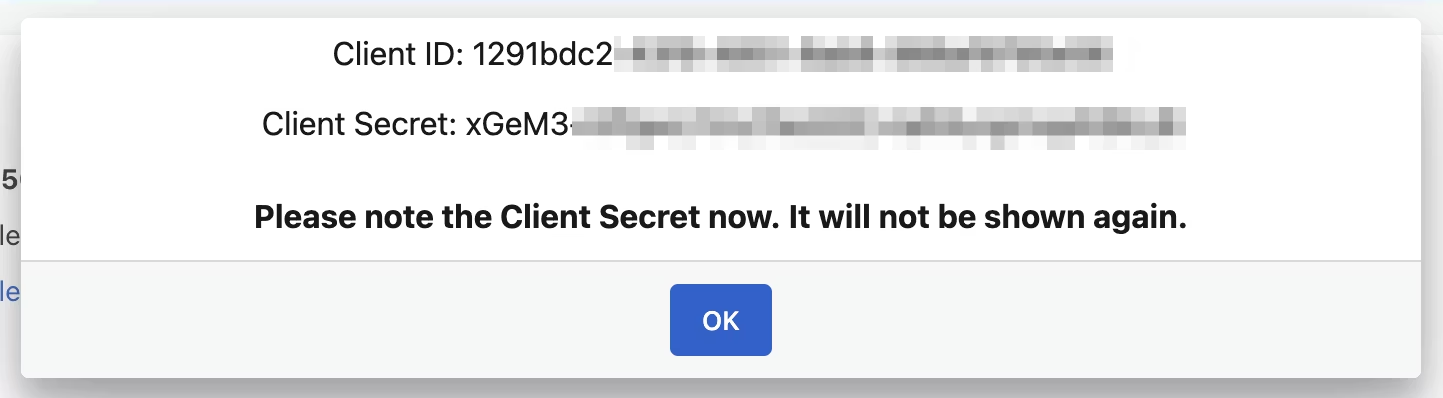
Zuora generates a Client ID and Client Secret.
 FYI
FYICopy this to a secure location! The Client Secret cannot be retrieved later - if lost, you must regenerate it.
(Optional) Verify the Credentials Out-of-Band
Before handing the credentials to Compyl, confirm they work by minting a token directly. Replace YOUR_CLIENT_ID and YOUR_CLIENT_SECRET:
curl --request POST \
  --url https://one.zuora.com/oauth2/token \
  --user 'YOUR_CLIENT_ID:YOUR_CLIENT_SECRET' \
  --header 'Content-Type: application/x-www-form-urlencoded' \
  --data 'grant_type=client_credentials'
A successful response looks like:
{
  "access_token": "6447d349d8854f0d8d5535484b0b811b",
  "token_type": "bearer",
  "expires_in": 3598,
  "scope": "...service.scim... tenant.12270 user.<user-id>"
}
Then confirm SCIM access using the returned token:
curl --request GET \
  --url 'https://one.zuora.com/scim/v2/Users?startIndex=1&count=1' \
  --header 'Accept: application/json' \
  --header 'Authorization: Bearer <access_token>'
If you receive a paginated Resources array, the credentials are working. A 401 indicates a bad client_id/secret while a 403 indicates the underlying user lacks SCIM permissions.
Should any of these happen, revisit your Service User step.
Add Configuration
-
Navigate to the Integrations tab using the left-hand menu, find Zuora, and select +Add Configuration.

-
Next, fill in the details below and select Continue.
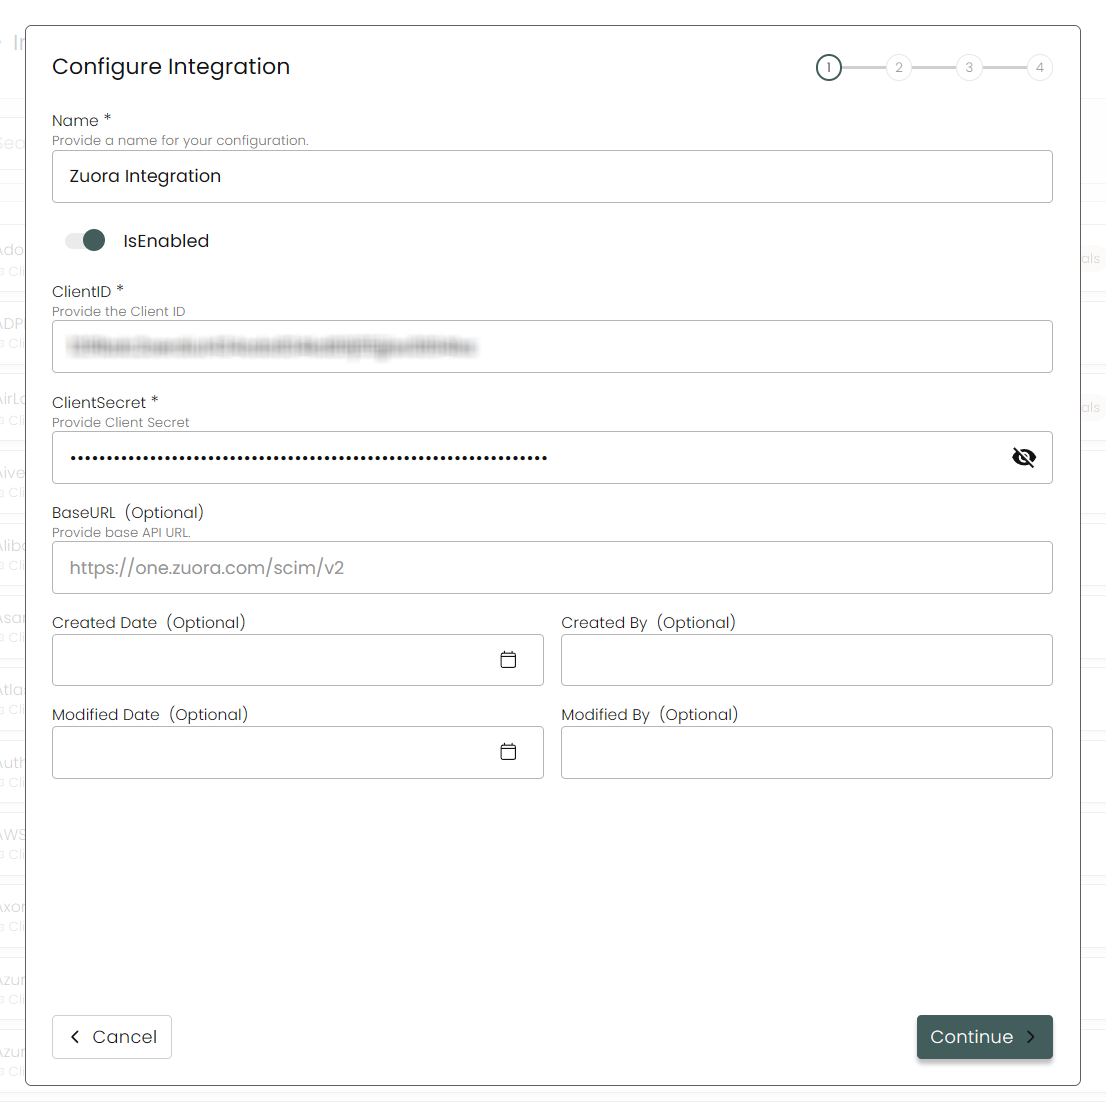
Name: Enter the name of the integration.
is Enabled: Toggle button to ensure data is populated into Compyl.
Client ID: The Client ID from Create the OAuth Client.
Client Secret: The Client Secret from Create the OAuth Client.
Base URL: This should be set to
https://one.zuora.com/scim/v2.
-
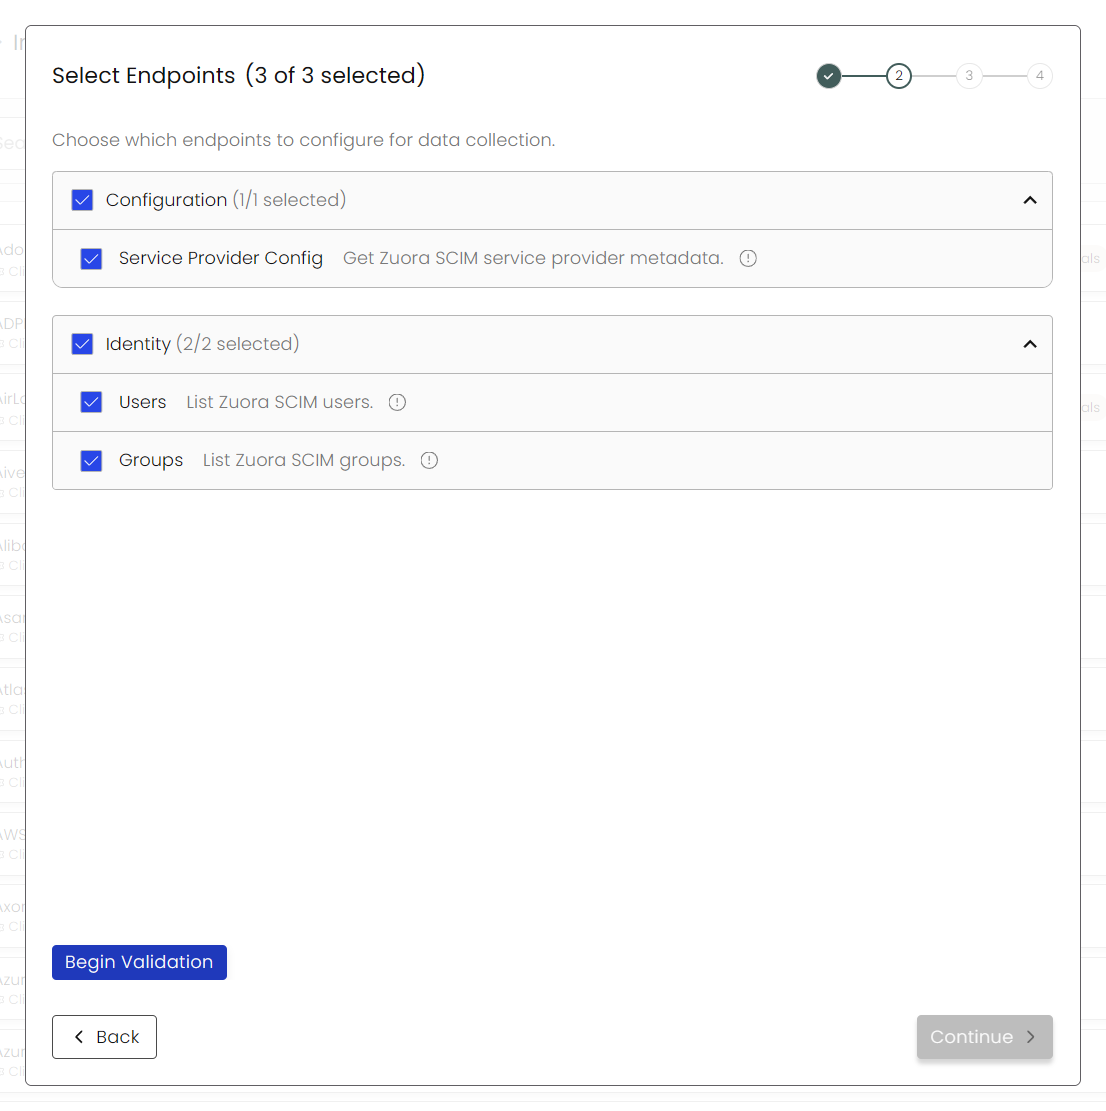
Choose your Endpoints and Begin Validation to validate your connection.
-
Select any Blueprints you wish to associate with this integration.
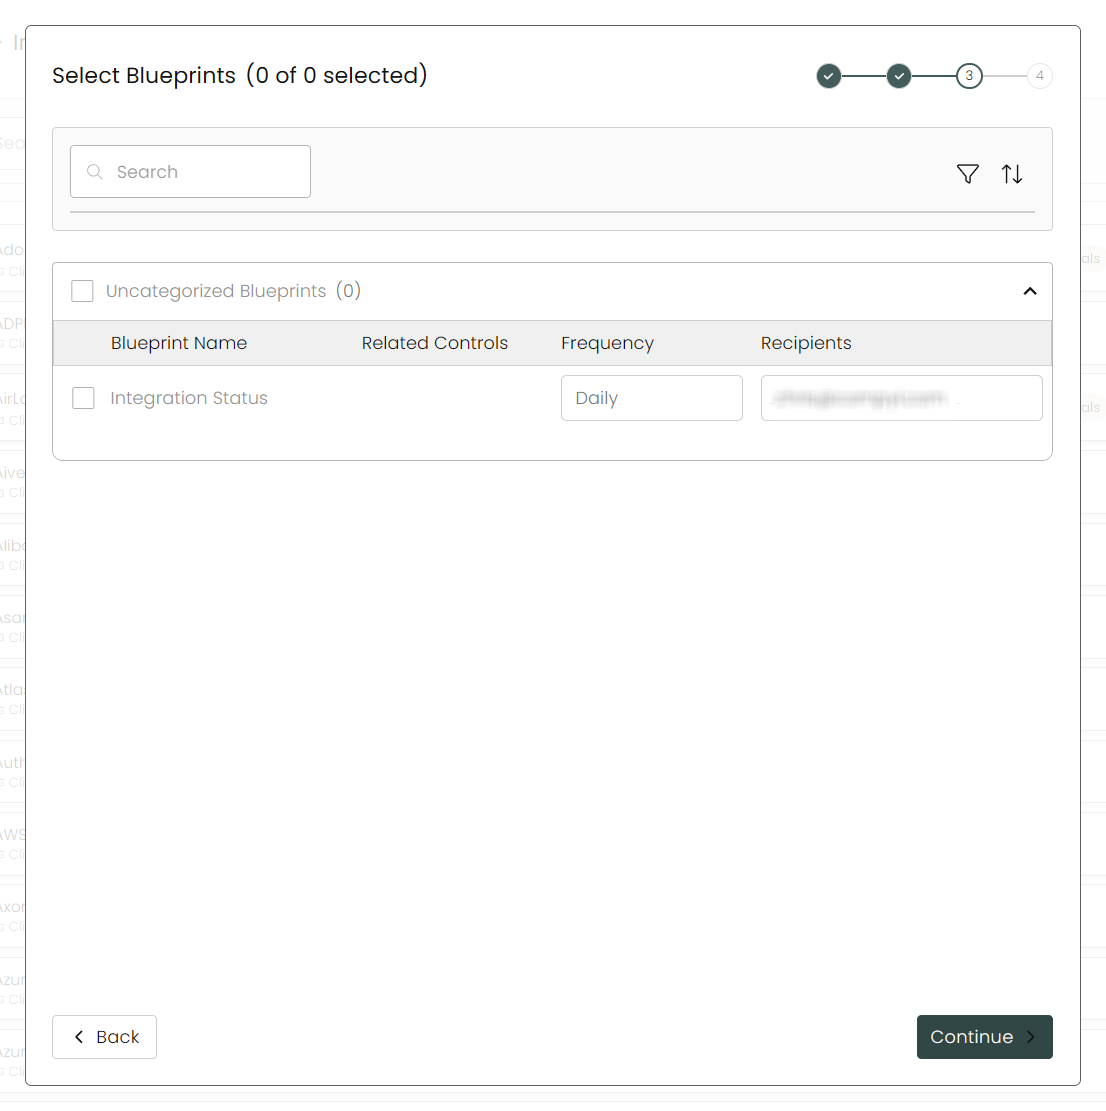
-
After you hit Continue, you'll see a summary screen. Click Return to Integrations to complete the configuration.
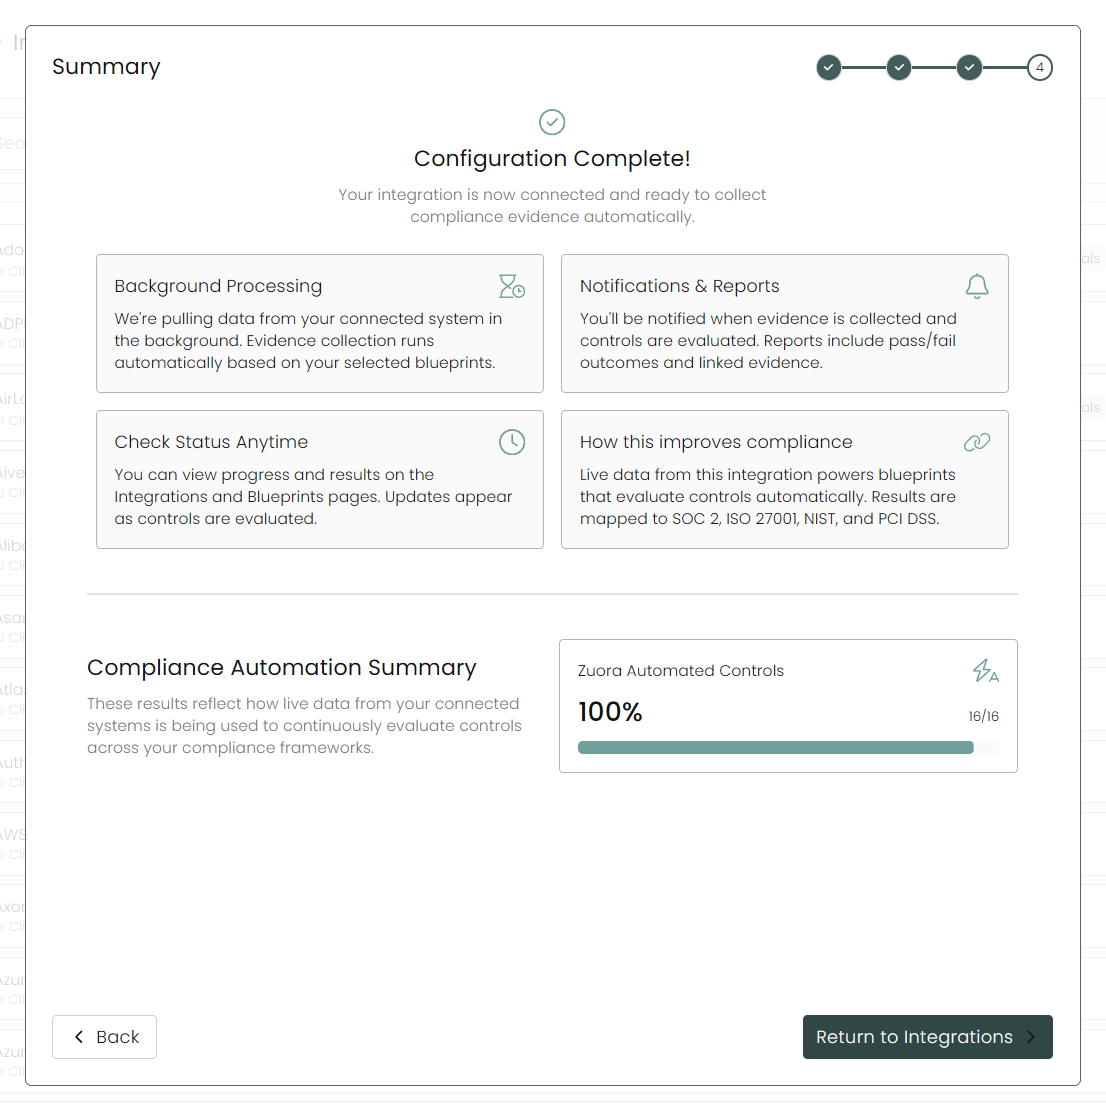
Once you have completed filling out the form click Return to Integrations.
You'll know the integration is successfully added when the status updates to Complete.

Data is synced on a recurring schedule configured by your Compyl administrator. Each sync pulls the latest data from all enabled endpoints.
To query the data from the integration, refer to the Blueprints article.
Updated 2 months ago