
Zoom Integration
Create a Server-to-Server OAuth App & Get Credentials
-
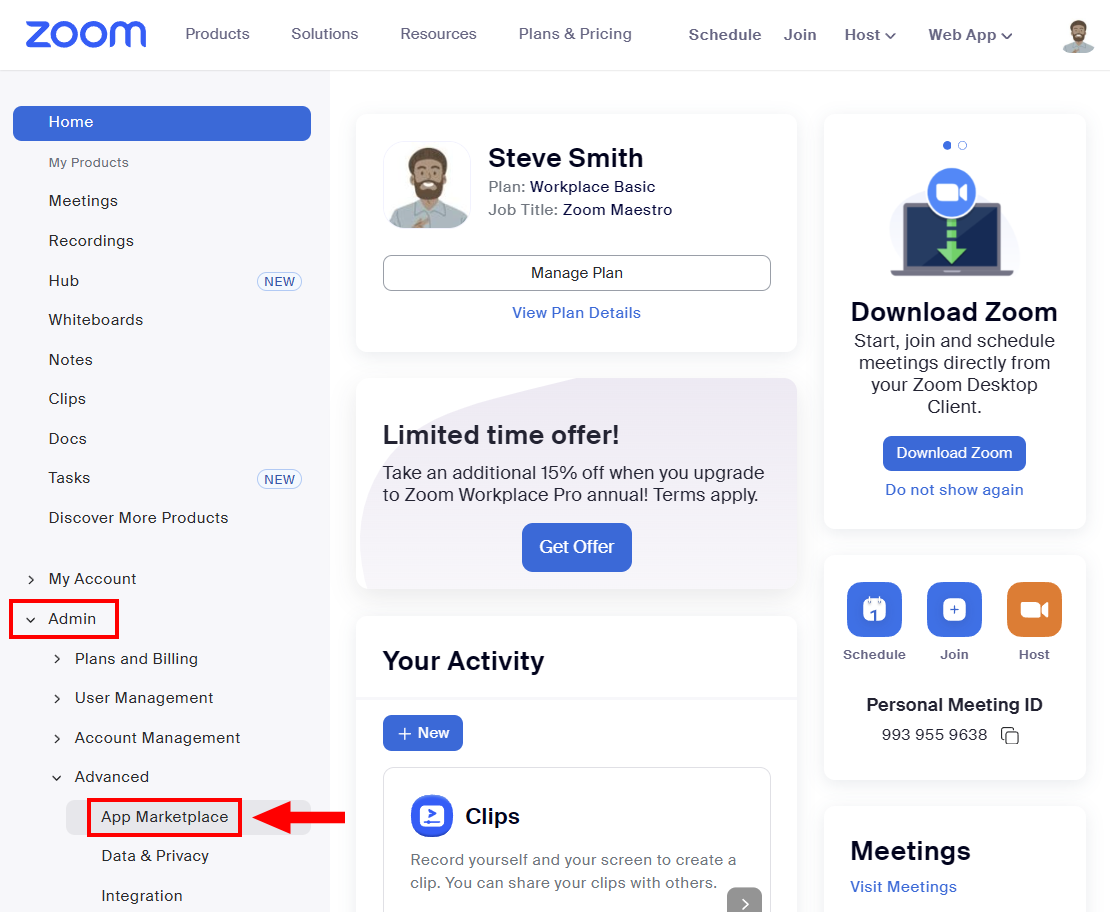
Sign in to Zoom with an administrator account and navigate to Admin → App Marketplace.
-
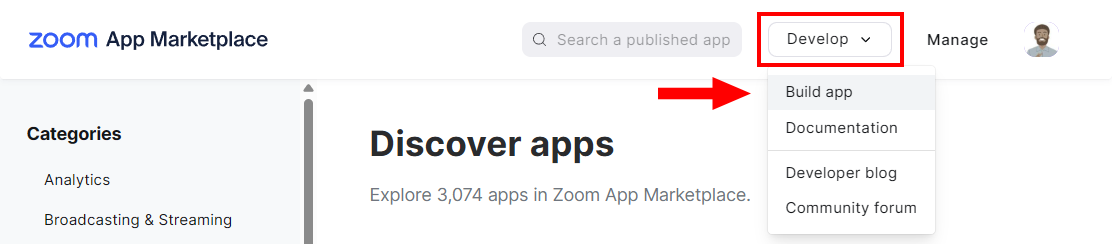
Click on Develop at the top and select Build app.
-
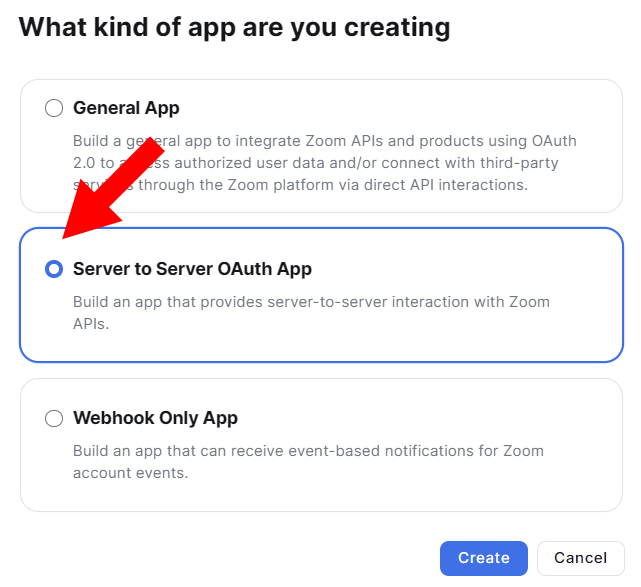
Select Server to Server OAuth App and click Create.
-
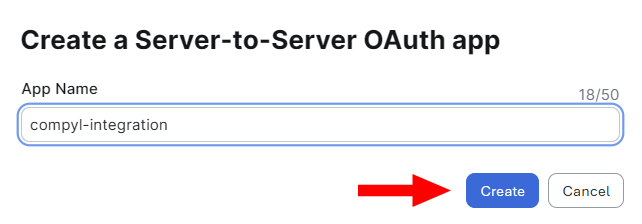
Give the app a descriptive name (e.g., compyl-integration):
-
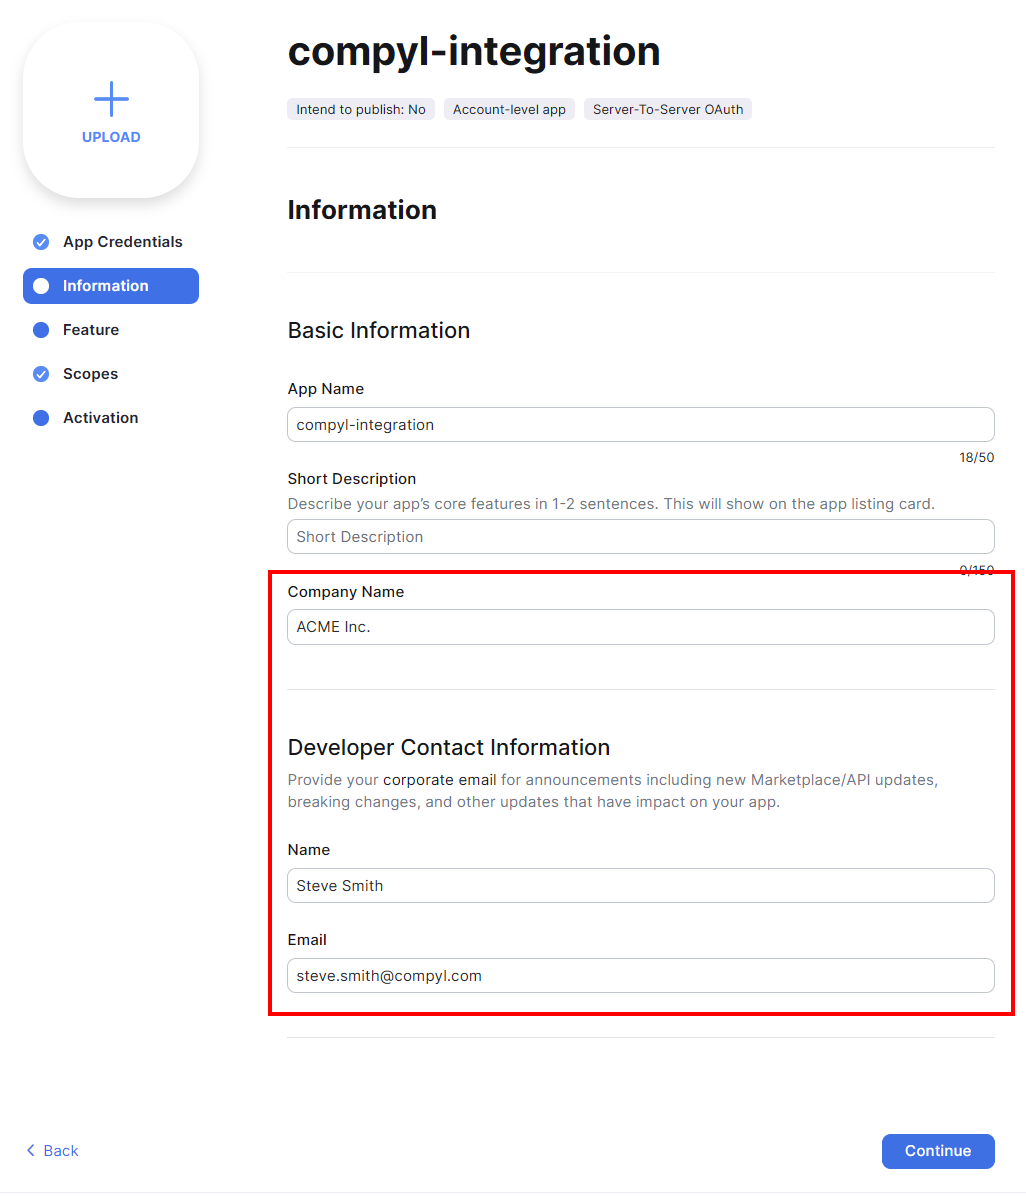
Navigate to the Information tab and fill in the basic information (only Short Description is optional).
-
Add the minimum required scopes your use case needs (read-only).
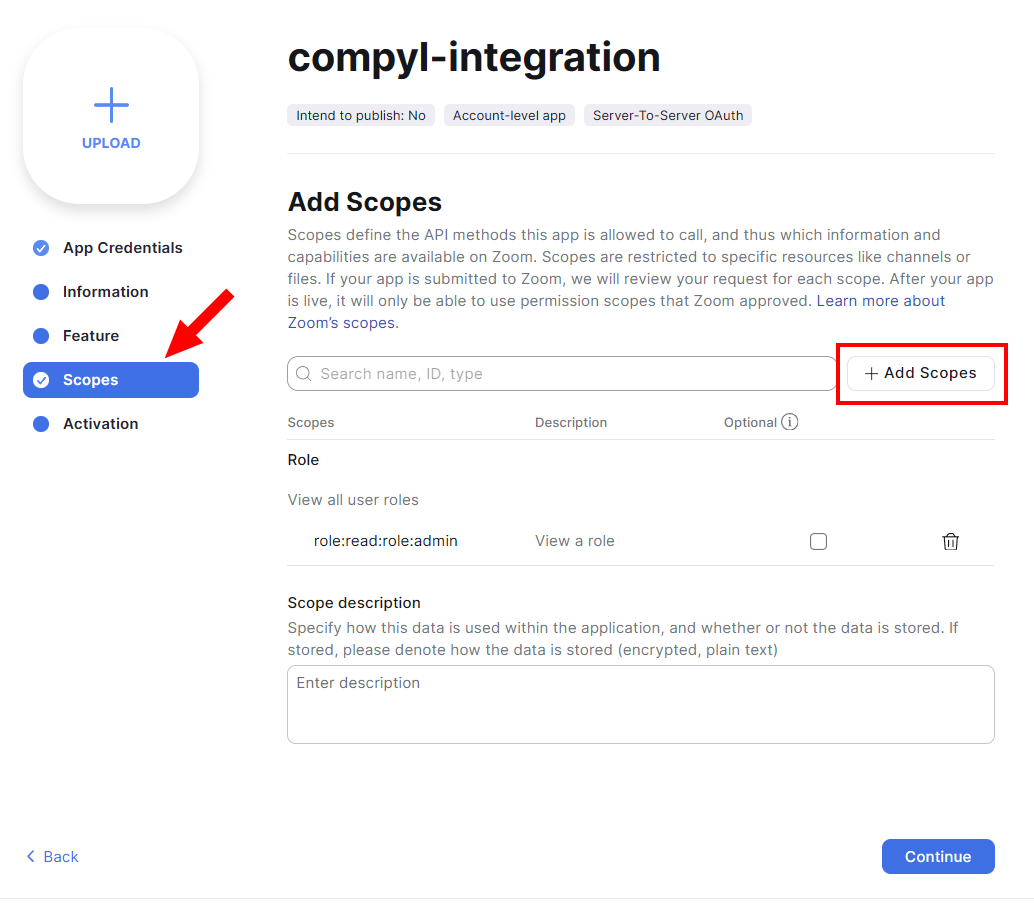
Typical scopes for Compyl’s read operations include:
Scopes account:read:adminuser:read:adminuser:read:adminrole:read:adminmeeting:read:adminrecording:read:admin
-
Navigate to the App Credentials page and copy the Account ID, Client ID, and Client Secret. Store them safely (such as a password manager or secrets vault).
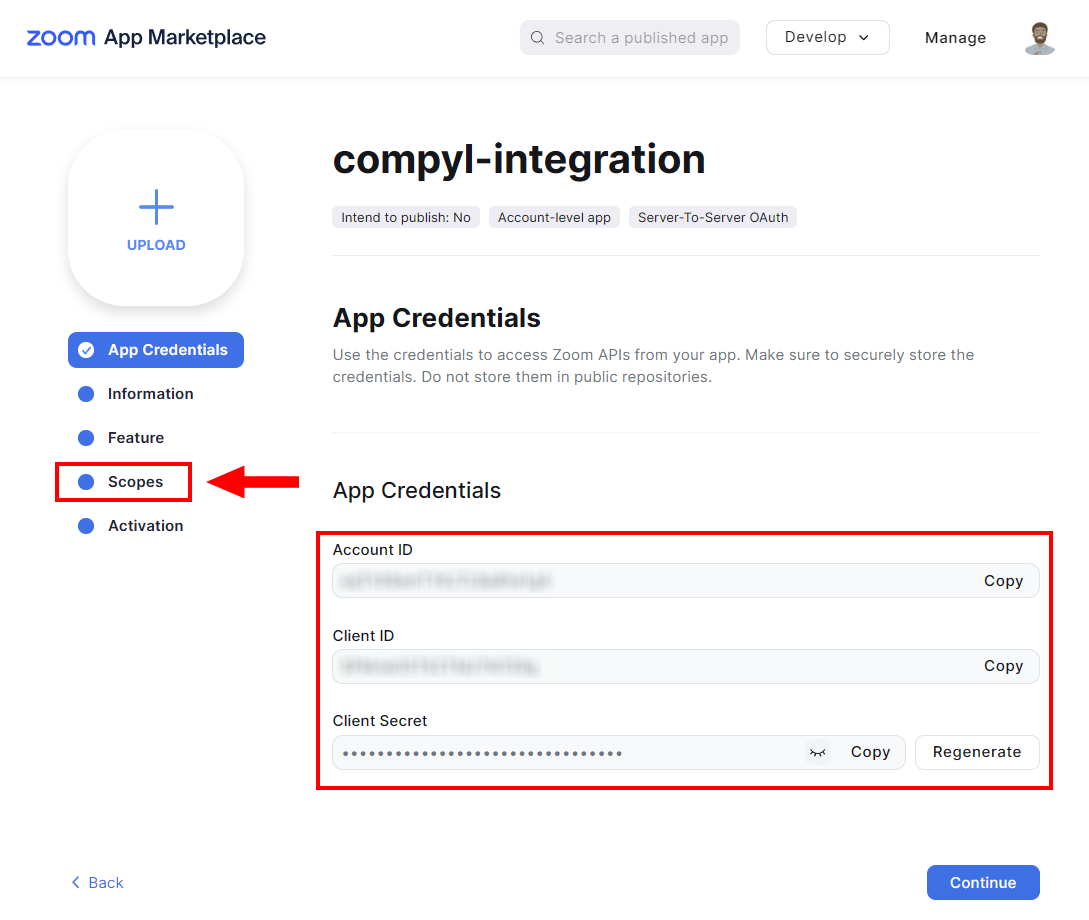
ImportantZoom shows the Client Secret only at creation/reset. Copy and store it securely immediately.
-
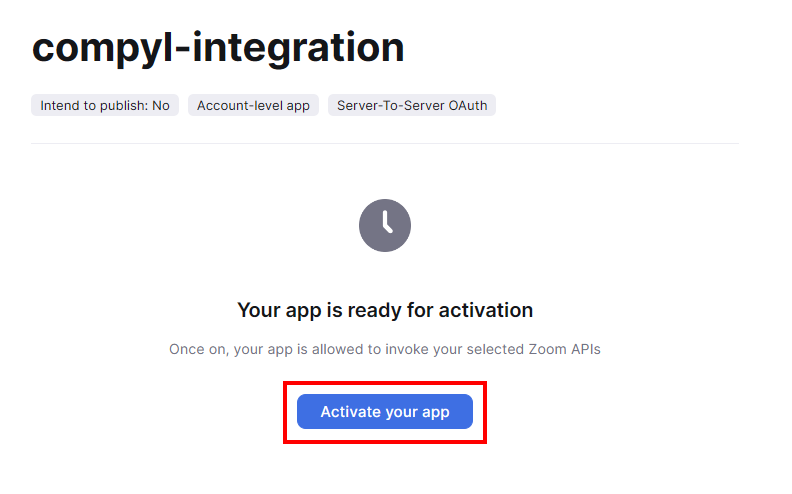
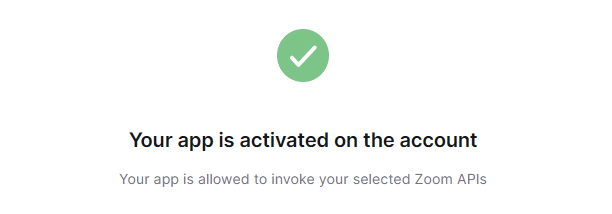
Finally, click Continue and then Activate the app.
Add Configuration
-
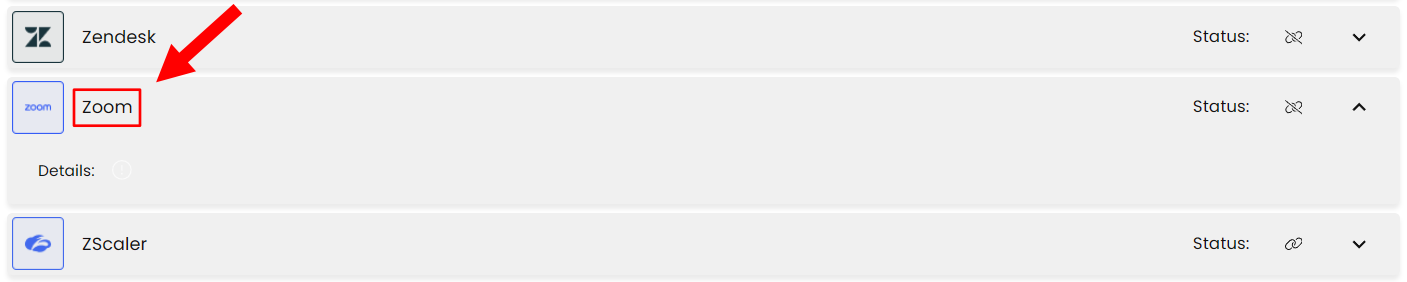
Navigate to the Integrations tab using the left-hand menu, and select Zoom.
-
Click the Add Configuration button and fill in the details below:

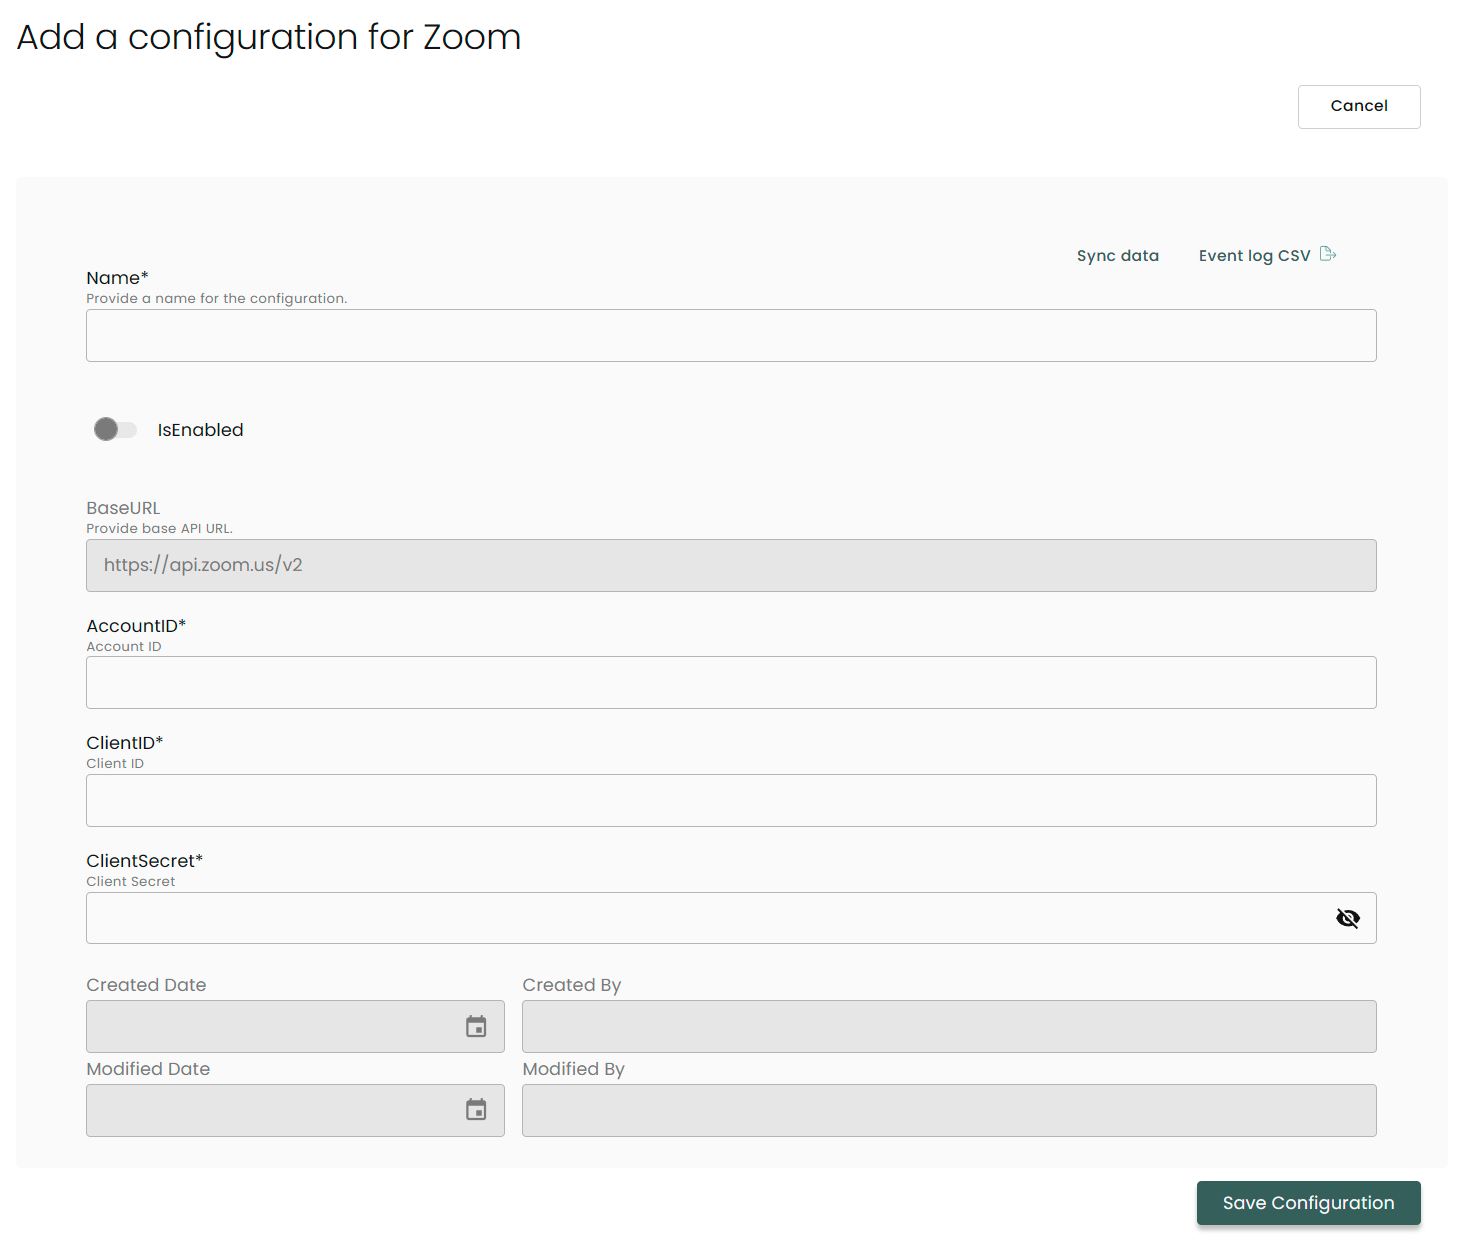
Name: Enter the name of the integration.
is Enabled: Toggle button to ensure data is populated into Compyl.
Base URL: This is automatically populated as https://api.zoom.us/v2
Account ID: The Account ID you generated above.
Client ID: The Client ID you generated above.
Client Secret: The Client Secret you generated above.
Once you have completed filling out the form click Save Configuration.
NoteTo check if the integration is connected, navigate to the Integrations page in Compyl. If the Status icon shows an unbroken link in the right-hand corner, your integration is properly connected.

This integration syncs daily.
To query the data from the integration, refer to the Query Builder article.
Updated 2 months ago