
ServiceNow Integration
This guide walks through configuring OAuth 2.0 (Client Credentials) for your ServiceNow integration with Compyl. There are two paths depending on your identity provider:
- Native ServiceNow OAuth (most common)
- Federated authentication via Microsoft Entra ID (Azure AD)
You can only select one path.
Please refer to the Required Permissions doc for all scopes necessary for this integration.
PrerequisitesThe following 4 ServiceNow plugins must be active on the instance. Without them, the OAuth registry options will not appear:
Plugin Plugin ID OAuth 2.0 com.snc.platform.security.oauthREST API Provider com.glide.restAuthentication Scope com.glide.auth.scopeREST API Auth Scope com.glide.rest.auth.scopeAdditionally:
- A ServiceNow instance with admin access
- An active integration user (service account) in ServiceNow with the roles required for the tables the integration reads
Enable the Client Credentials Grant Type
-
Go to System Properties → All Properties or type in
sys_properties.listin the navigation filter.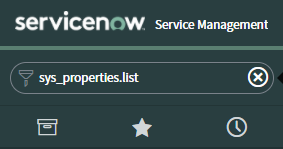
-
Select New and complete the following fields:
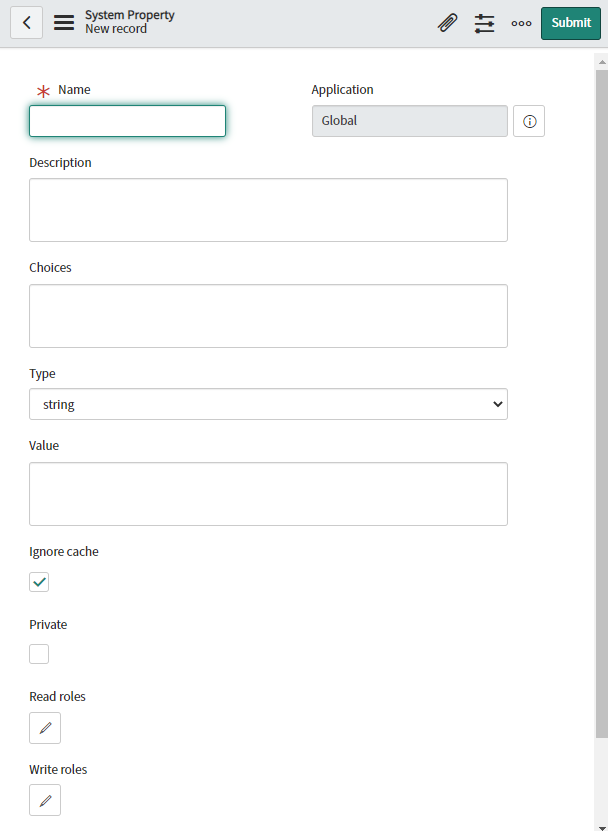
- Name:
glide.oauth.inbound.client.credential.grant_type.enabled
- Type:
true|false - Value:
true
- Click Submit.
Configure the OAuth Application
-
Go to System OAuth → Application Registry and select New.
-
Select Create an OAuth API endpoint for external clients.
-
Enter a name for the application (e.g. Compyl Integration).
-
In the Default Grant Type field, select Client Credentials.
-
In the OAuth Application User field, select the integration user to associate with this application.
CautionThis field is required. If left blank, token requests will return a 401 error.
-
Select Save.
-
After saving, ServiceNow auto-generates the Client ID and Client Secret.
ImportantCopy both values now to a secure location. The Client Secret may only be fully visible at creation time.
Add Configuration
-
Navigate to the Integrations tab using the left-hand menu, find Integration Name, and select +Add Configuration.

-
Next, fill in the details below and select Continue.
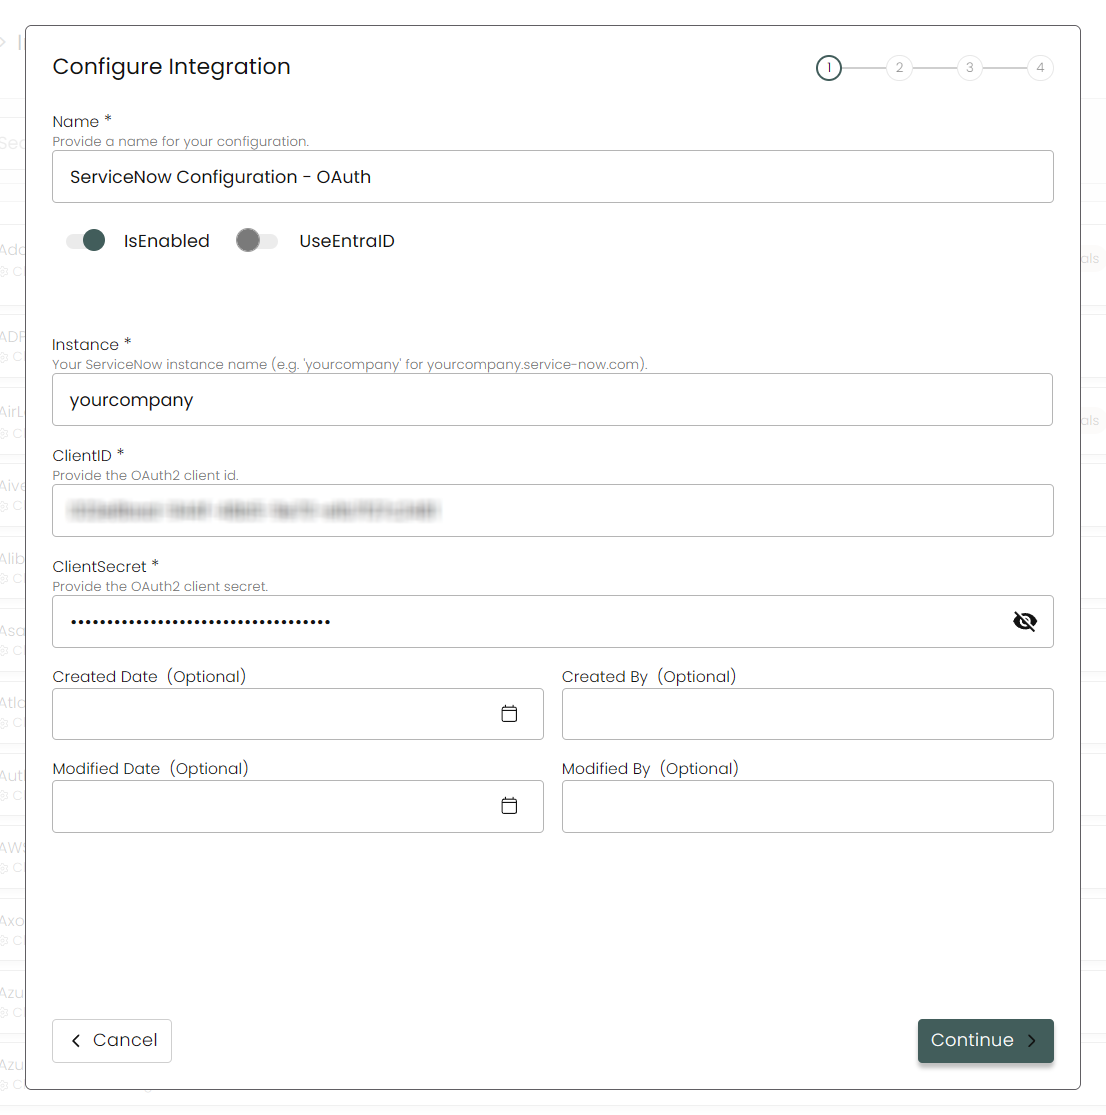
Name: Enter the name of the integration.is Enabled: Toggle button to ensure data is populated into Compyl.
Use Entra ID: Since we are using ServiceNow's native OAuth, leave this untoggled.
Instance: Your ServiceNow instance name (e.g.
yourcompanyif your URL ishttps://yourcompany.service-now.com)Client ID: From the OAuth application created above.
Client Secret: From the OAuth application (stored securely; the secret is never persisted in the database).
-
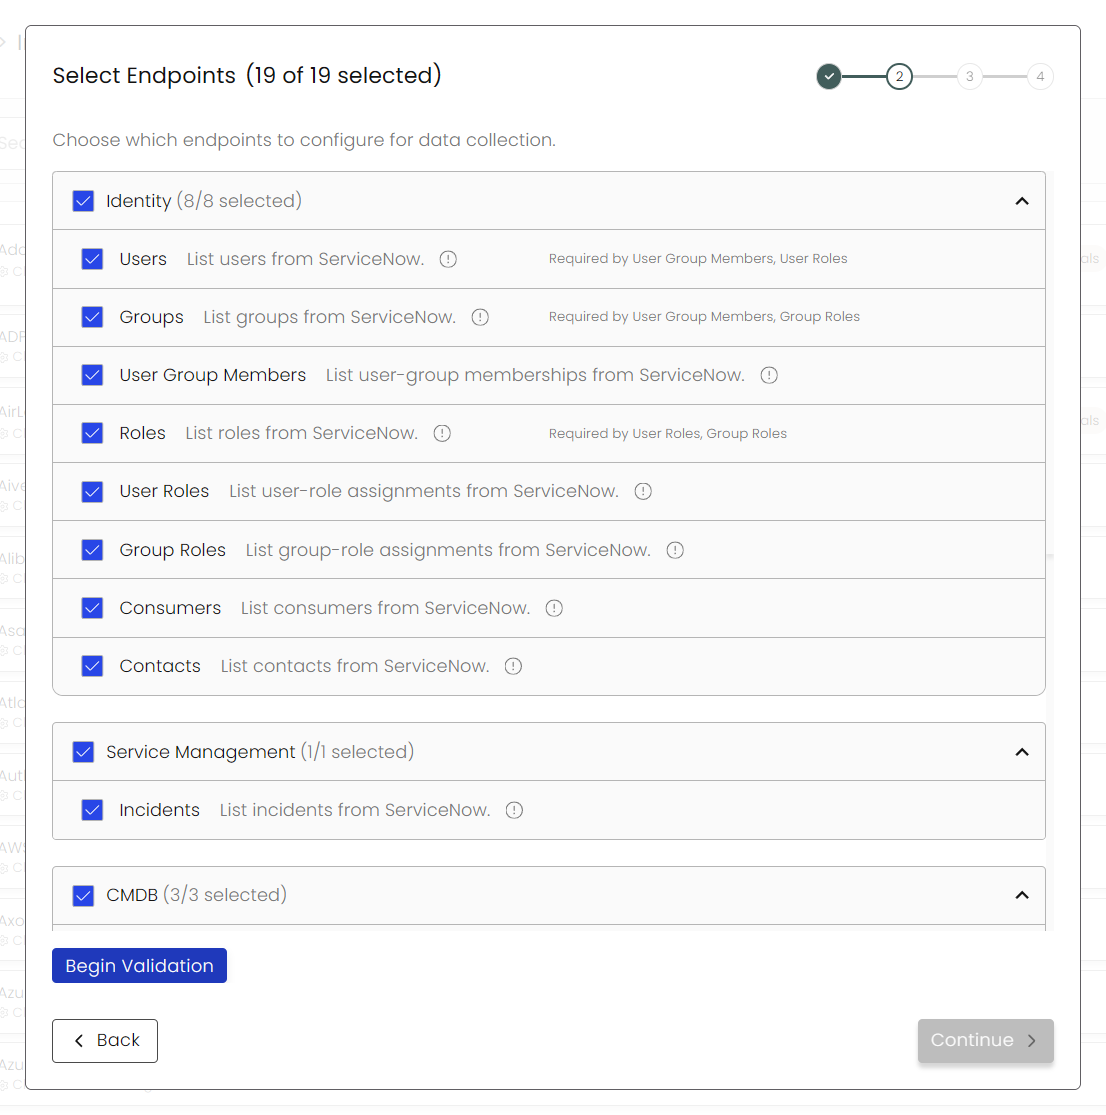
Choose your Endpoints and Begin Validation to validate your connection.
-
Select any Blueprints you wish to associate with this integration.
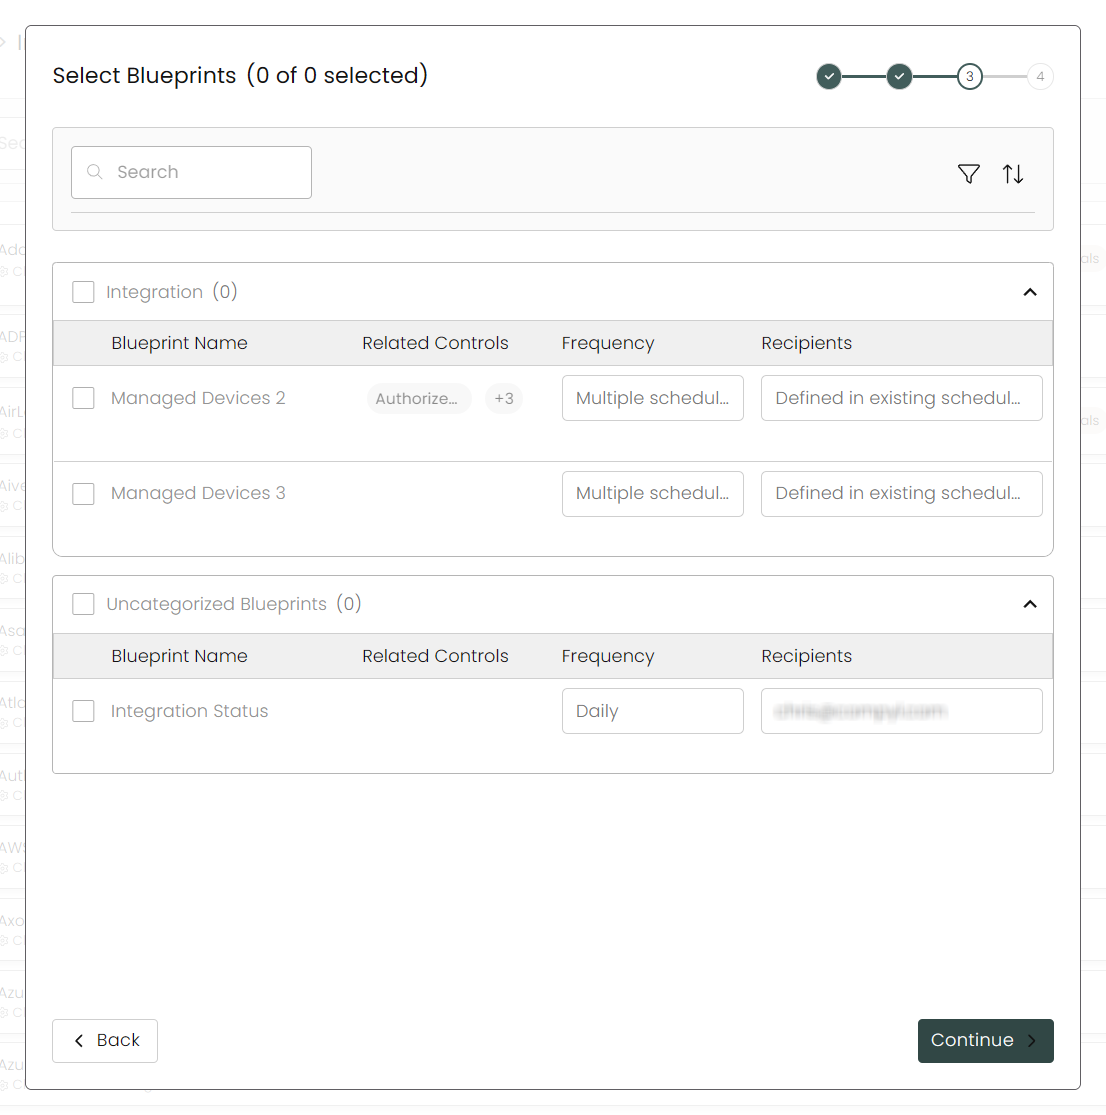
-
After you hit Continue, you'll see a summary screen. Click Return to Integrations to complete the configuration.
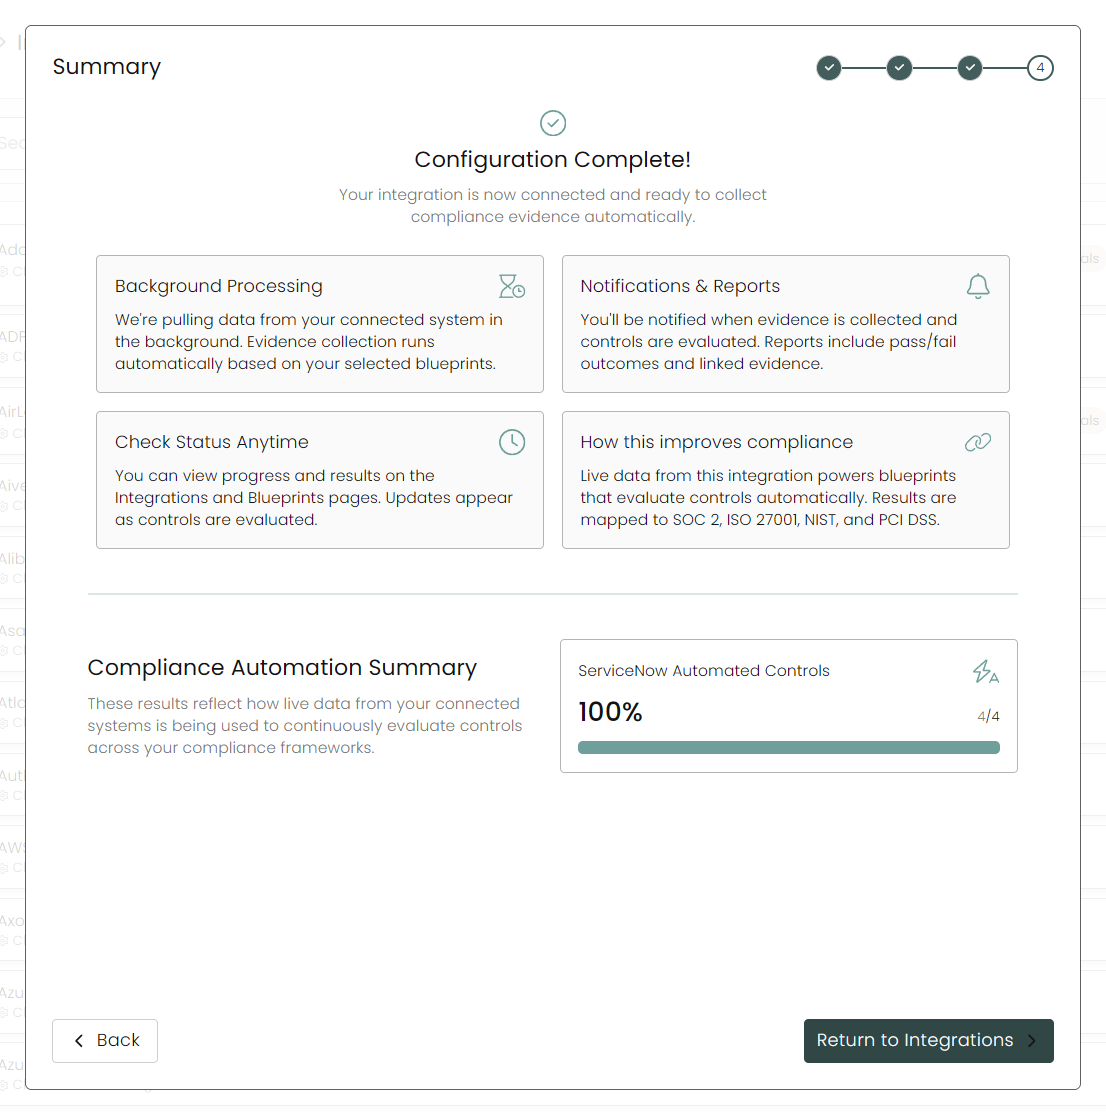
Once you have completed filling out the form click Return to Integrations.
You'll know the integration is successfully added when the status updates to Complete.

Data is synced on a recurring schedule configured by your Compyl administrator. Each sync pulls the latest data from all enabled endpoints.
To query the data from the integration, refer to the Blueprints article.
Updated 17 days ago