
Wiz Integration
The Wiz integration automatically pulls cloud security data into your compliance platform, mapping risks and vulnerabilities to relevant controls and frameworks. It provides real-time visibility into cloud compliance and streamlines evidence collection.
PrerequisiteTo create a service account, you must be logged in as a Wiz user with Write (W) permission on service accounts. Project-scoped roles can create service accounts only on their own projects.
For more information on obtaining Wiz details, see Add a Service Account on the Wiz documentation site (requires Wiz login).
Finding the Wiz Tenant Information
-
Log into your Wiz portal.
-
Click your User Icon at the upper right corner of the homepage to navigate to your user settings.
-
Select Tenant.
-
Under Tenant you can find the region of your tenant under API Endpoint URL with the following format
https://api.{region}.app.wiz.io/graphql. When creating a Wiz integration configuration in Compyl, you will need provide this tenant region (ex.US1,US2,EU1,EU2,EU17,CA1,AP1,AP2,AP4,AP4) . -
Also, copy the OAuth token URL of the authentication service used for your Wiz application under Authentication Provider. It should follow a SIMILAR format to
https://auth.app.wiz.io/oauth/token. -
The OAuth audience value also depends on the IdP you use to authenticate your Wiz account. If using Amazon Cognito, your audience value will be
wiz-api. If using Auth0, it’sbeyond-api.
To obtain the Wiz Client ID and Client Secret
-
Navigate to Settings → Access Management → Service Accounts.
-
Click Add Service Account.
-
Name the new service account (e.g. Compyl Integration).
-
If prompted, set the type of the service account to be Custom Integration (GraphQL API) from the dropdown menu.
-
Optional: In the Projects list, select projects to limit access of the service account.
-
In the API Scopes field, select the permission
read:all. -
Click Add Service Account.
-
From the dialog box that appears, copy the client secret and client ID from their respective fields and save them in a secure location.
ImportantThis is the only time you will be able to copy the client secret.
-
Select Finish to return to the Wiz dashboard.
Add Configuration
-
Navigate to the Integrations tab using the left-hand menu, and select Wiz.

-
Click the Add Configuration button and fill in the details below:
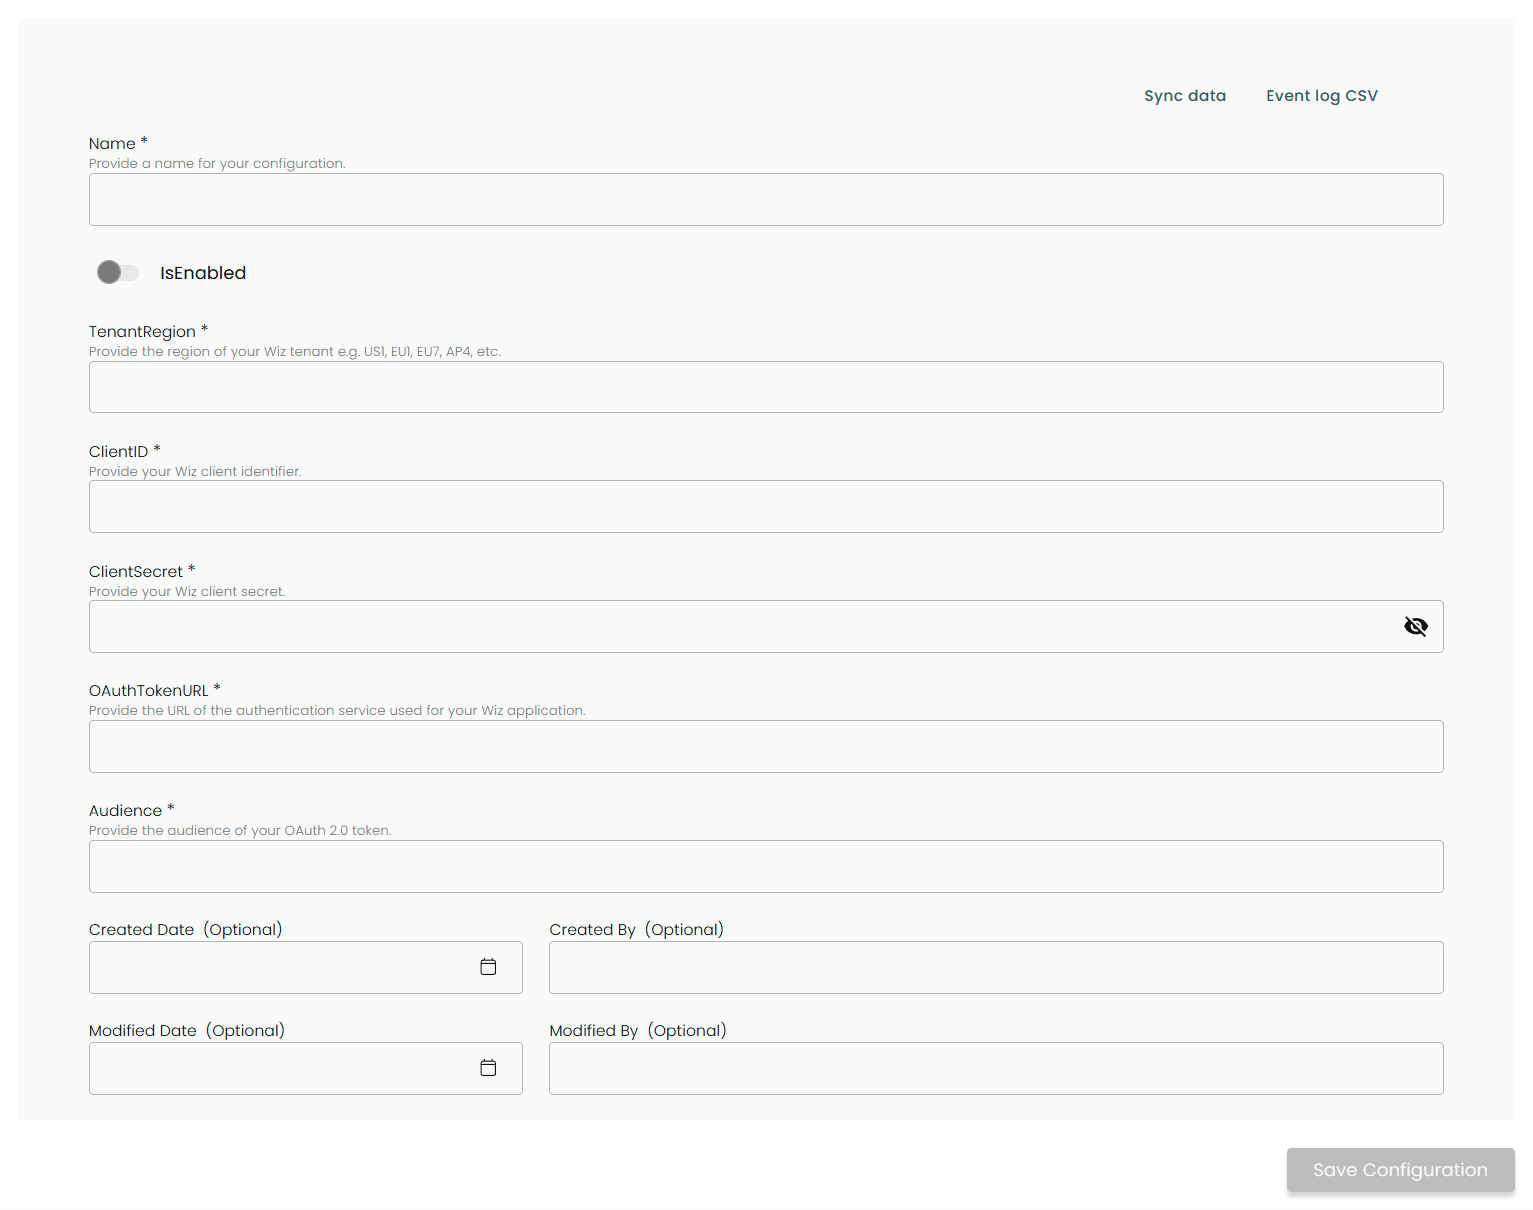
Name: Enter the name of the integration
is Enabled: Toggle button to ensure data is populated into Compyl
Tenant Region: Provide the region of your Wiz tenant. See ‘Finding the Wiz Tenant Information’ section above.
Client ID: Provide the client identifier of your Wiz service account. See ‘To obtain the Wiz Client ID and Client Secret’ section above.
Client Secret: Provide the client secret associated with your Wiz service account. See ‘Finding the Wiz Tenant Information’ section above.See ‘To obtain the Wiz Client ID and Client Secret’ section above.
OAuth Token URL: Provide the URL of the authentication service used for your Wiz application. See ‘Finding the Wiz Tenant Information’ section above.
Audience: Provide the audience of your OAuth 2.0 token. See ‘Finding the Wiz Tenant Information’ section above.
Once you have completed filling out the form click Save Configuration.
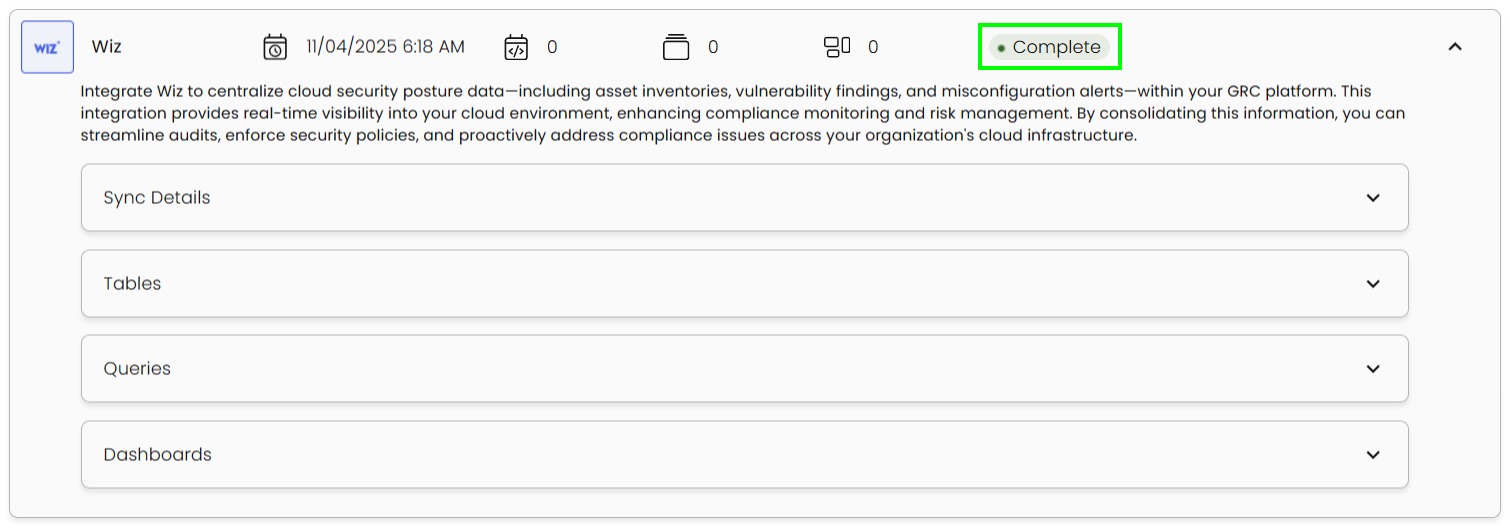
This integration syncs daily.
To query the data from the integration, refer to the Query Builder article.
Updated 2 months ago