
Importing and Exporting Data
Importing Data
Compyl uses CSV templates in order to batch import data. Here are steps on how to properly format and upload that information.
1. Upload CSV
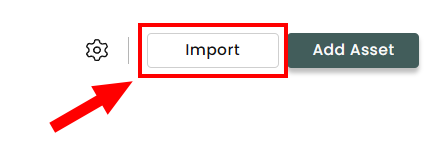
For most modules, click the Import button.
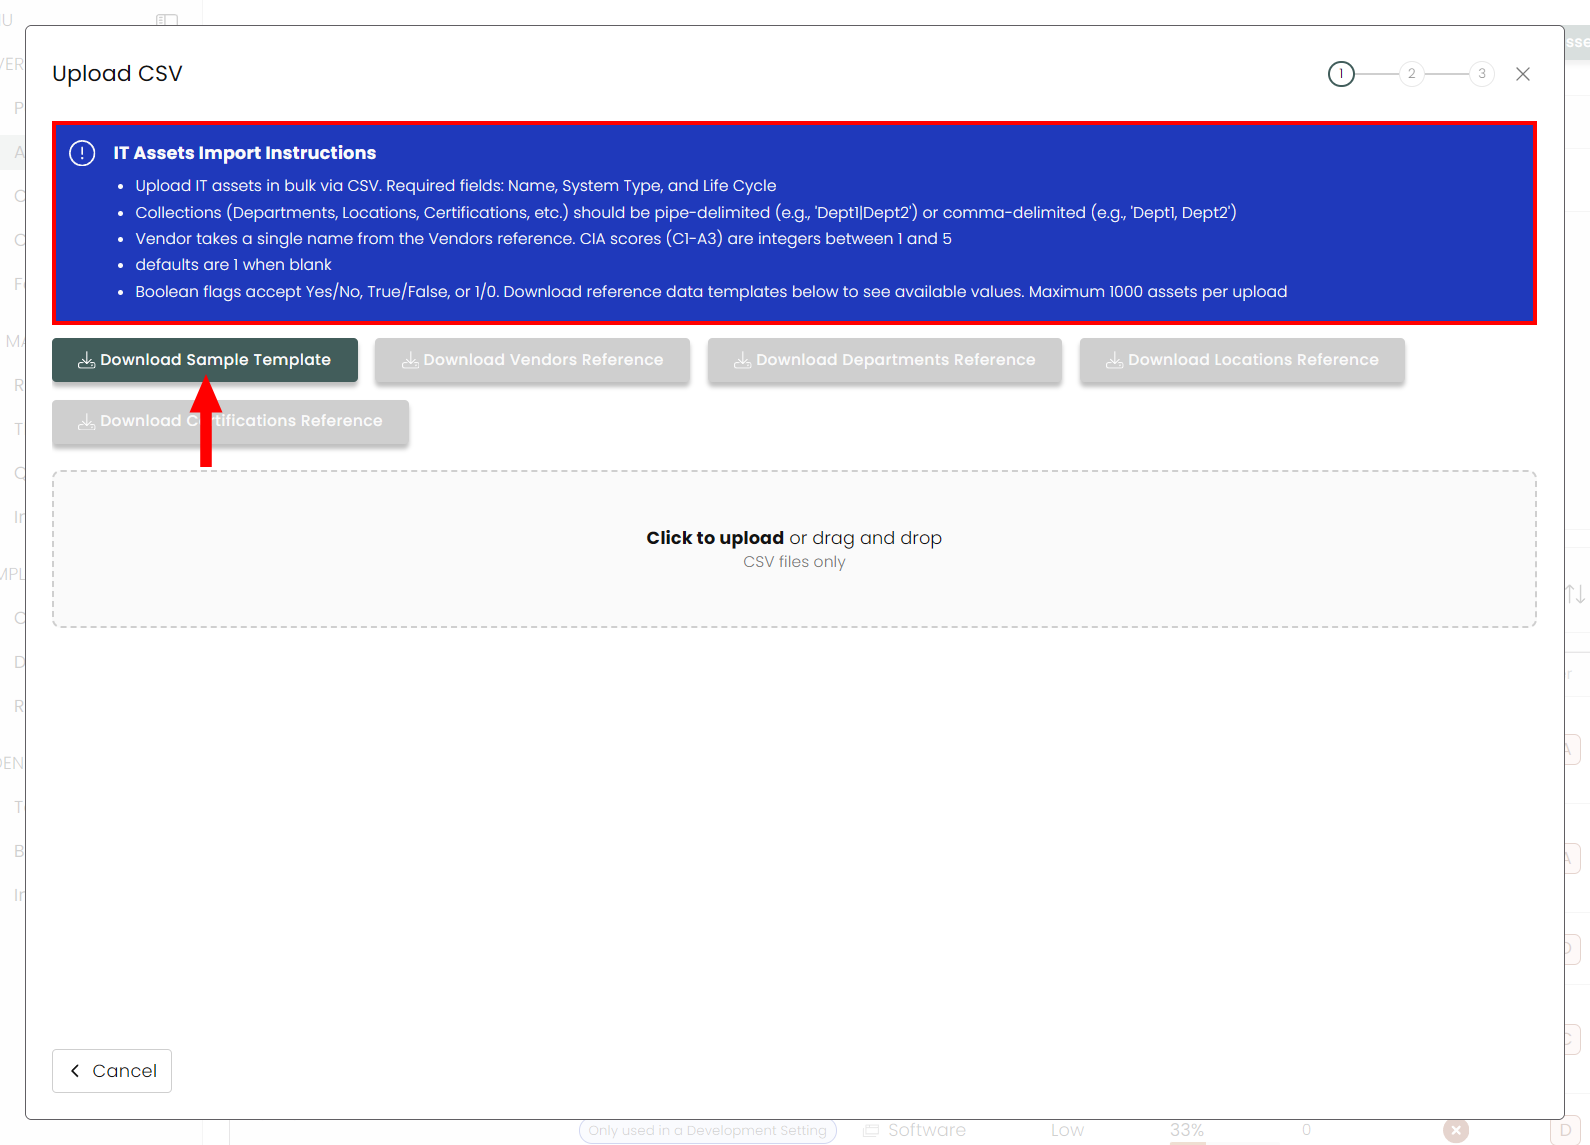
Our Guided Flow will provide instructions specific for that Module (in this example, it's for IT Assets) in a blue box, with a Download Sample Template button. Download this.
Open the spreadsheet and enter the values for each field. Each row must have a unique name, otherwise, the row will be ignored during the import process.
NoteThere will be supplemental reference documents you can download that will help you fill out the sample CSV correctly. In this example you can see them as Vendors Reference, Departments Reference, Locations Reference, and Certifications Reference.
FYIIf you have any Form Extension Fields that are marked as Active and Required, those will need to have a value within each cell to avoid a failed import.
Once this is complete, it's time to upload that data. Click the grey dialog box to locate your file or simply drag-and-drop it into the field.

2. Mapping
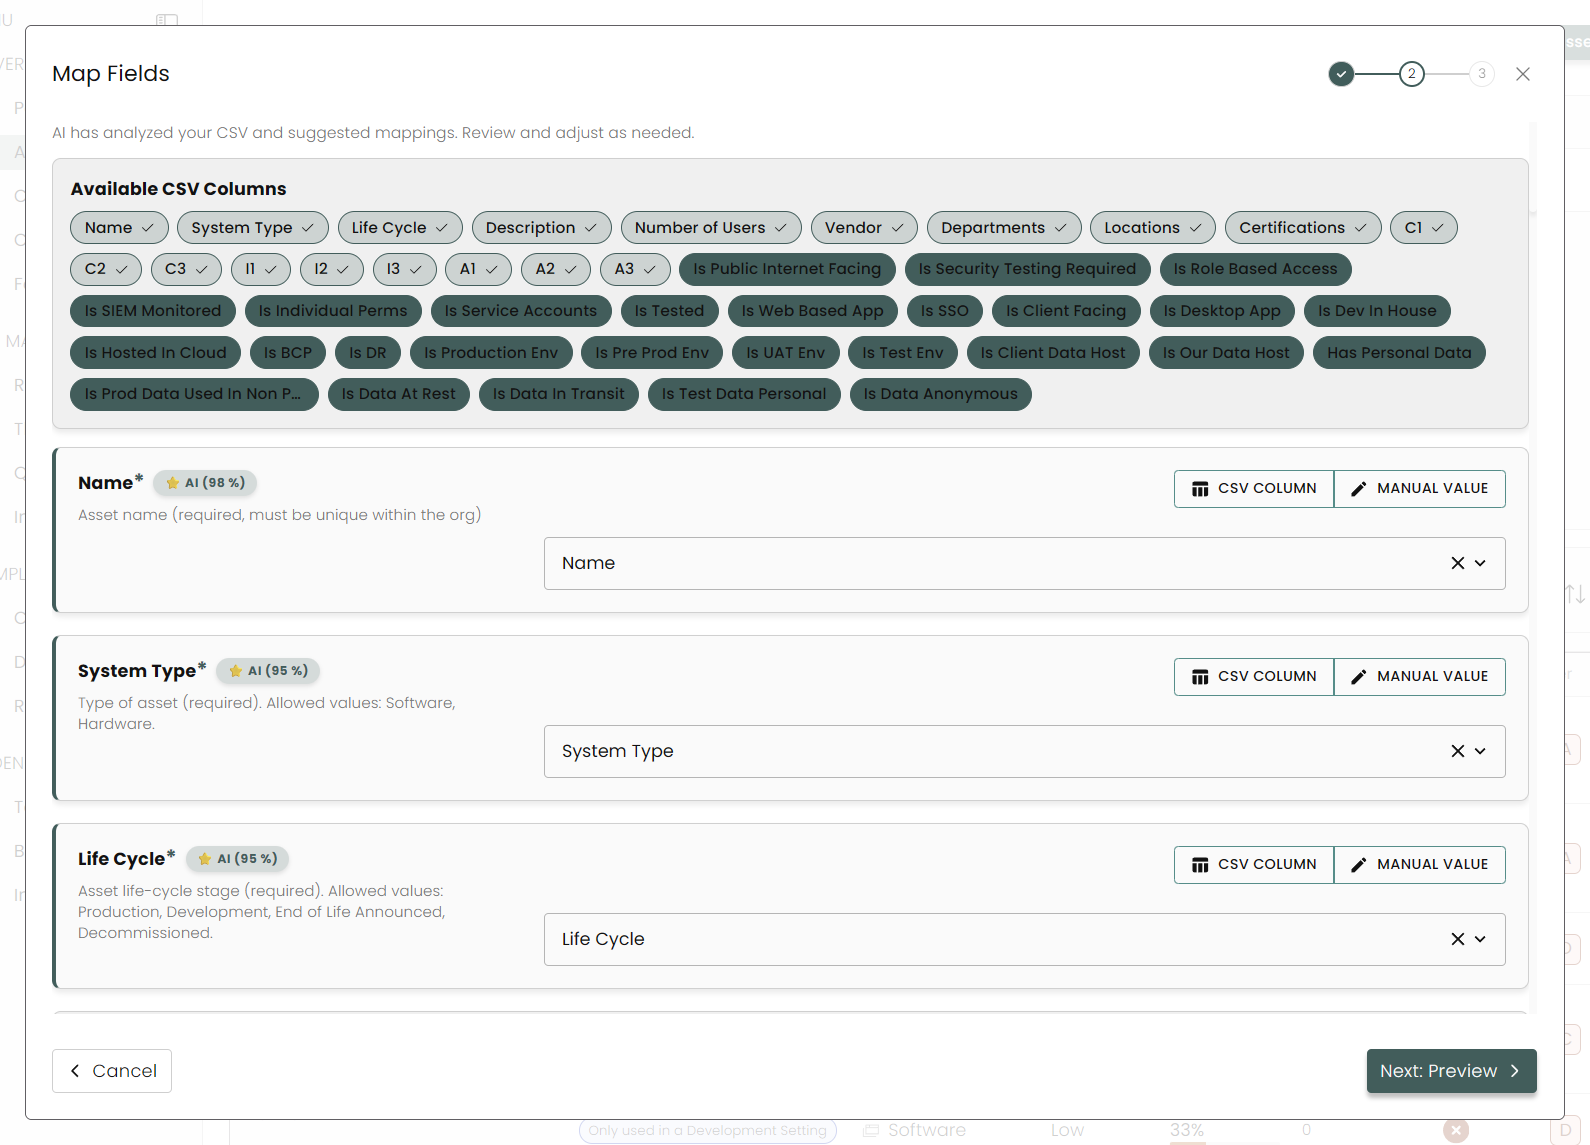
Once uploaded, Compyl AI will analyze the CSV and suggest mappings from the CSVs columns to the relevant data in Compyl. Review this and make adjustments or approve by clicking on Next: Preview.
3. Preview & Upload
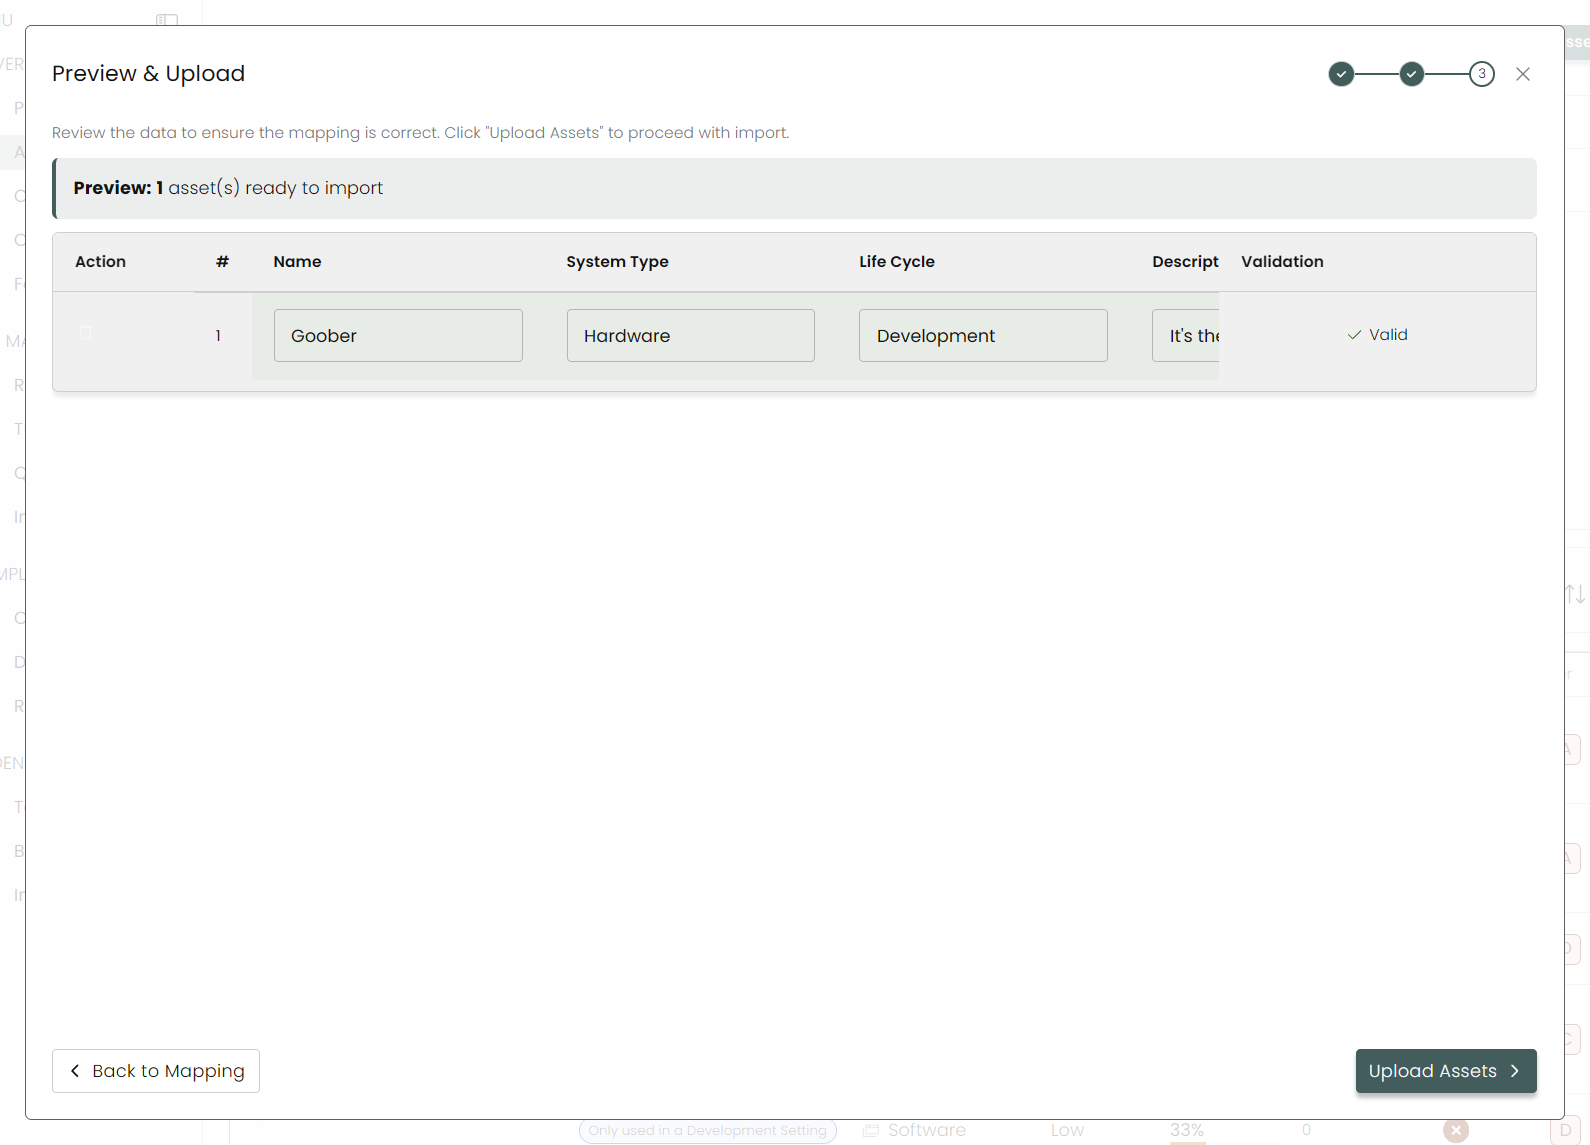
Now you can preview the data you've just uploaded to make sure everything is correct. You can also make last-minute adjustments to the data as well. Click on Upload once everything is to your satisfaction.
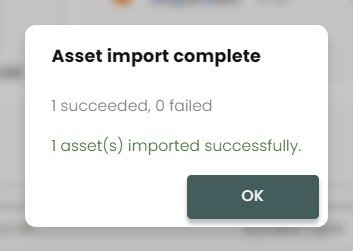
Success!
Your import is complete and now available within Compyl.
NoteYou cannot reupload a list with edited fields (such as changing the owners). This currently must be done manually within Compyl.
Exporting Data
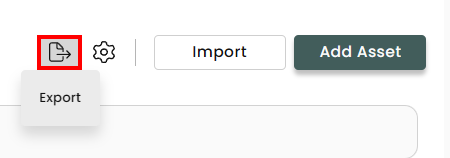
Each module within Compyl allows you to export your data. The majority will be a simple export to a single XLSX, XLS, or CSV file:
Policies Data Export
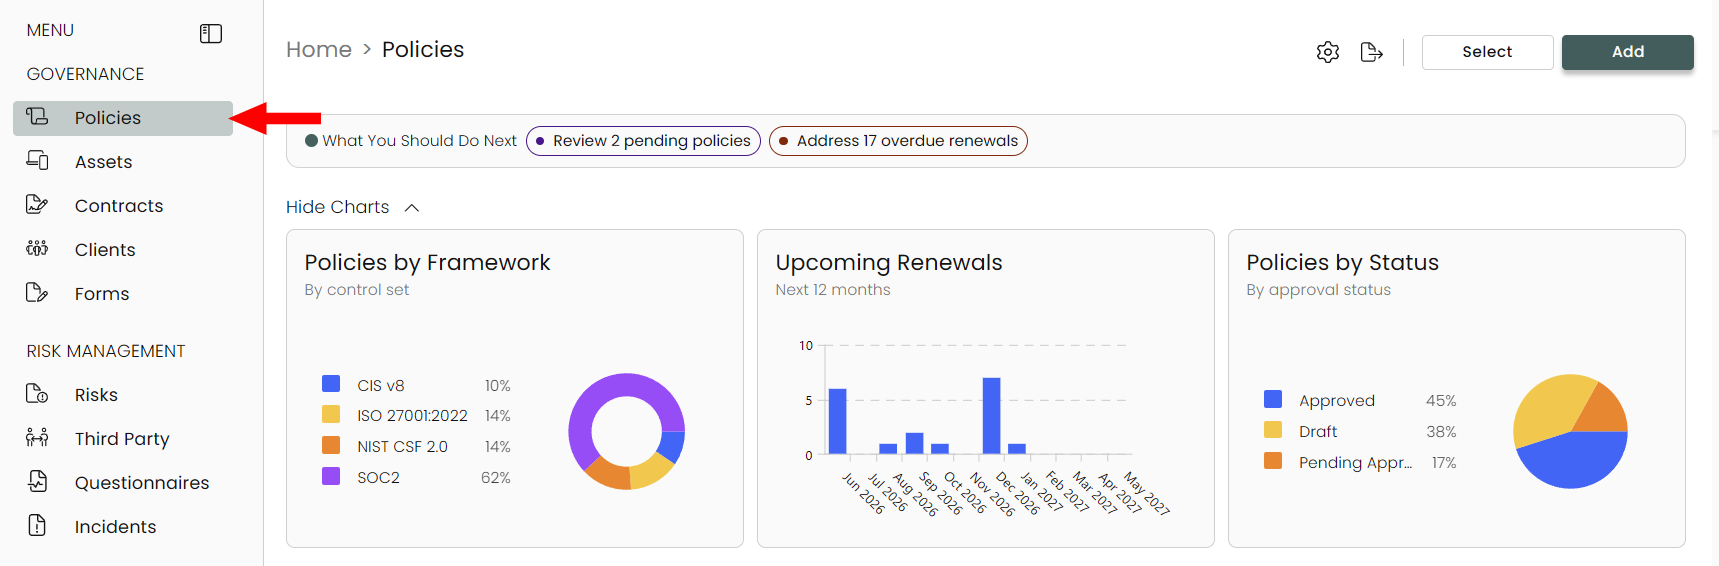
To export an approved policy, navigate to Policies:
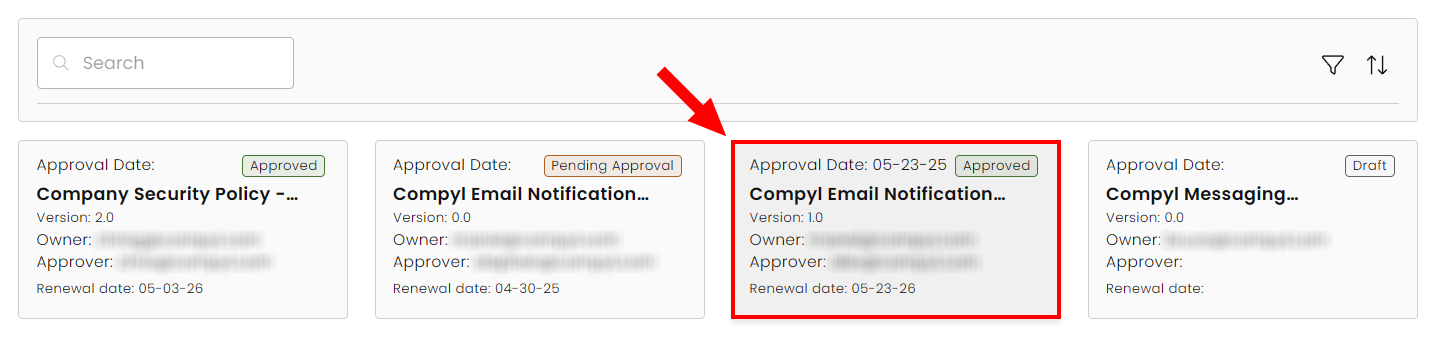
Locate the approved policy you wish to export and open it:
On the Policy page itself, click the Export icon:
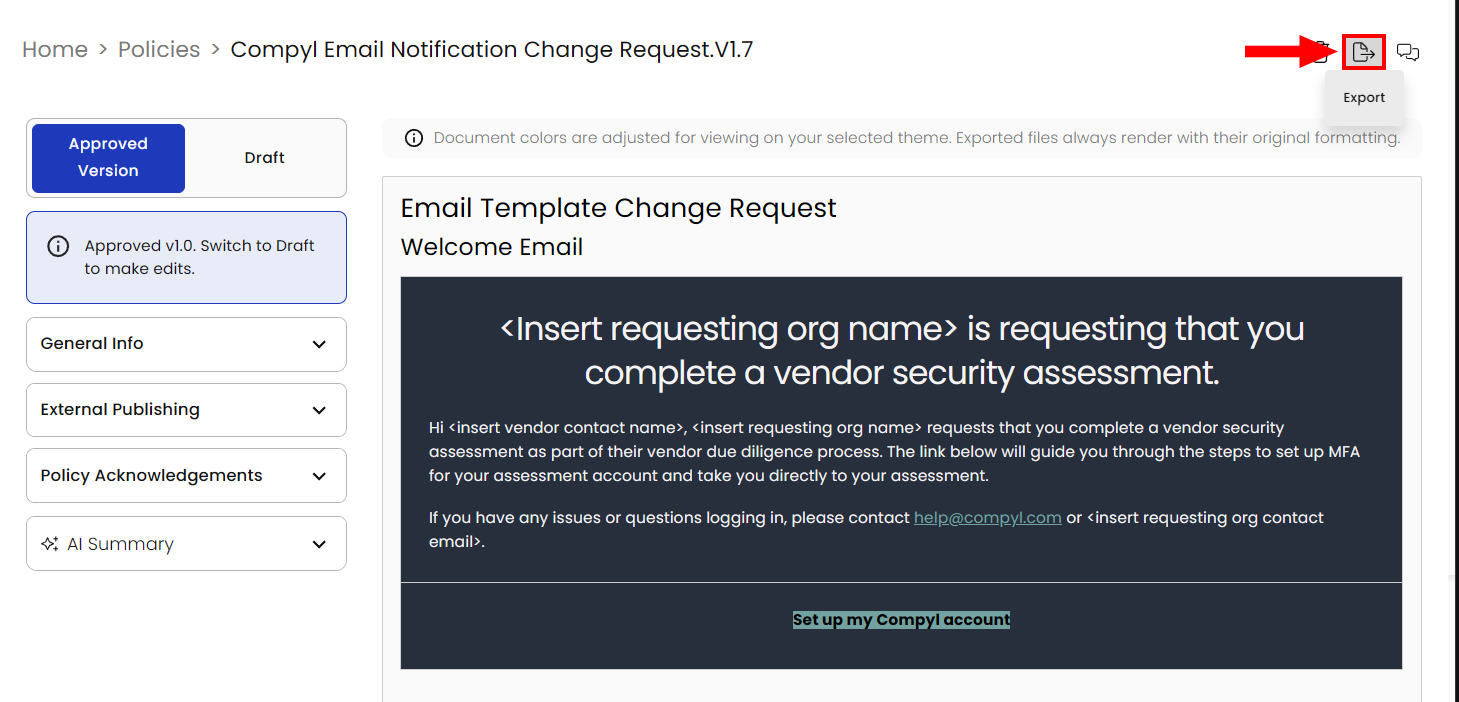
You can then choose download a your policy as either a DOCX or PDF file.
Down an entire list of all your policies by clicking on the Export icon on the main page. You can choose to download the list either as a XLSX, XLS, or CSV file.

Controls Data Export
Exporting Controls work a little differently. First, navigate to Controls via the side menu:
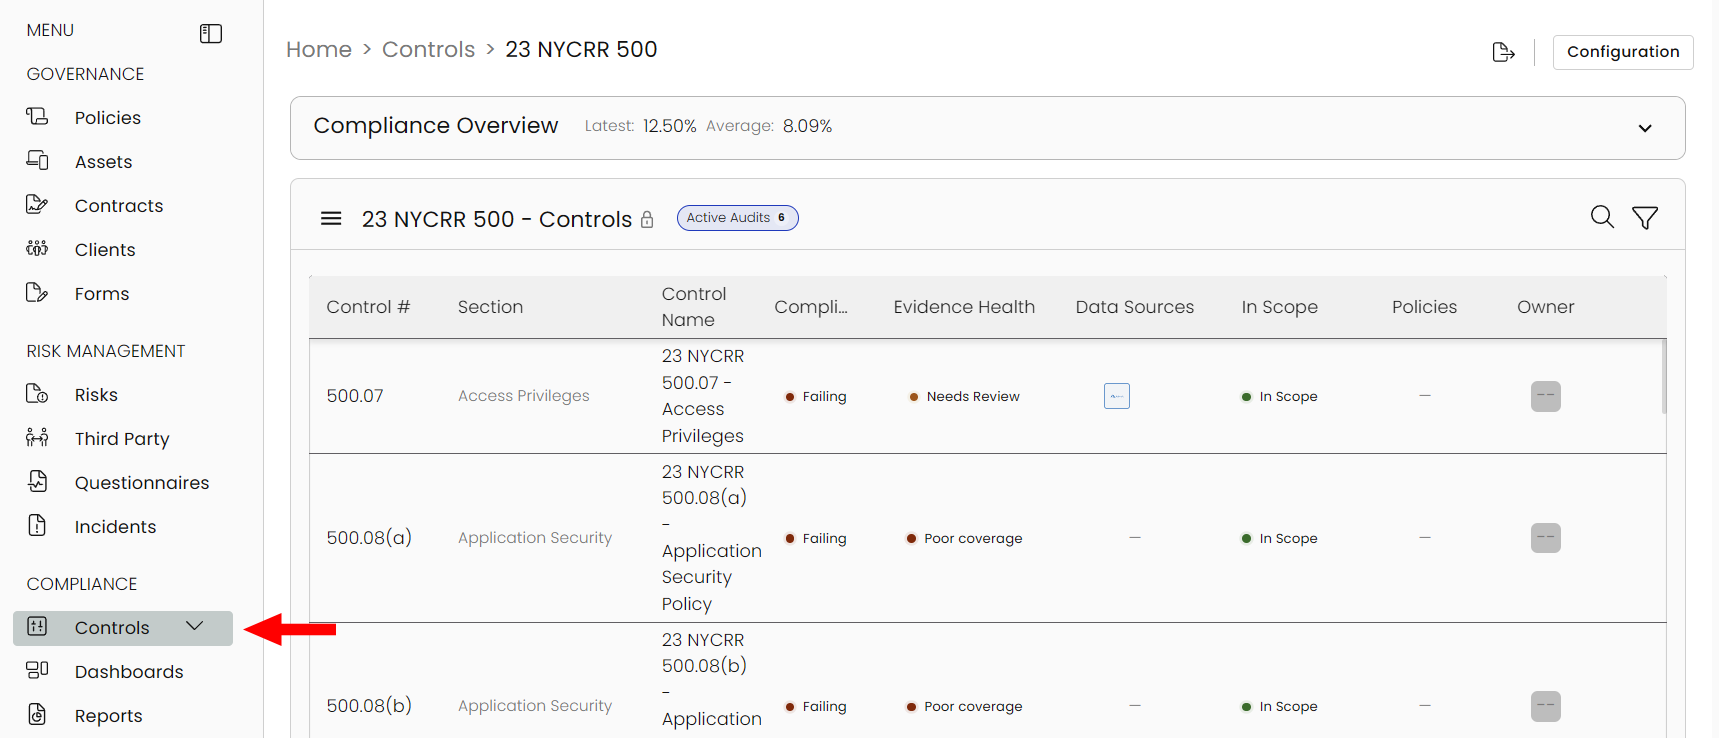
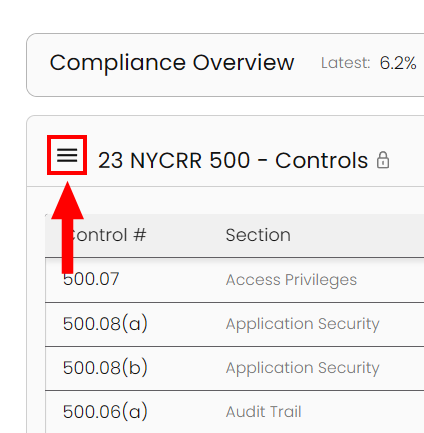
Then choose which set you wish to download by clicking on the hamburger menu:
Next, select the Control Set you wish to export:
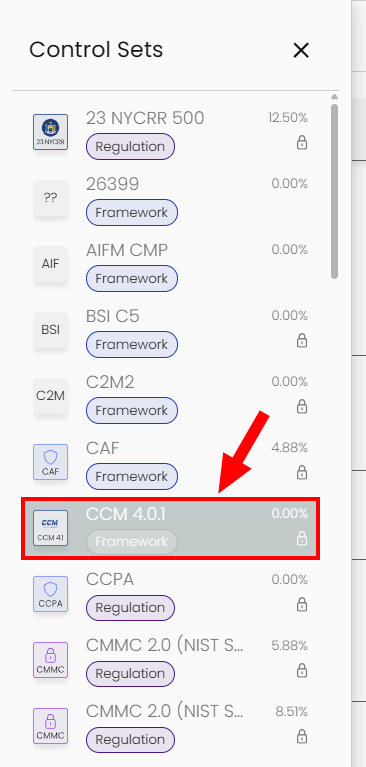
At the top right of the page, select the Export Control Set icon:

This will change to an animated Exporting icon as Compyl gathers and ZIPs all of the associated data.
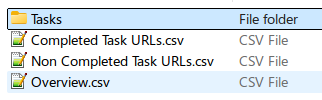
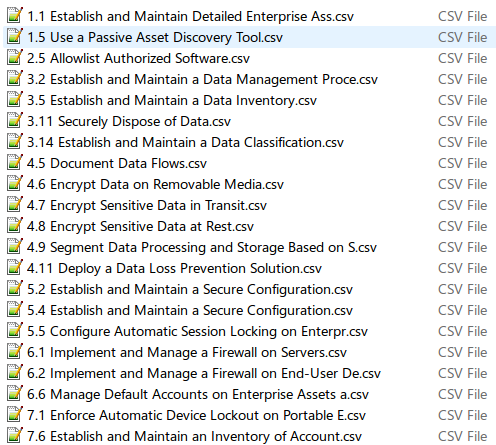
Once complete, it should automatically download the file with all associated tasks and documents as CSV files as well as any attachments as part of those tasks in their original filetype (docx, pdf, etc...):
To download additional Controls, just select any other set.
Updated 8 days ago