
Rapid7 SIEM Integration
Prerequisites
- Rapid7 Command Platform access - use the Rapid7 account that owns the SIEM Tenant
- API Permission - A platform or org admin can create organization-level keys. Any user can create a user key, but those user keys inherit that user's permissions
- Rapid7 Data-storage Region - Example values:
us,us2,us3,eu,ca,au,ap,me-central-1,ap-south-2
For production integrations, we recommend using a Rapid7 Organization Admin Key for the target organization, not a personal user key. A user key can work only if that user has access to all SIEM data the integration needs to read.
Find Your Rapid7 Region
-
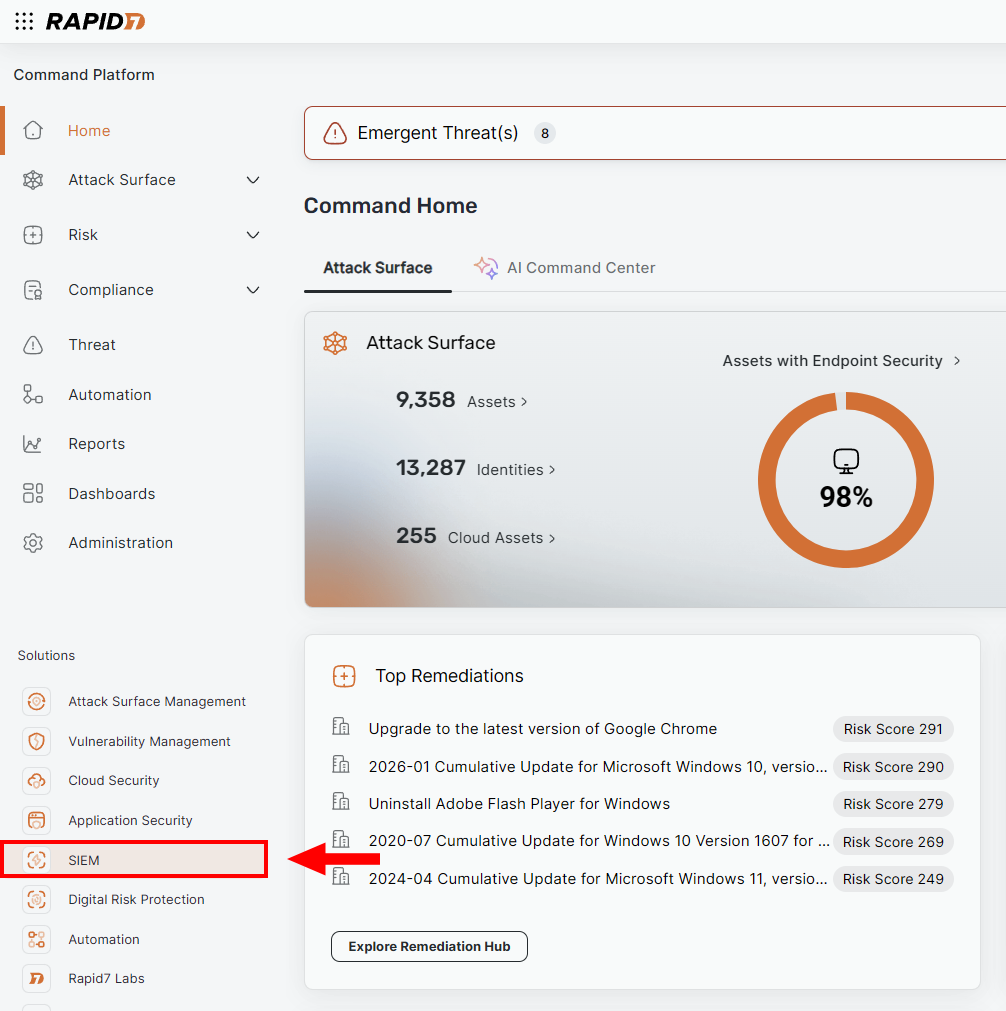
Log in to Rapid7 and click on SIEM.
-
Look at the URL.

In this example, the region is us2.
Compyl uses this region to call Rapid7 APIs such such as:
https://{region}.api.insight.rapid7.comhttps://{region}.rest.logs.insight.rapid7.com
Generate a Rapid7 API Key
-
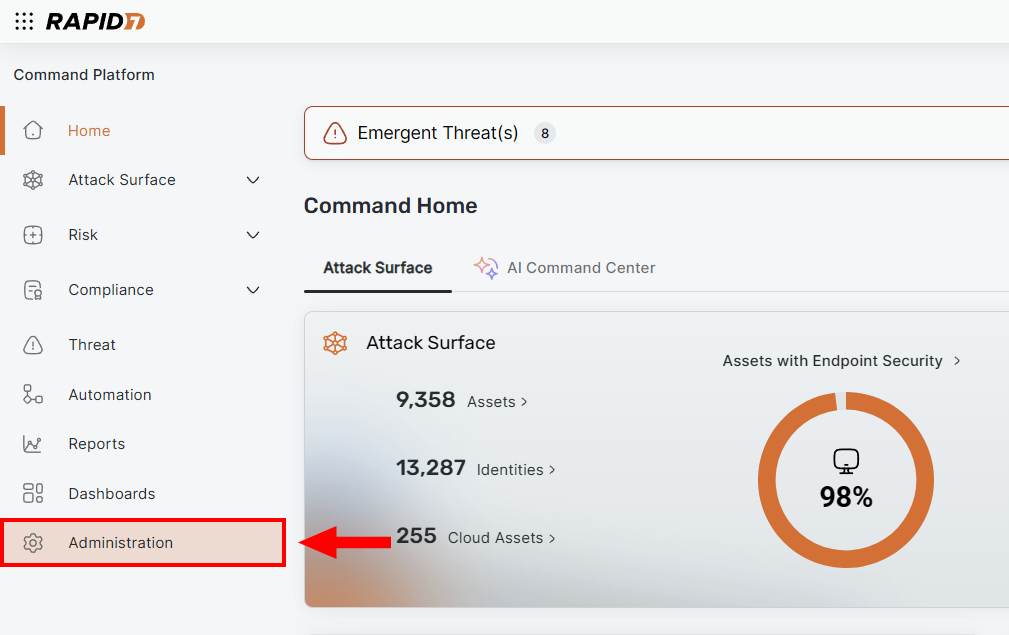
Return to the Rapid7 Command Platform and select Administration.
-
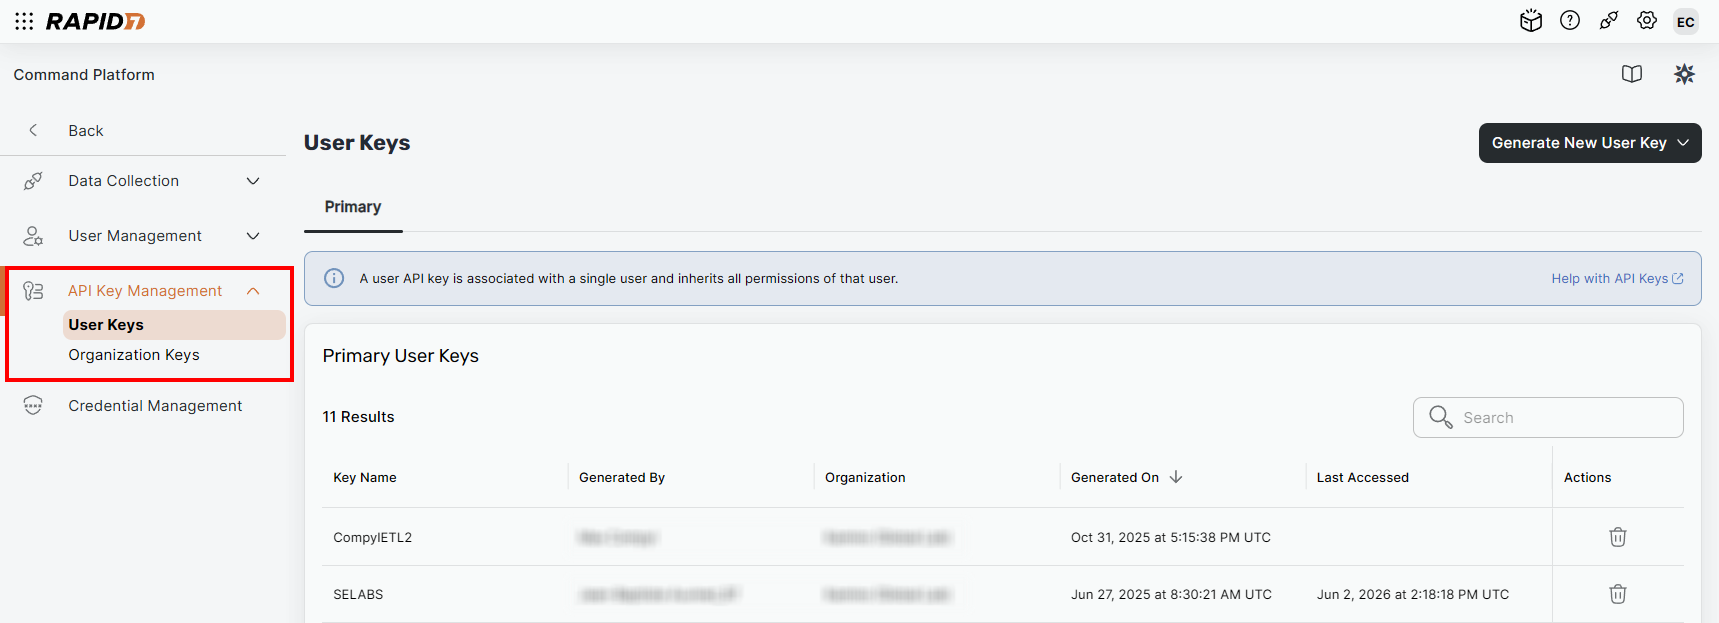
Open API Key Management and choose the appropriate key type:
- Organization Admin Key: recommended for Compyl production syncs.
- User Key: acceptable only if the user has the required read access.
-
Click Generate New Admin Key or Generate New User Key.
-
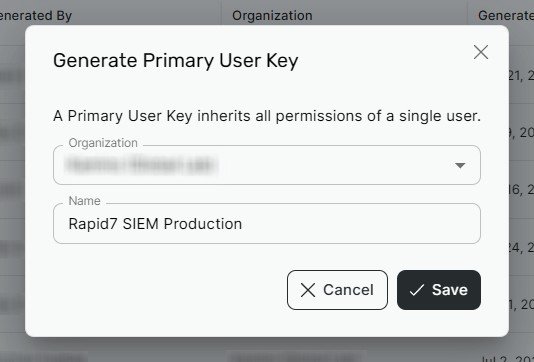
Select the target organization and give the key a clear name (e.g., Rapid7 SIEM Production). Click Save.
-
Copy the key immediately to a secure location.
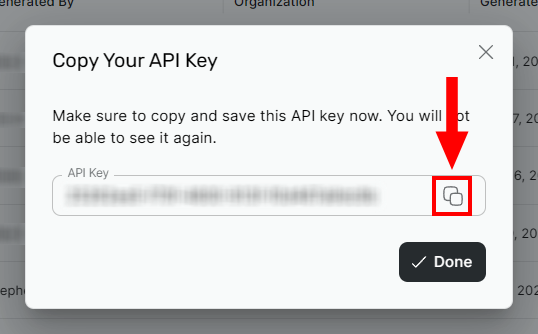
WarningRapid7 only shows the API key once. If you close the window before copying it, you must generate a new key.
Add Configuration
-
Navigate to the Integrations tab using the left-hand menu, find Rapid7 SIEM, and select +Add Configuration.

-
Next, fill in the details below and select Continue.
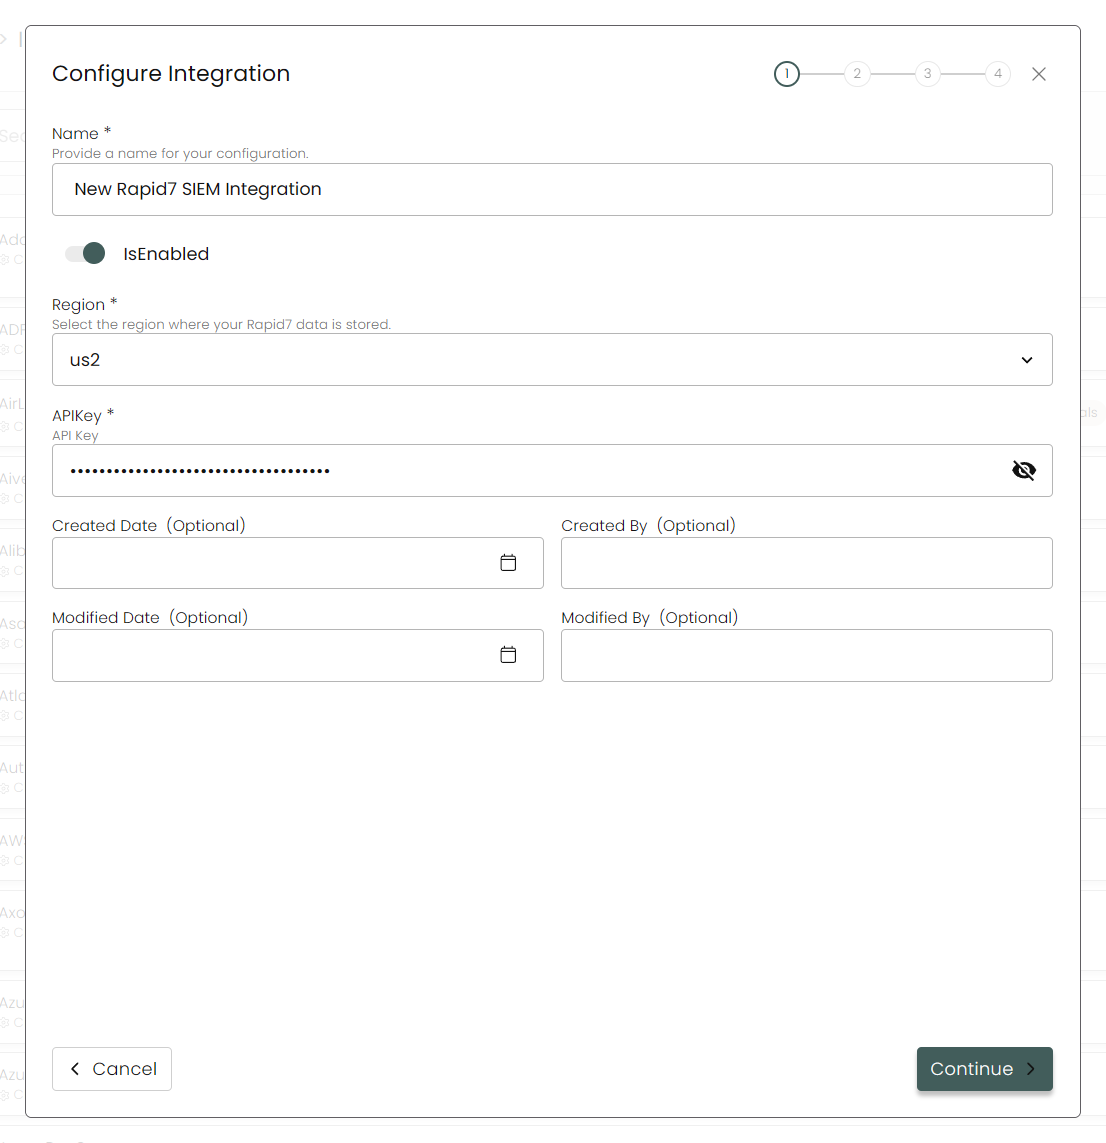
Name: Enter the name of the integration.is Enabled: Toggle button to ensure data is populated into Compyl.
Region: As found above.
API Key: The API Key you generated above.
-
Choose your Endpoints and Begin Validation to validate your connection.
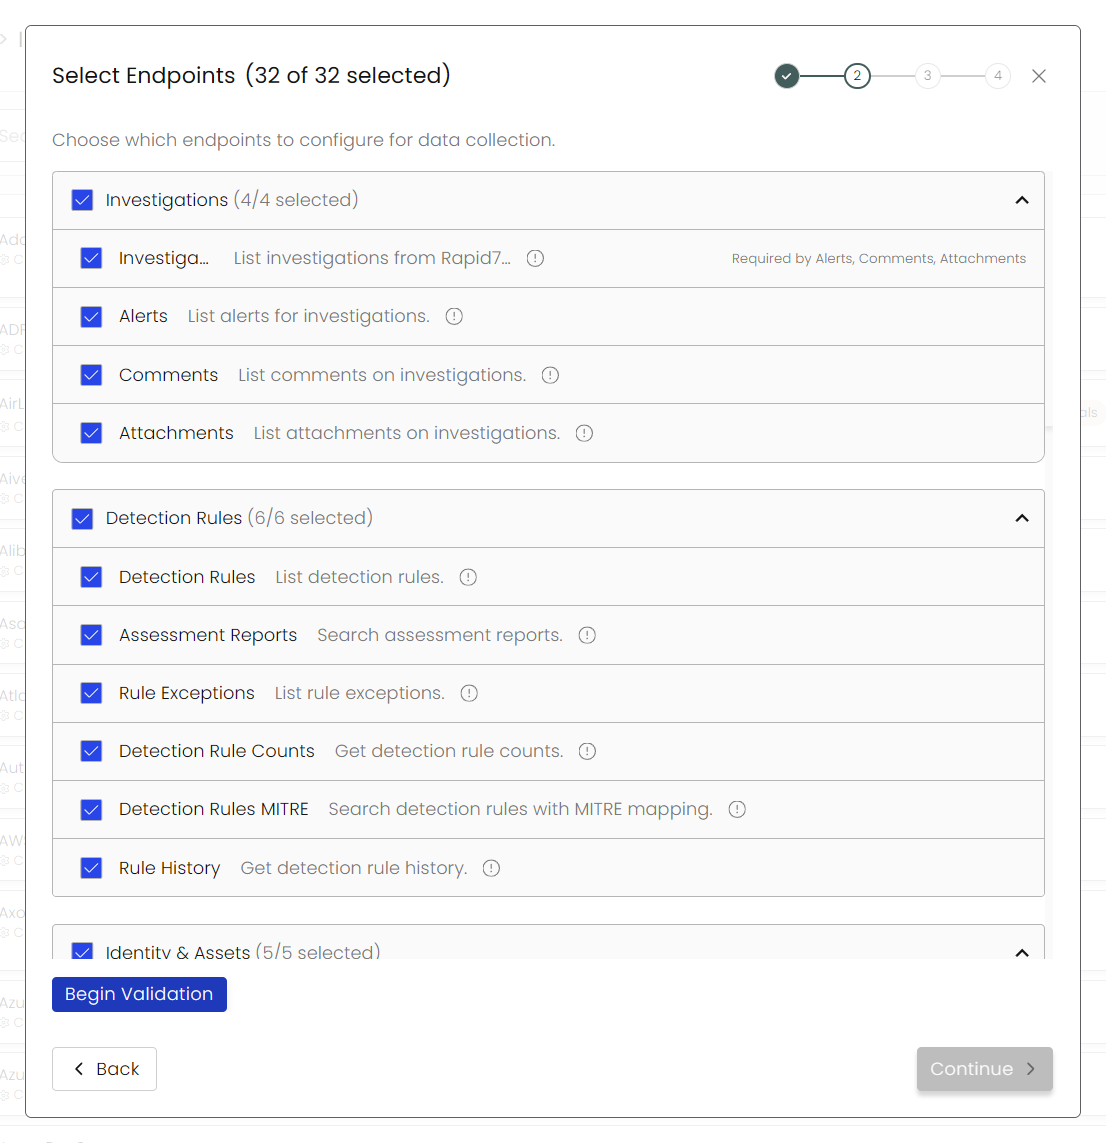
-
Select any Blueprints you wish to associate with this integration.
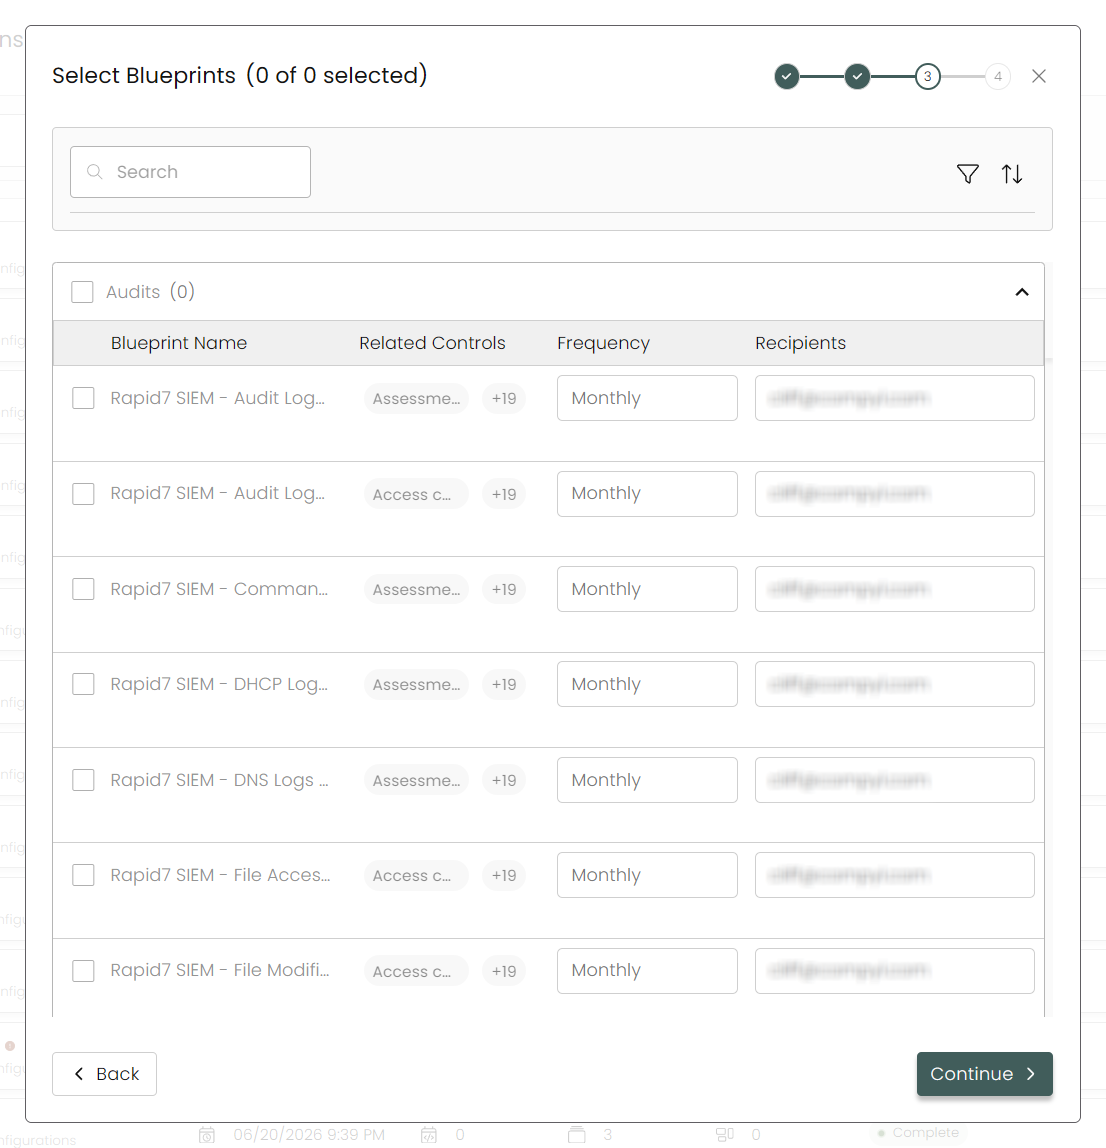
-
After you hit Continue, you'll see a summary screen. Click Return to Integrations to complete the configuration.
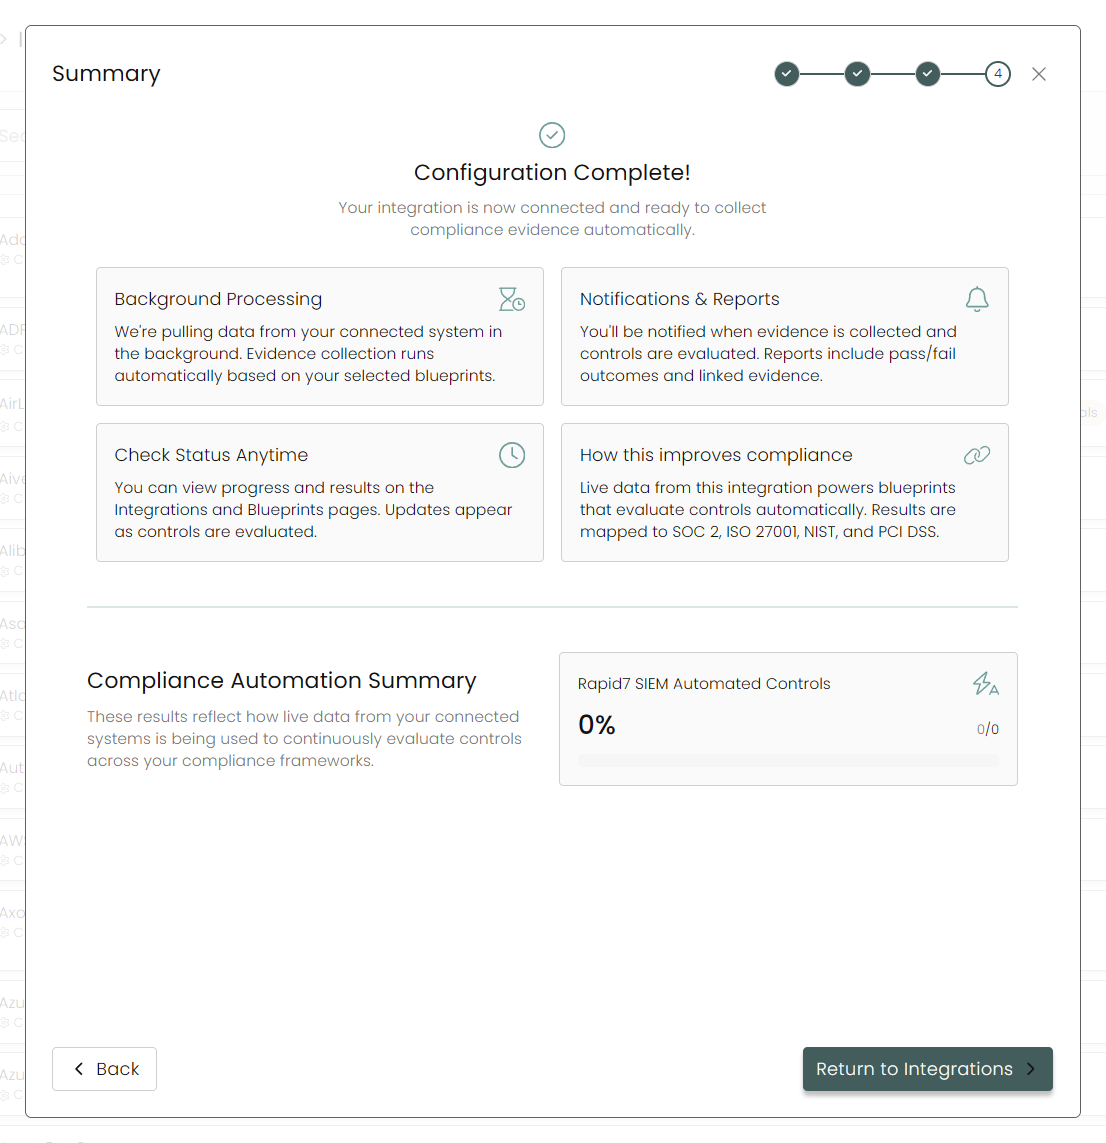
Once you have completed filling out the form click Return to Integrations.
You'll know the integration is successfully added when the status updates to Complete.

Data is synced on a recurring schedule configured by your Compyl administrator. Each sync pulls the latest data from all enabled endpoints.
To query the data from the integration, refer to the Blueprints article.
Updated 2 months ago