
Forms
Compyl's Form Builder allows users to create custom forms that can collect data
These forms can be stand-alone forms to track a specific data set, and/or can be linked to records in Compyl. Data from these forms can also be pulled into the Query Builder.
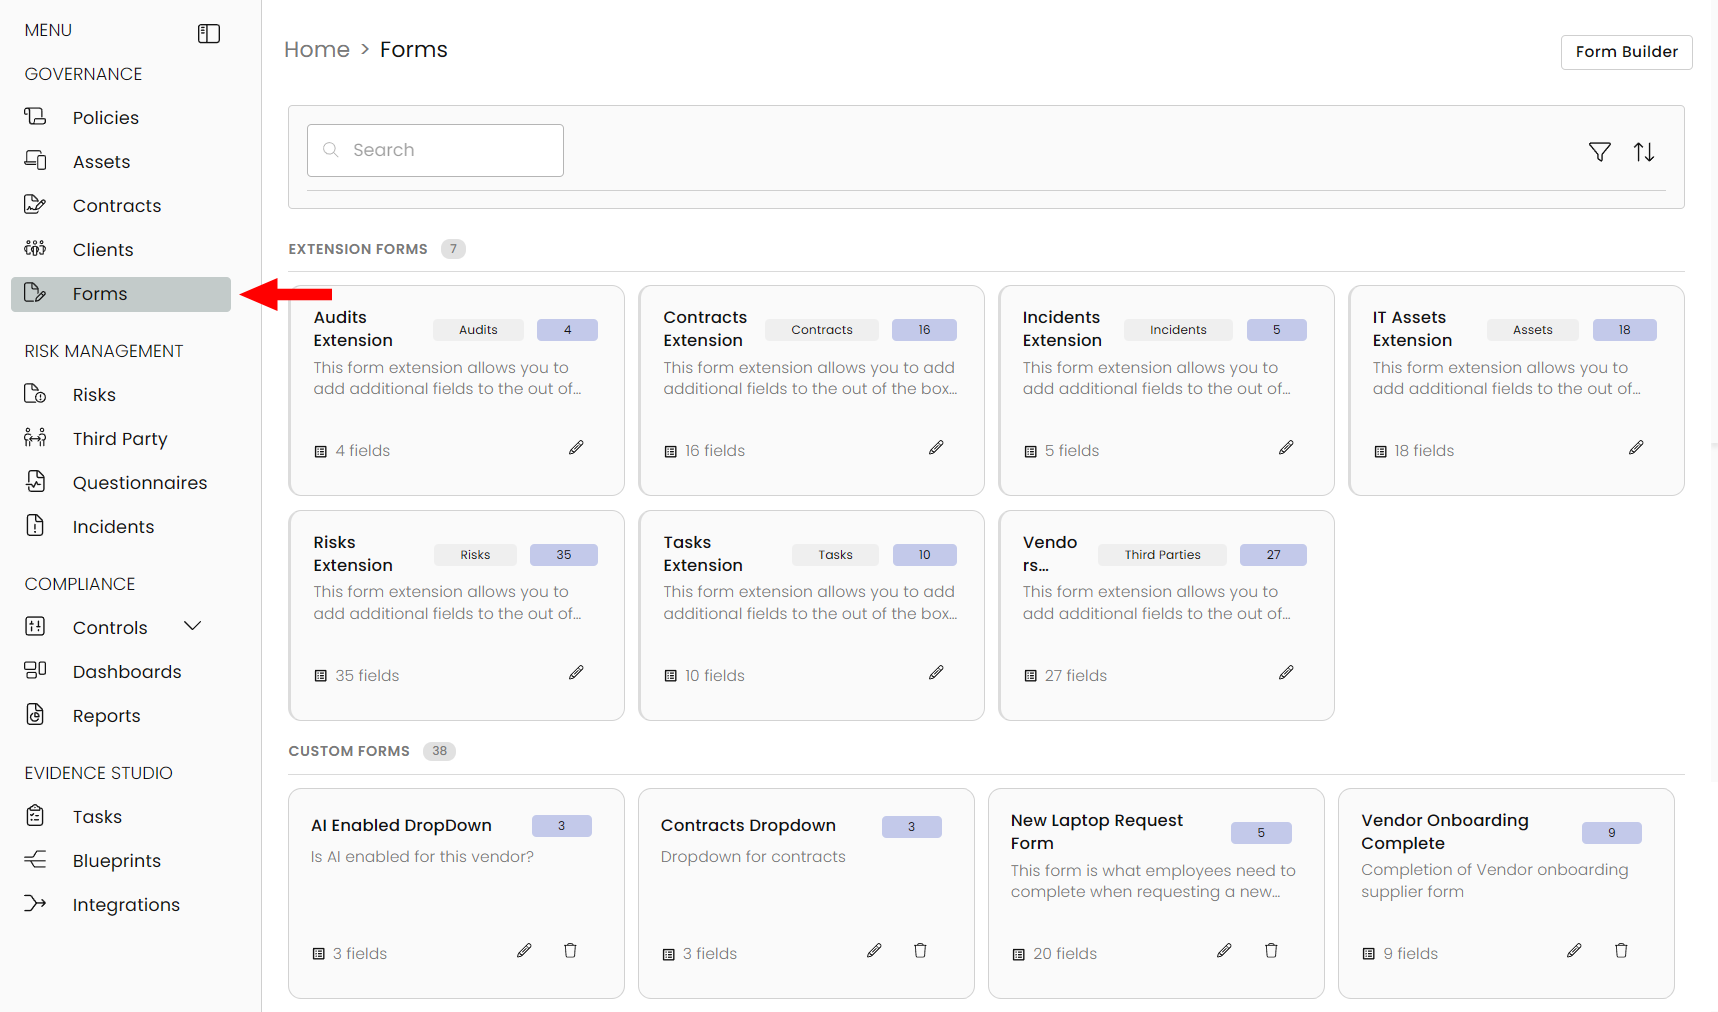
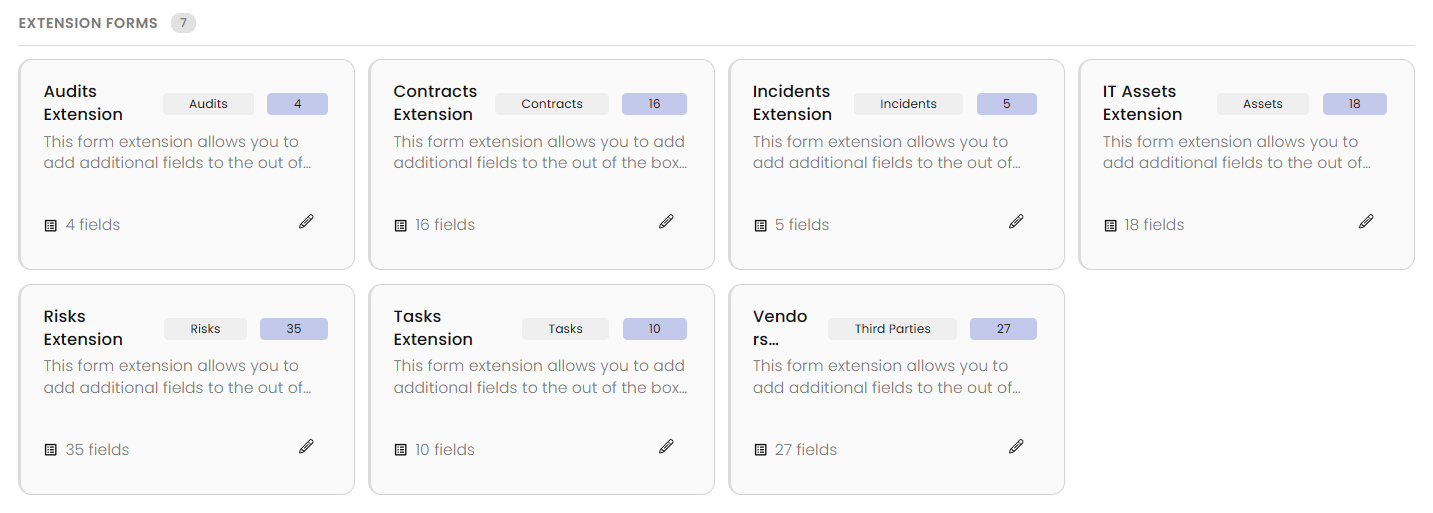
Click on Forms in the left sidebar menu. This page will present all forms, both extensions as well as all the custom ones that have been created in your Compyl environment.
Select the form card to see a list of all entries and data associated with that extension/form:
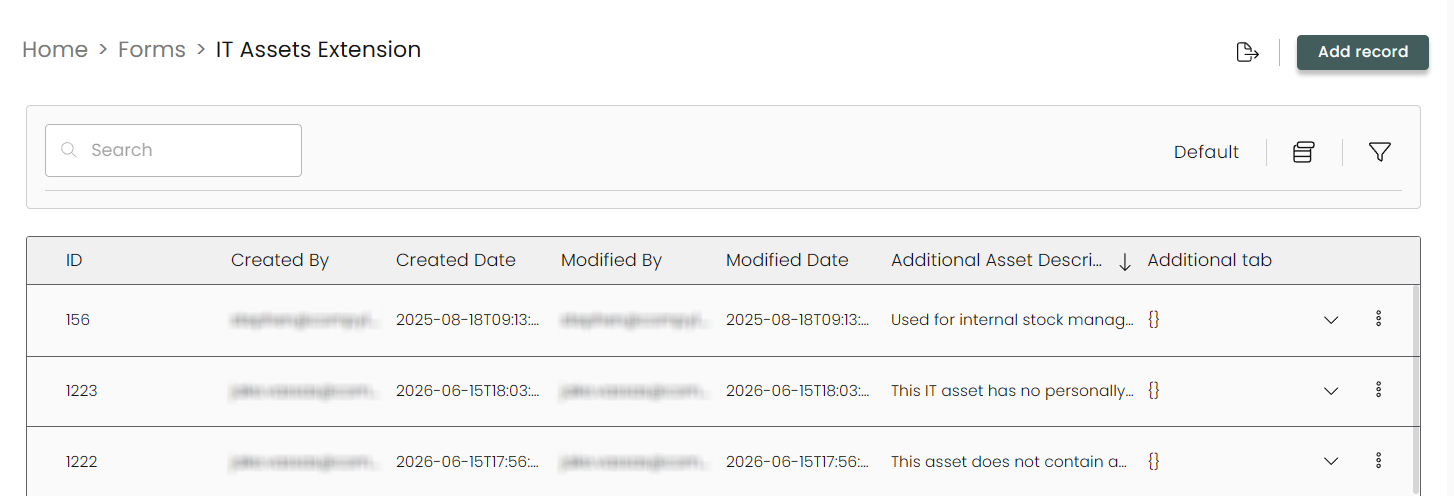
You can add an additional form entry by clicking on Add record or export this data by clicking on the export data icon next to it.
Edit an Existing Form
-
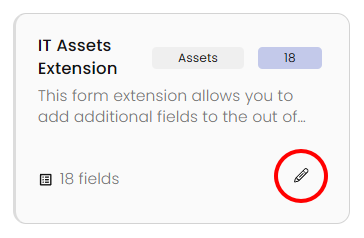
Click on Pencil Icon within the card of the form you wish to edit.
-
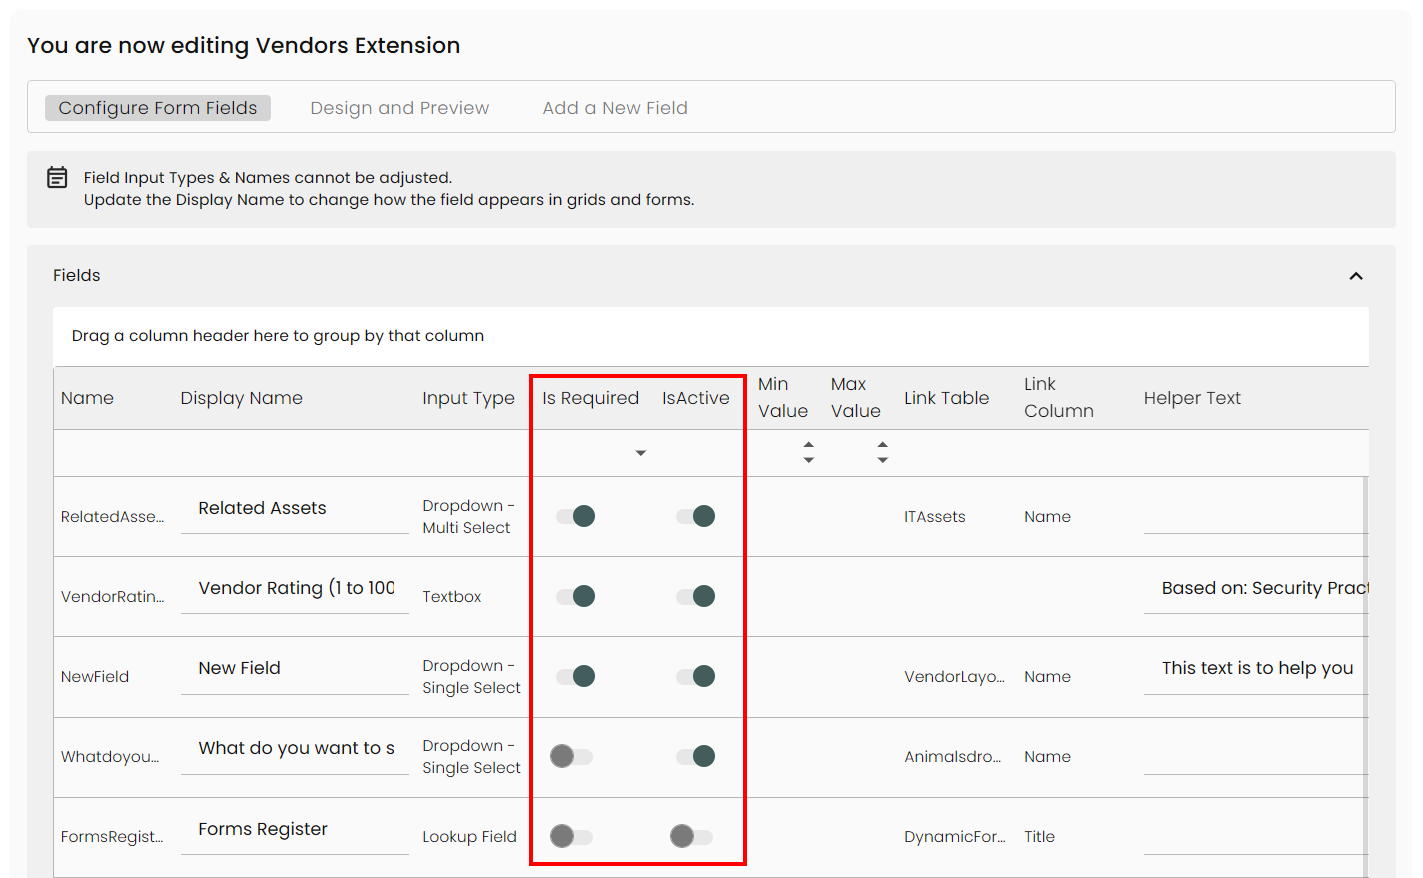
Use the Configure Form Fields tab to adjust the fields you have created. Expand the options by clicking on the caret.

-
Here you can adjust the IsRequired toggle to on, meaning the user is forced to fill out this field in order to save. If the IsActive toggle is on then the field will show up in the form.
You can also adjust the Display Name of the field a well as add additional Helper Text in this tab.
-
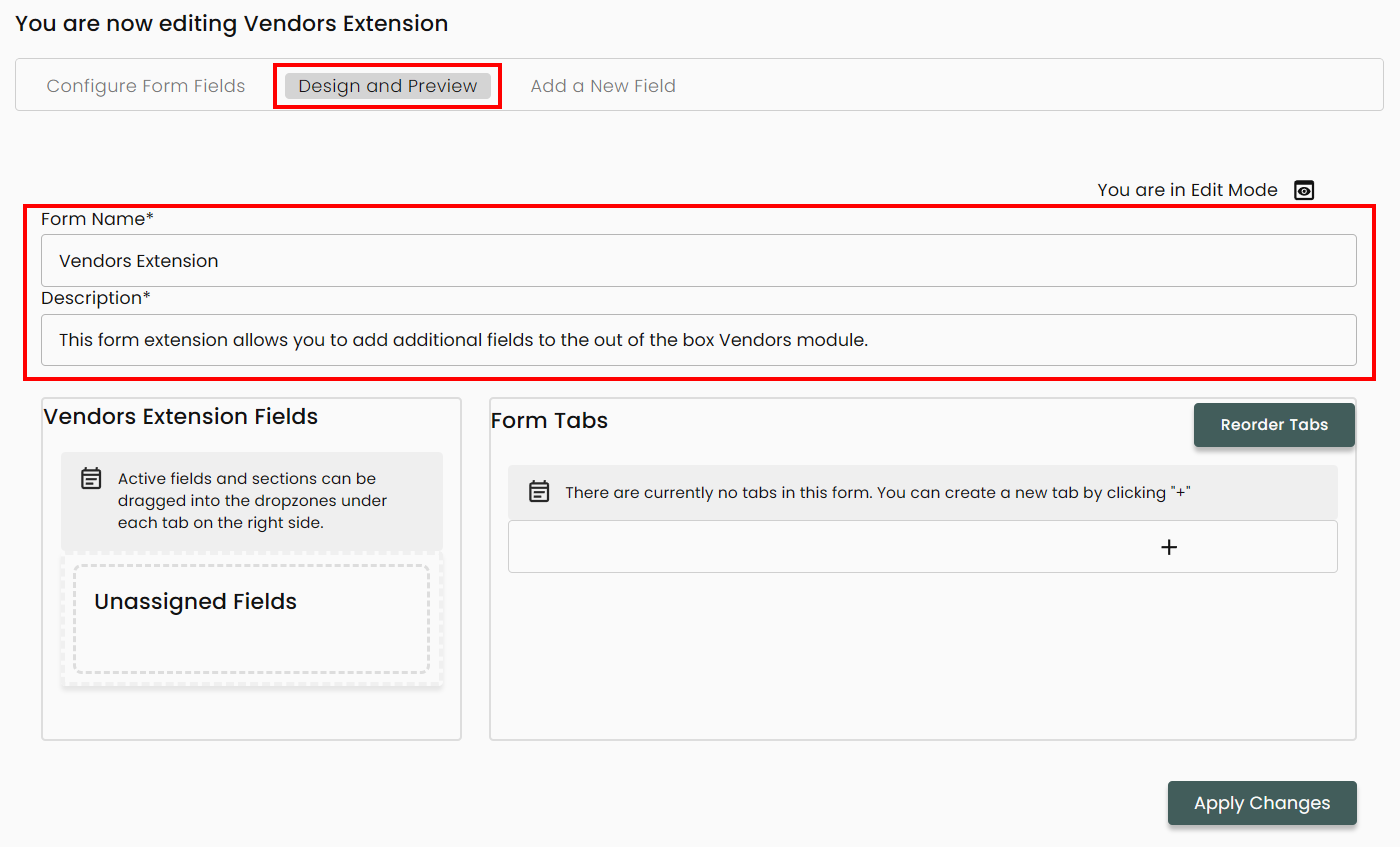
In the Design and Preview tab, you can edit the Form Name and Description of the entire form.
Adding a New Form Field
-
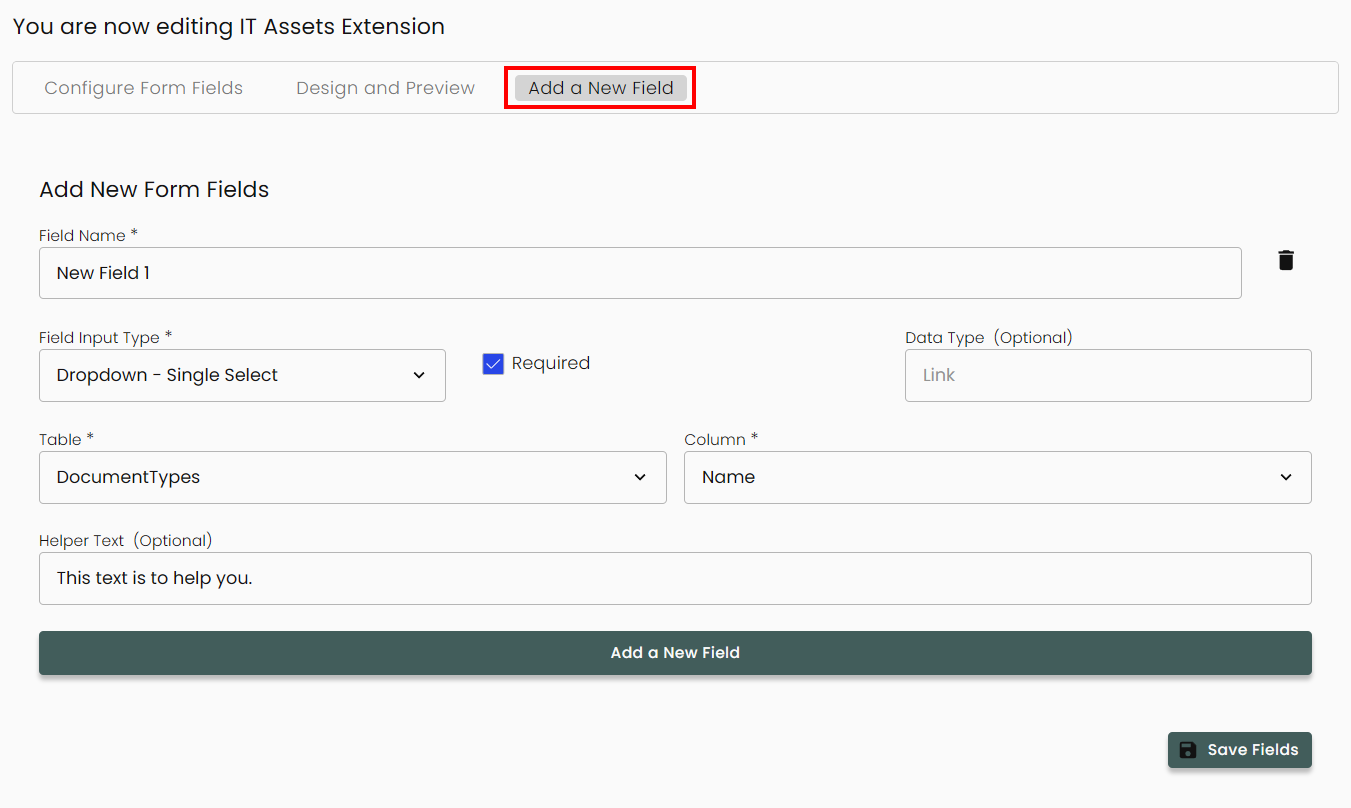
Go to the Add a New Field tab to create additional fields for this form. Fill in the required information.
-
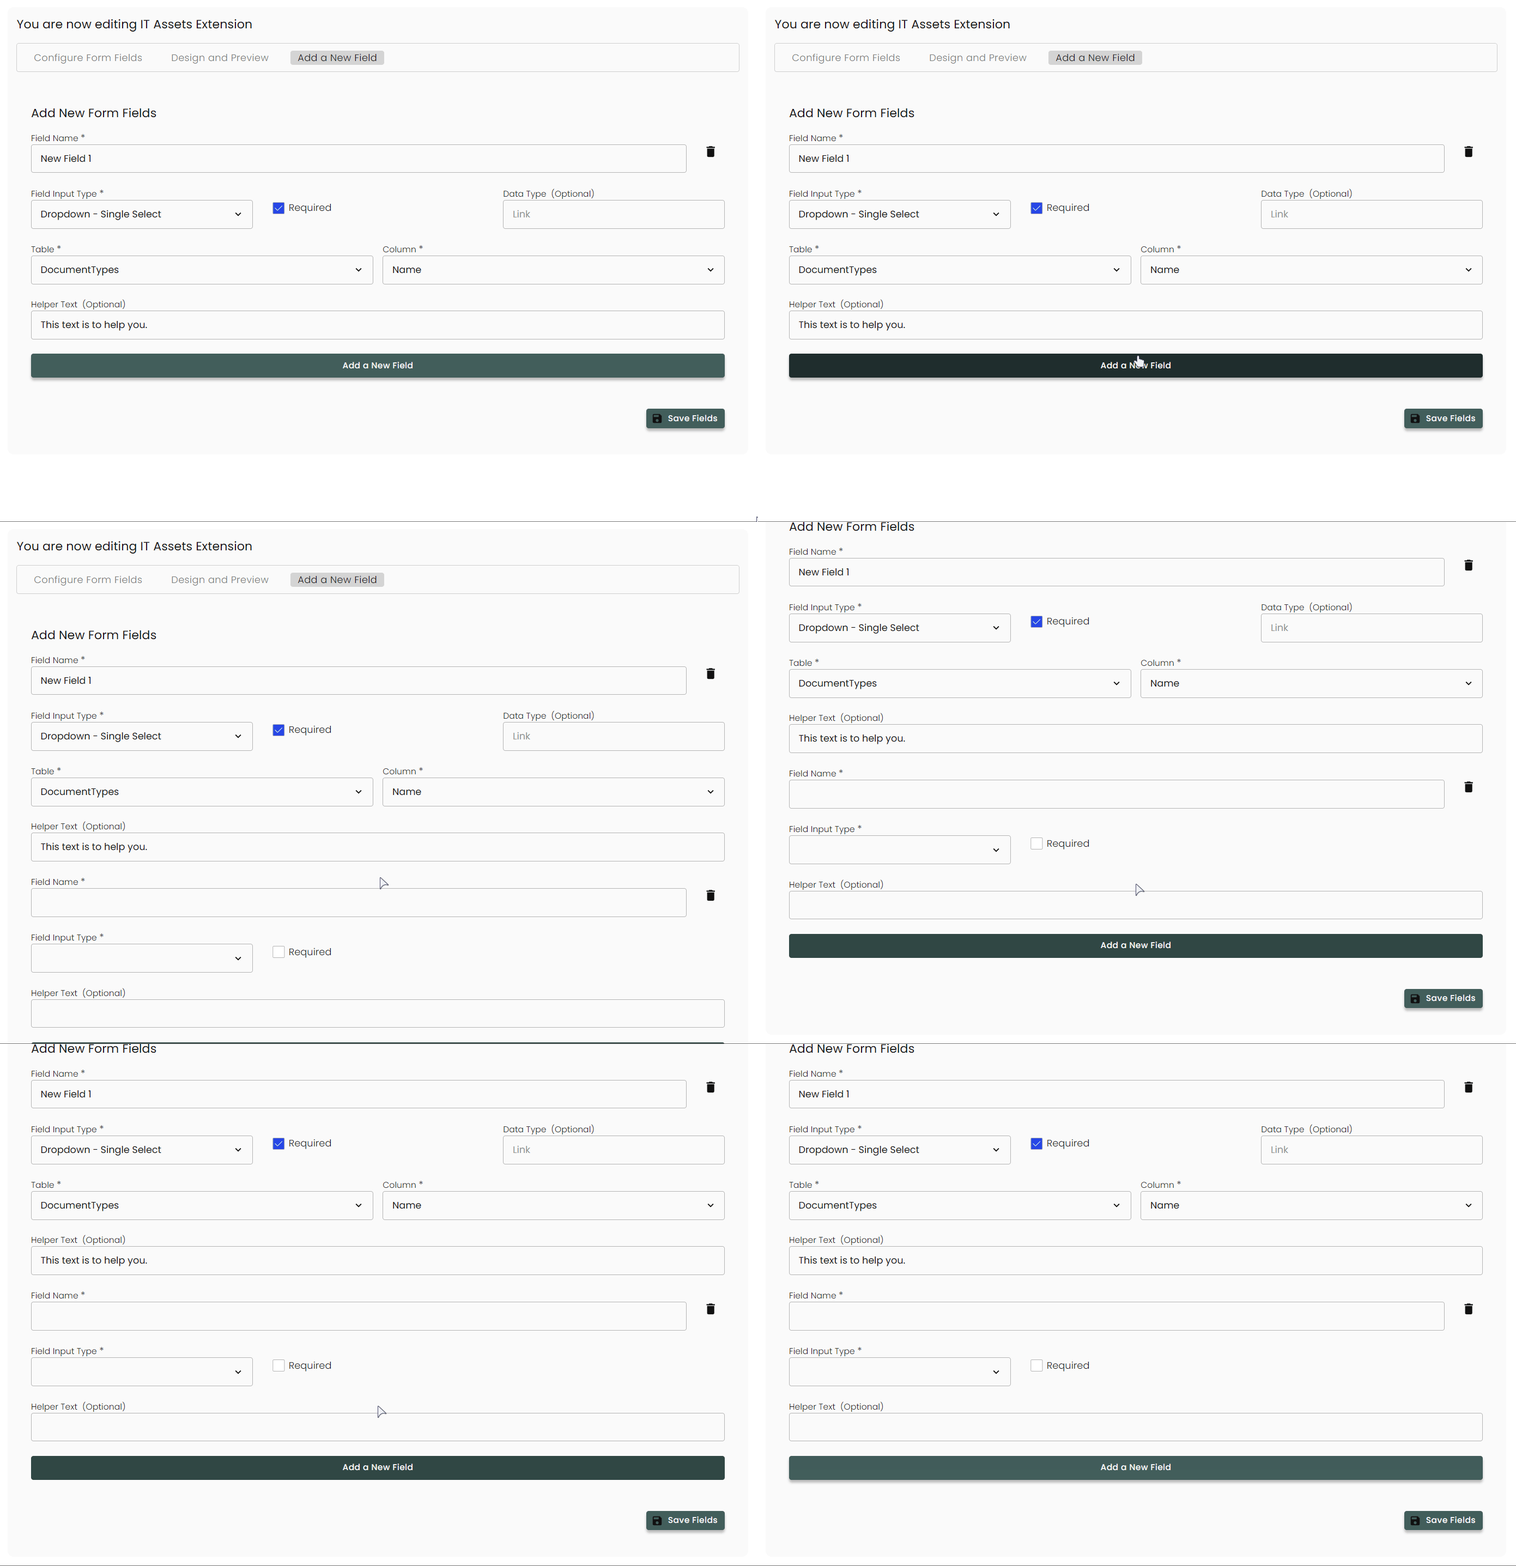
To add another field, click the Add a New Field button and continue.
-
Click Save Fields on the bottom right when complete. Once added, they will show up in the Design and Preview tab.
 Important Info
Dropdown fields require an existing table to pull from. You can create new tables by Creating a new Custom Form or by uploading a Flatfile.
For Multi-select Dropdown fields, each item needs to be separated by a comma (e.g. Data 1, Data 2, etc...). The names are case-sensitive.
Adding New Form Tabs
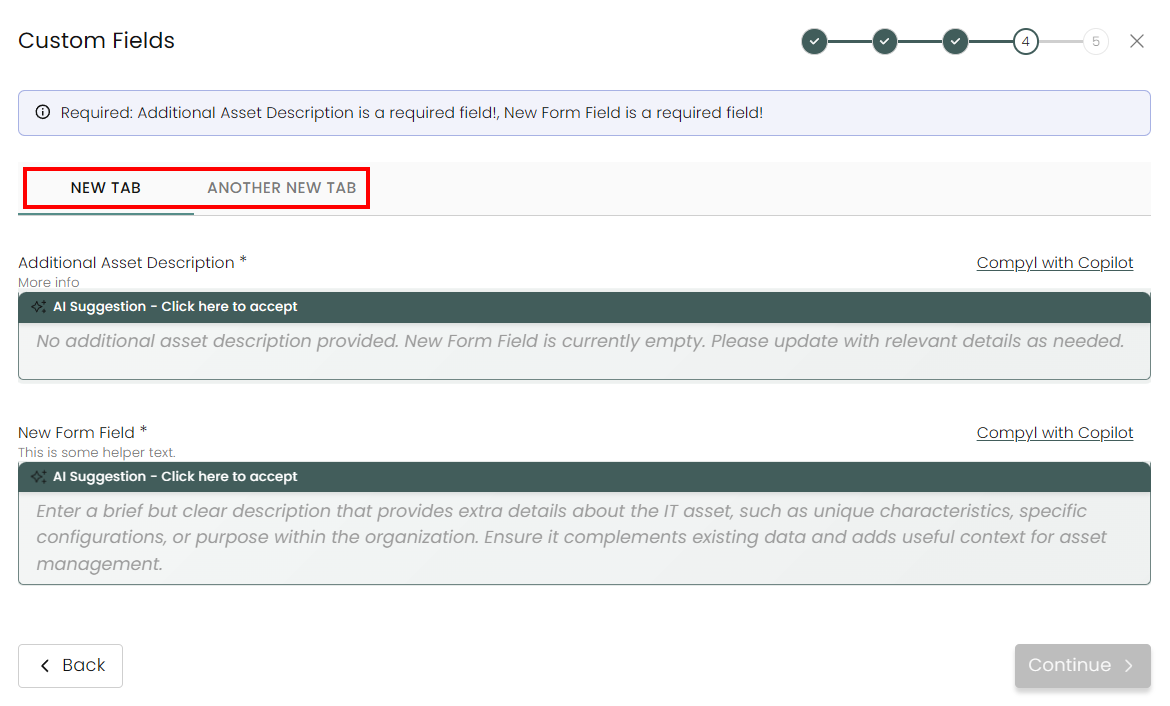
Form tabs show up with the Custom Forms segment in the Guided Workflow, allowing for easier data organization. Each new Form tab is added the right.
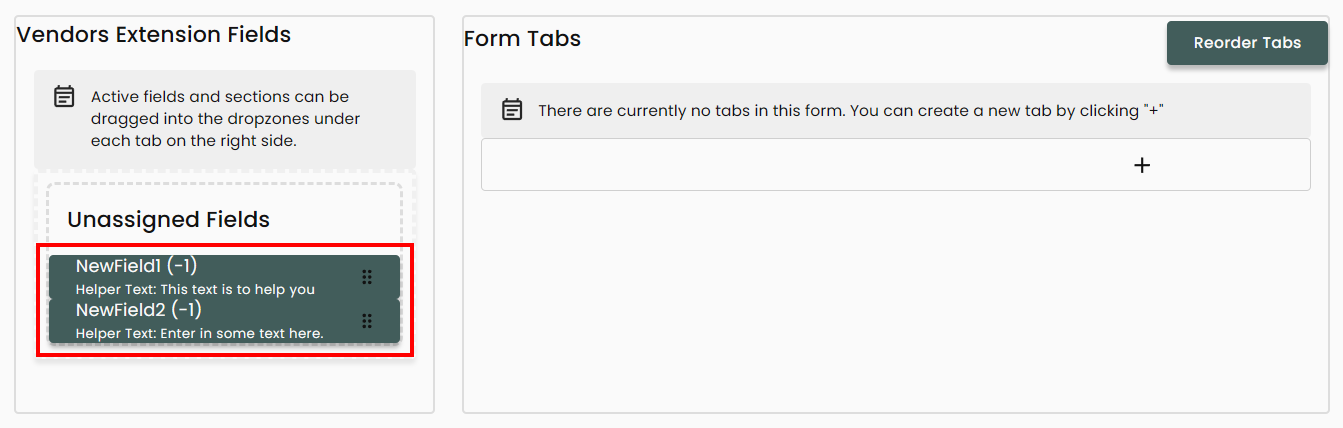
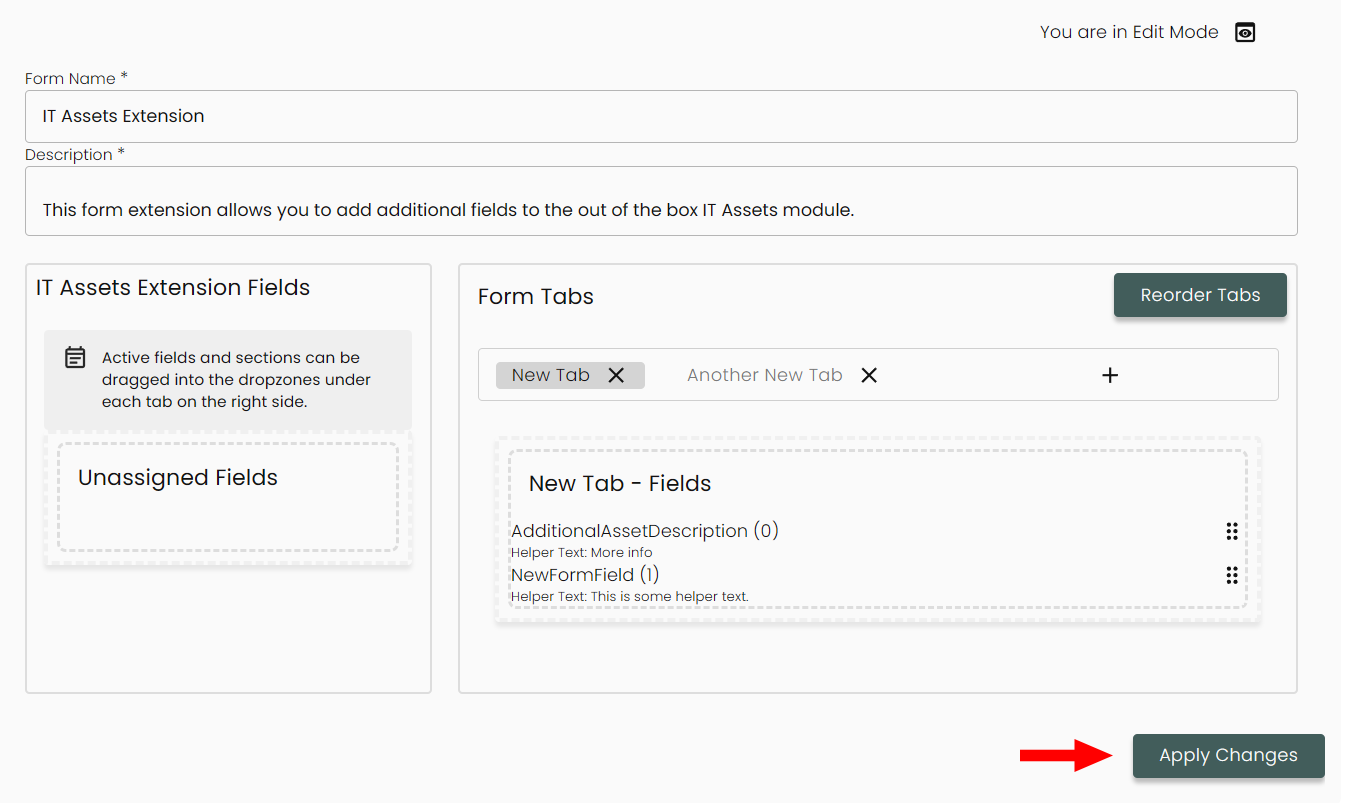
In a newly created form, all fields will be defaulted to the Unassigned Fields section on the left side. Fields cannot be dragged into the form until a new tab is created.
-
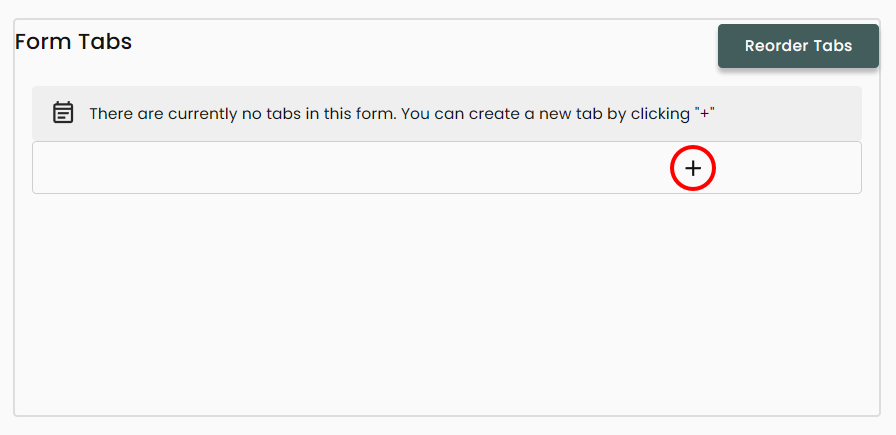
To create a new tab, click the + button in the Form Tabs window:
-
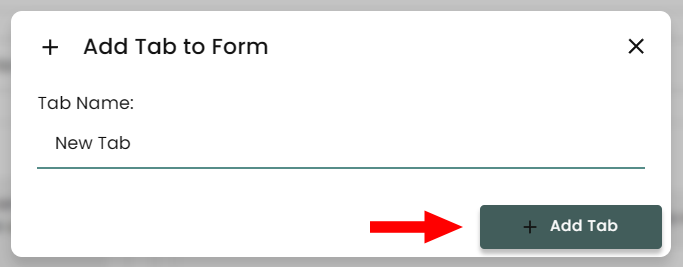
Enter the name of the tab and click Add Tab:
-
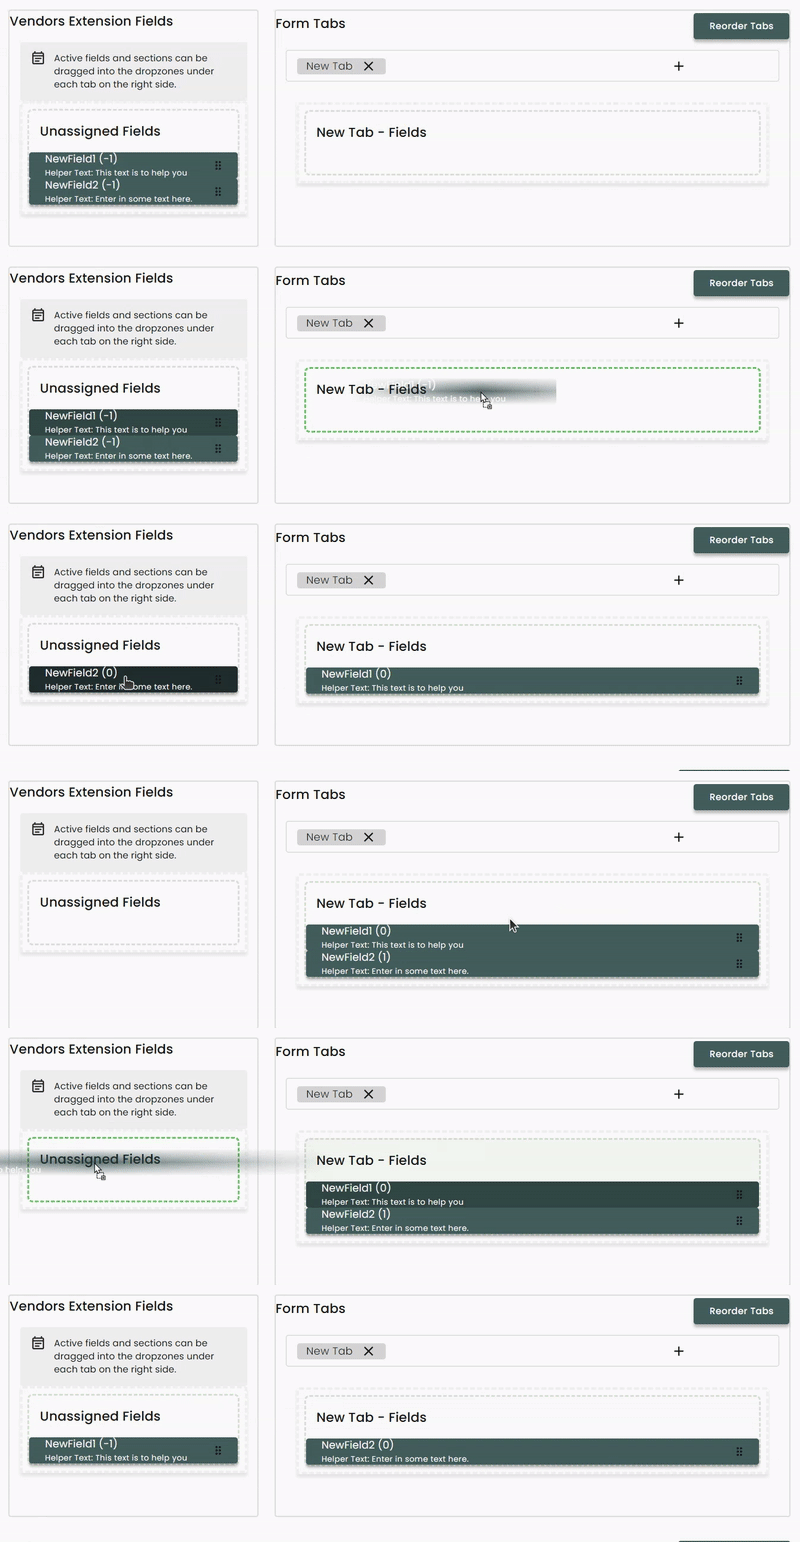
To move a field to a new tab, drag the field to the Unassigned Fields box to the left, navigate to the tab you would like to put the field in, and drag the field to the desired location.
You can also move/remove fields from tabs by dragging them back to the Unassigned Fields box.
-
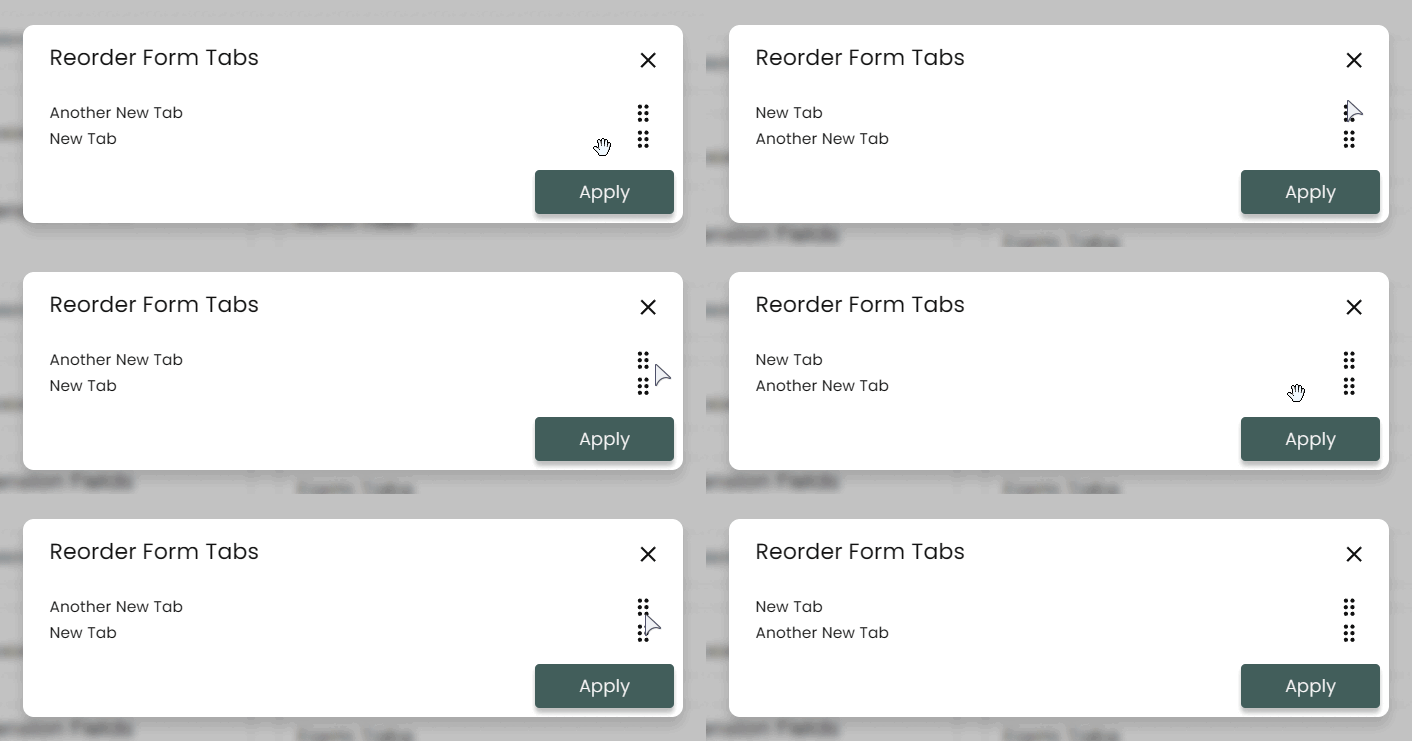
To reorder the tabs in the form, hit the Reorder Tabs button on the top right, and drag the tabs into your desired order. Click Apply on the bottom right when complete.
-
When you have completed organizing fields into various tabs, click Apply Changes.
-
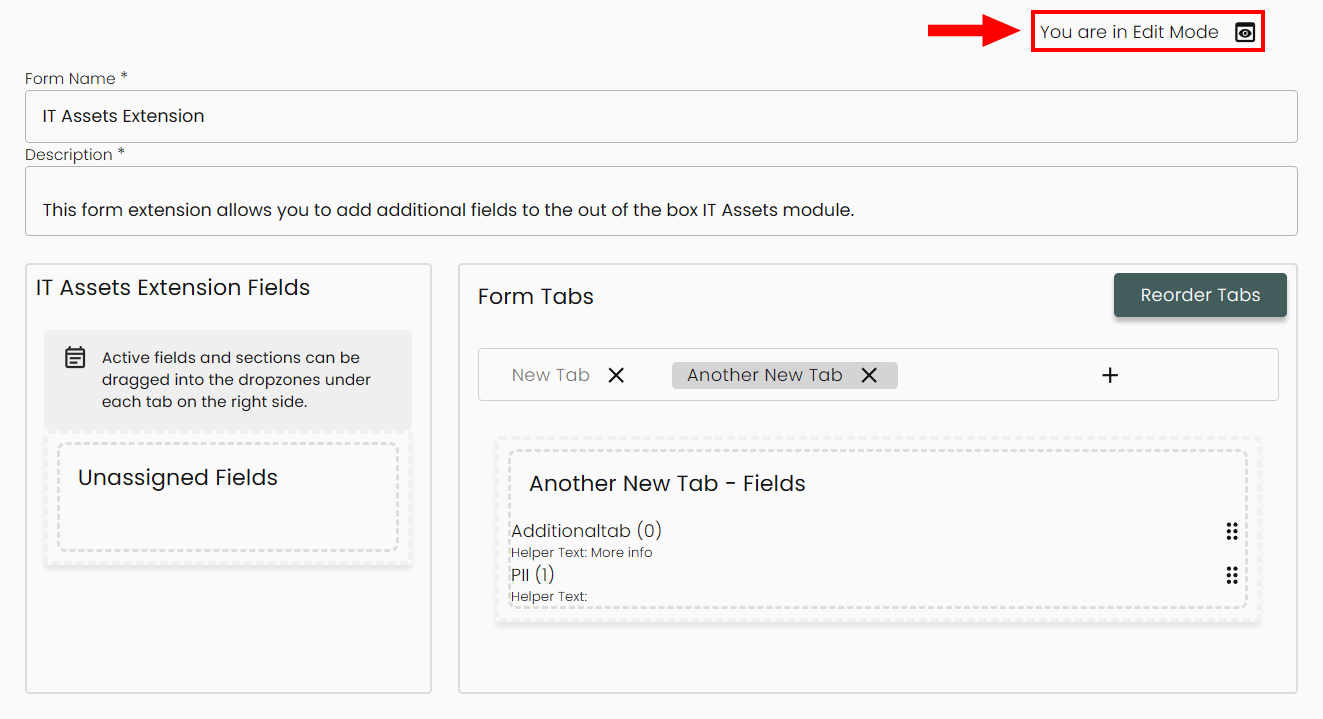
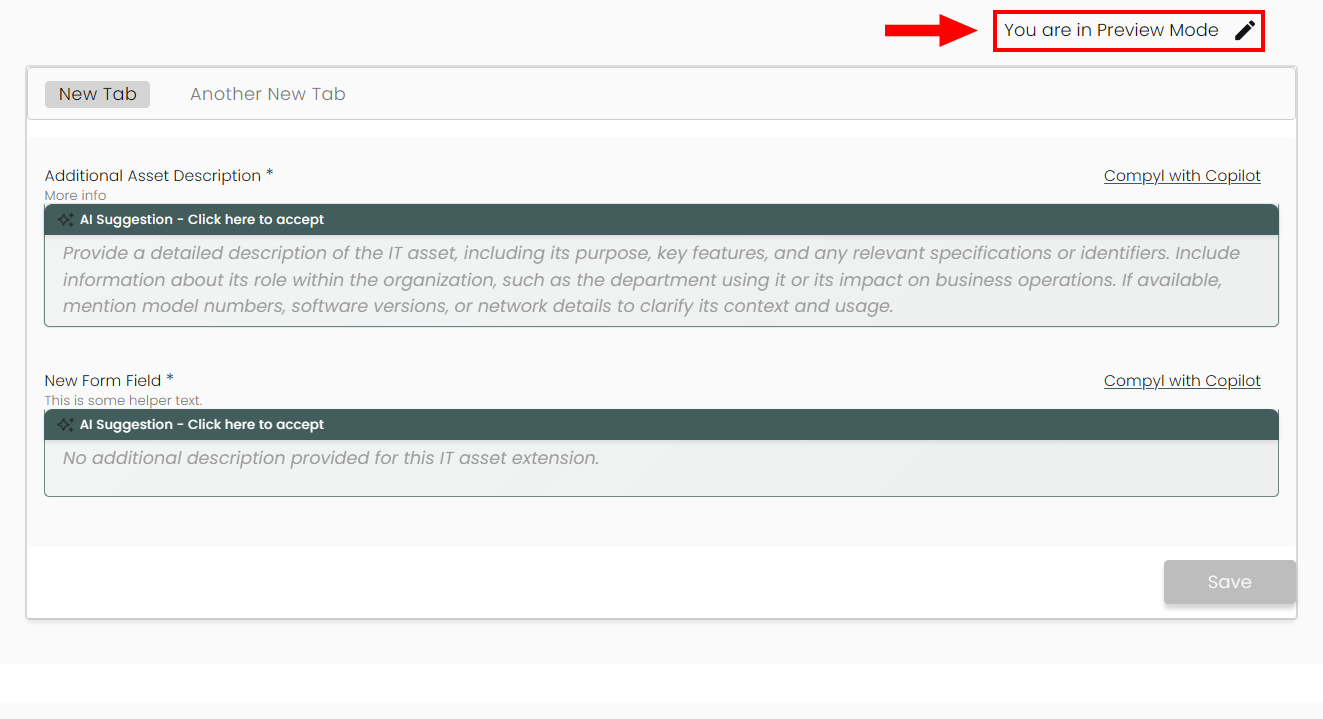
After editing the form, navigate from Edit Mode to Preview Mode to preview what your form will look like.
-
If everything looks good, switch back to Edit Mode and click Apply Changes.
Example: Adding a Clients field to an Audit
Here is a quick animated GIF to illustrate how to first add a Clients custom field.
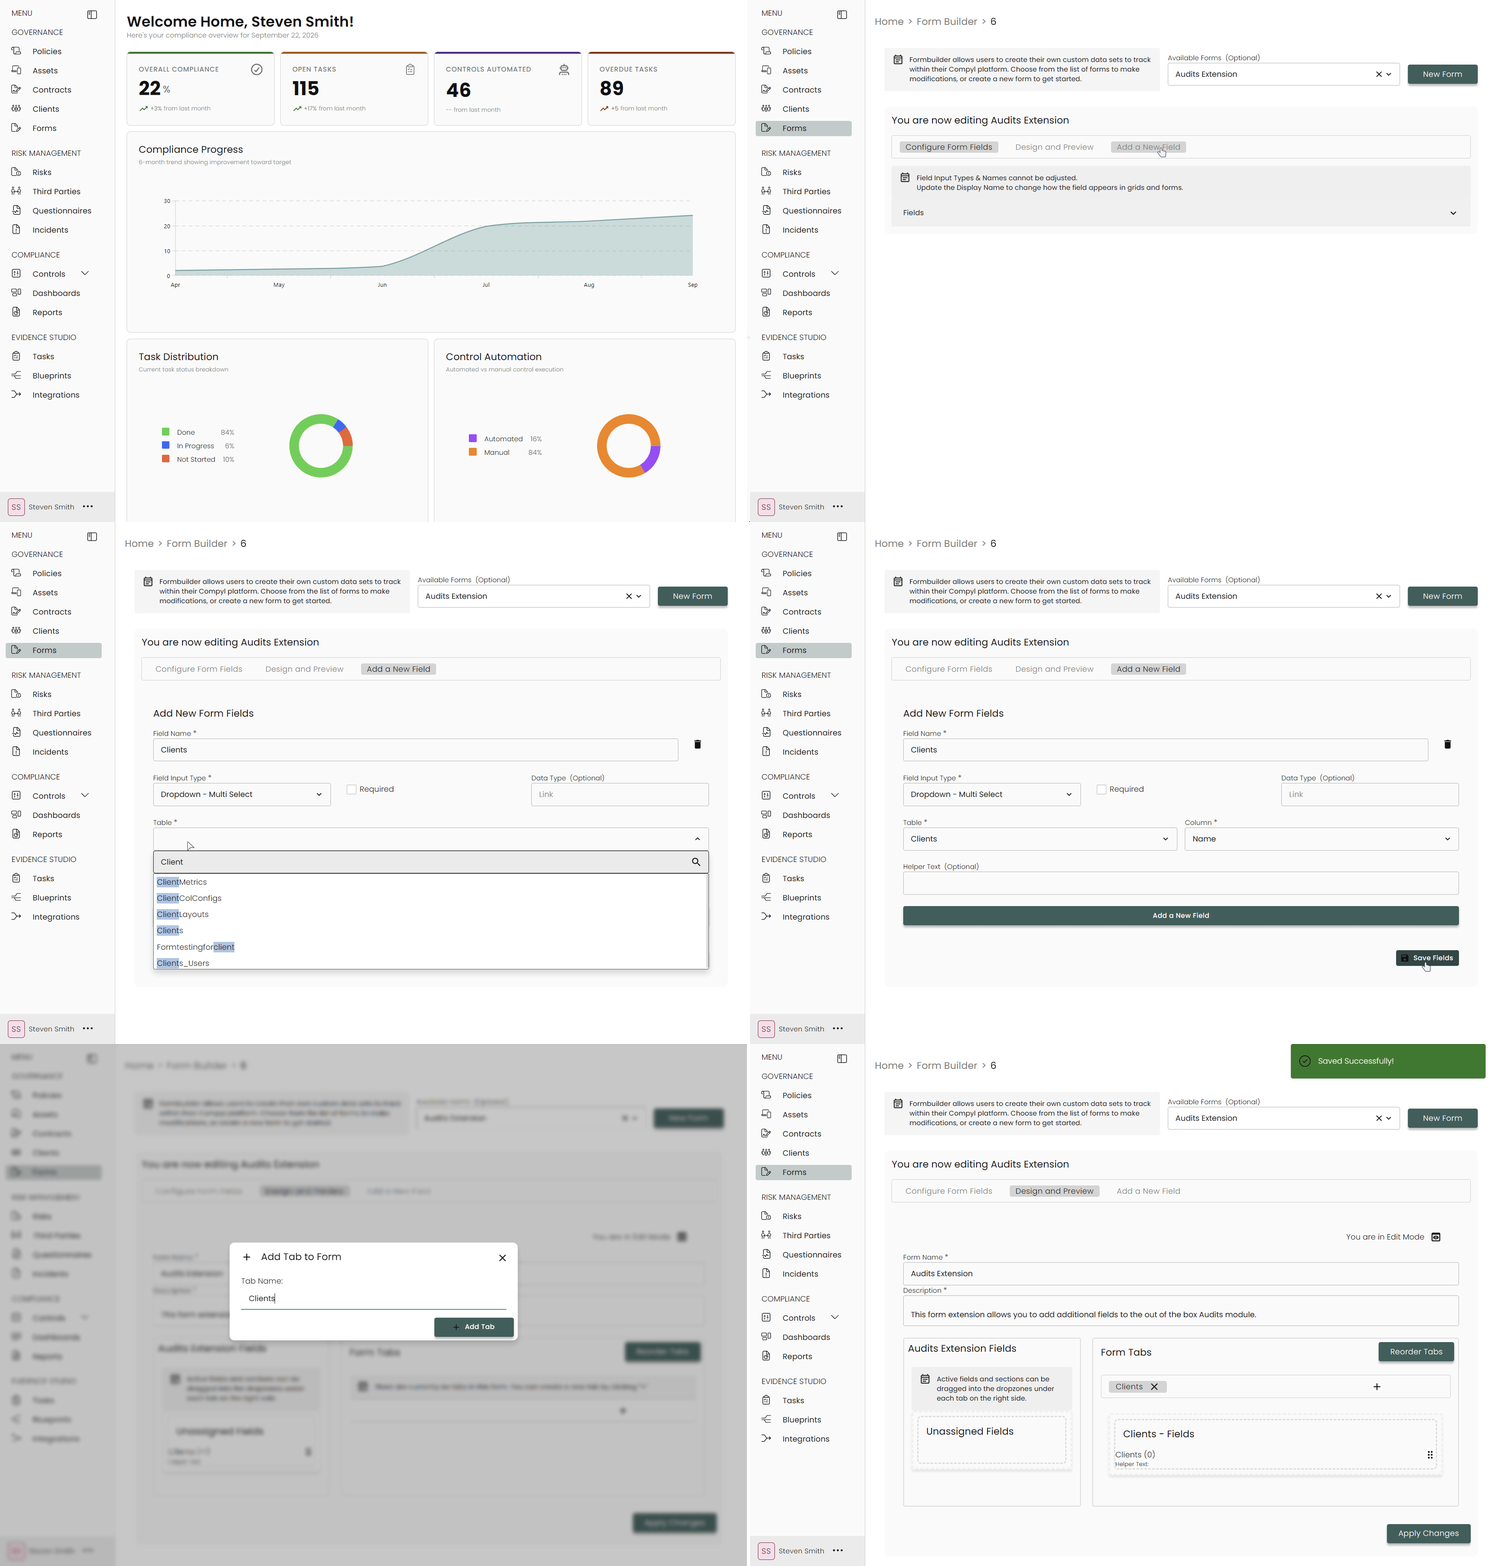
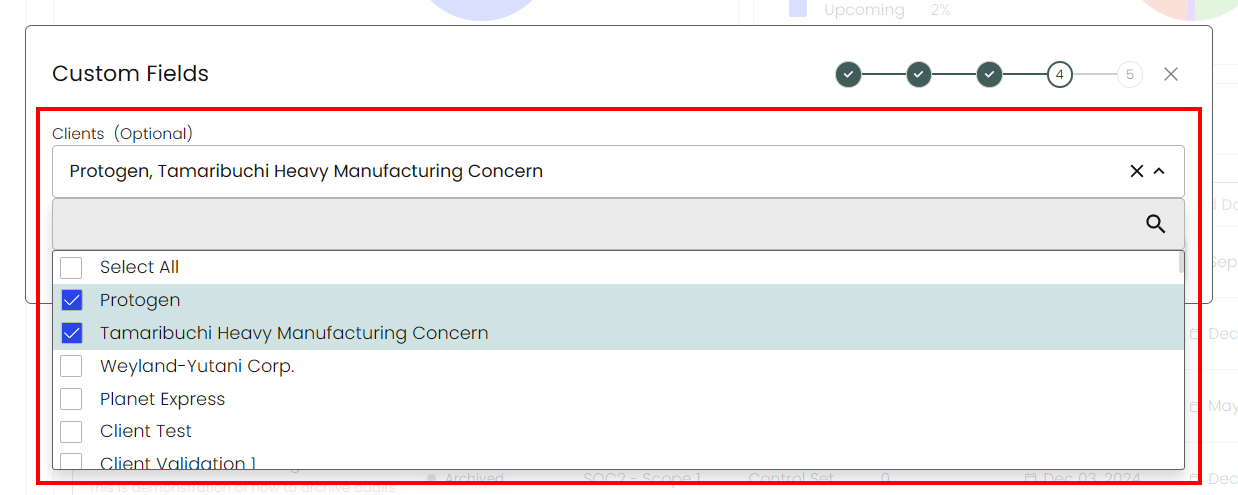
Now whenever you create a new audit, the custom fields section of the workflow (Step 5) will show your newly created drop-down:
Add a Form
-
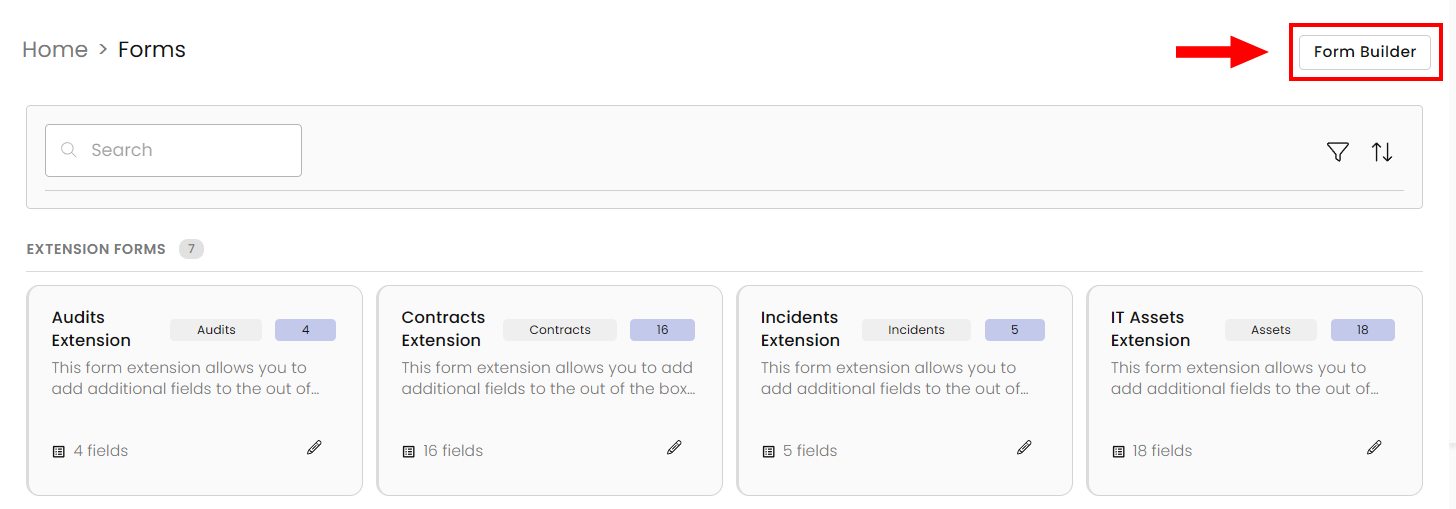
To add a custom form, select the Form Builder button.
-
To add a new form, select New Form. Fill in the Form Name, Description, and start to add the fields you would like to see in the form. Make sure to select the field type, identify if it is a required field, and add any relevant text that would help a user complete the field.

-
Create additional fields by selecting the + at the bottom of the form.
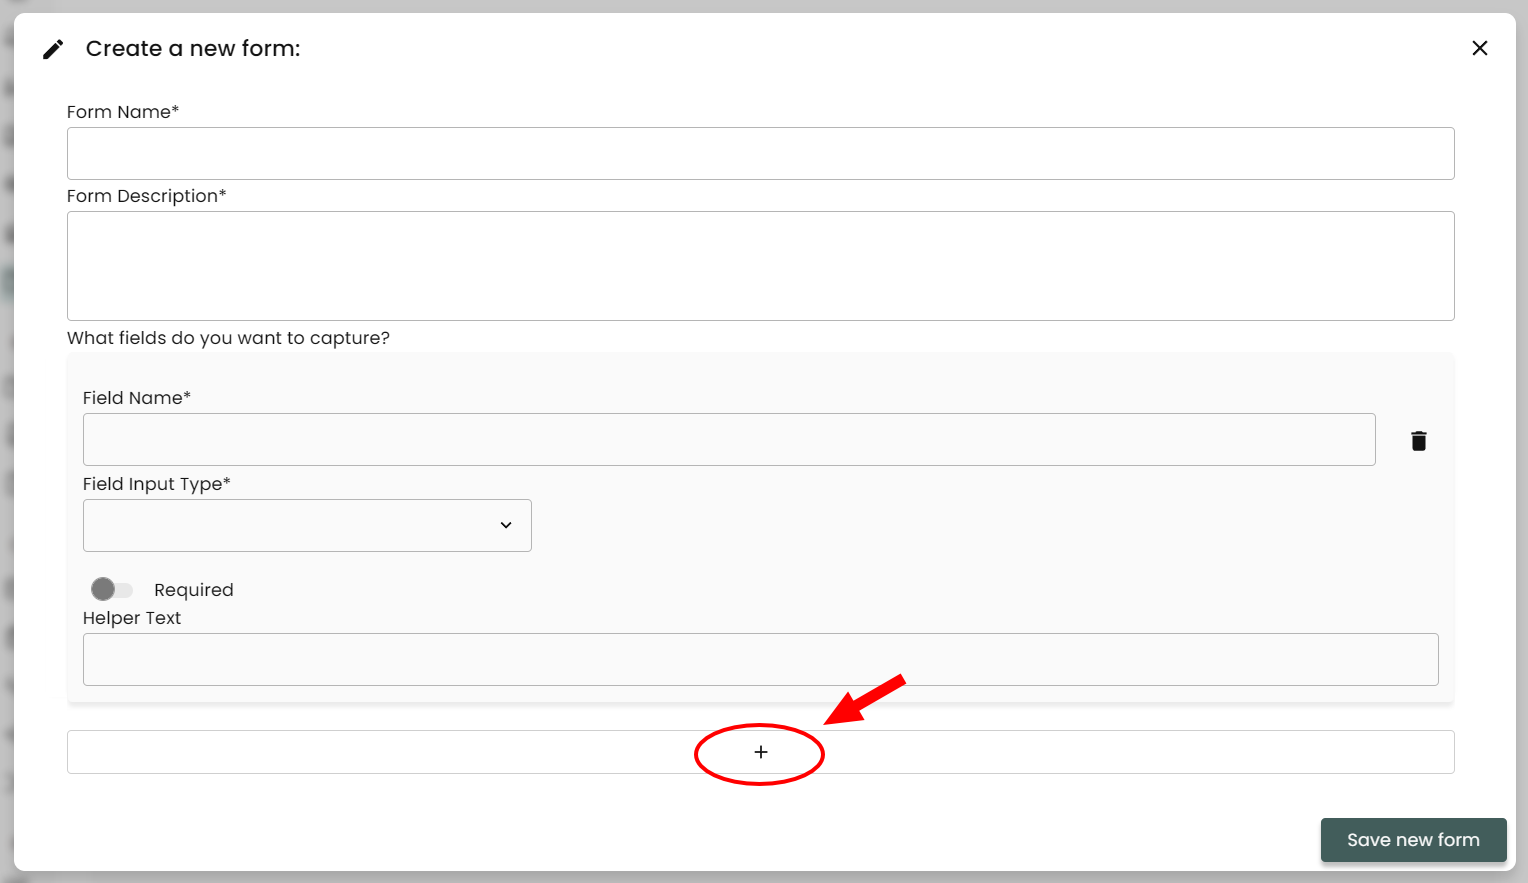
Once you have added all of the fields you would like to see, hit Save New Form.
Updated 8 days ago